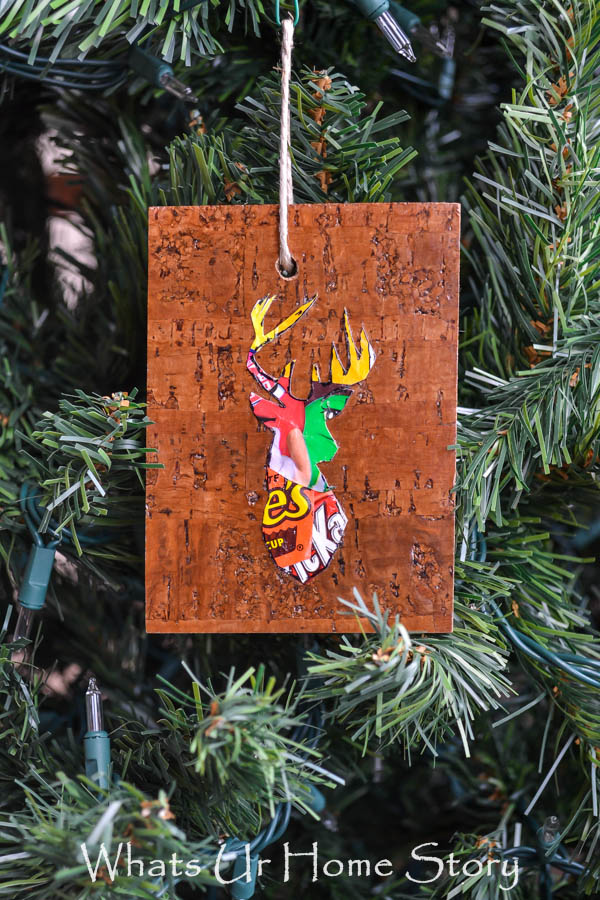
Happy Monday! How have you all been enjoying the daily dose of Holiday decorating inspiration (Day 1, Day 2, Day 3, Day 4, Day 5) ? Today I have something special for ya; in addition to my 12 Days of Christmas friends I’m teaming up with another group of talented bloggers to share 18 easy to build Christmas projects all using RYOBI power tools. Got ya, wondering what Ryobi tool did I use for this, right? It is all in that wooden piece I used as the background for my candy wrapper reindeer. Any guesses as to what that is? 🙂 While you rack your brains let me fill you in on the back story.
I love ceramic taxidermy, be it a deer head or a rhino head. I also happen to like Pallet art.. No, haven’t tried that yet but it is definitely on the To Do List. When you combine these 2 and a big pile of candy wrappers from my kids’ Halloween candy stash, you’ve got a project simmering in this little brain of mine. Can you hear the broth gurgling? Spot whiffs of smoke escaping from my ears? Oh yeah, this girl was onto something! A mini pallet art ornament…neat huh? So I head off to Home Depot to find the right wood (thin and about an inch wide) for my mini pallet. As luck would have it I spot a great piece in the wood aisle for a great price ($0.76) and head to the counter. The sweet lady scans it and then takes the tape measure out to measure how long it was. A good 8ft! She promptly keys in the number and the nifty computer spits back the price $6.48 including tax. I’m like, “Wow, $6? I really don’t want that long a piece. I want may be 2 ft at the max to make a small craft.” The patient lady informs me that it is priced per feet and I might be able to find a shorter piece. So off I head back. Nope, nothing there…every thing was around 8 ft.
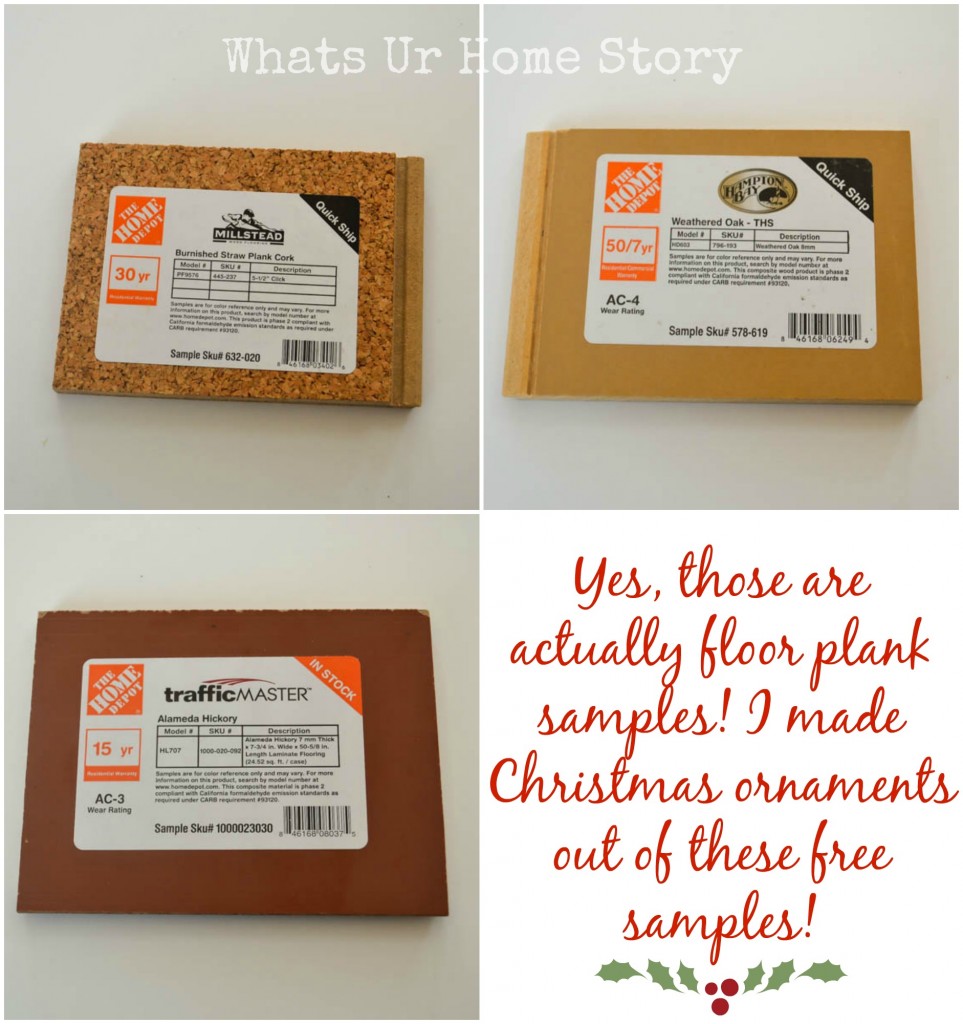
Disappointed that my star idea was not gonna happen I decide to wander the aisles of Home Depot in the hopes that something might catch my eye or I might get hit by a spark of creativity. I know all you DIY’ers will agree with me on this; there is something about those magical aisles of Home Depot that gets the creative juices flowing. I blame it on the air, the positive DIY energy emitting from all those wonderful products they stock. For me personally those very special aisles have been the birthplace of many ideas including my flat washer chandelier and the tile mirror. But this time nothing…nothing seemed to ignite that spark, even after 2 rounds of combing every aisle. Just as I was heading out the door I remembered a conversation I had with a friend of ours, who had recently purchased a new home. The main floor of the home was carpeted and they wanted to change it to hardwood. She had asked about what stain/type of hardwood would go with her dark kitchen cabinets etc. So I think, “I’m already at Home Depot. Why don’t I just have a look and maybe send her pics of some of the samples they have?” As expected there were loads of flooring planks to choose from. I took a few samples to have a closer look and as I was examining them a light bulb turned on! “They were the perfect size for an ornament (3 x 5). The only thing I would have to do was to take care of the tongue and groove edges.” Eureka! I told ya those Home Depot aisles do not disappoint when it comes to lighting that creativity spark!
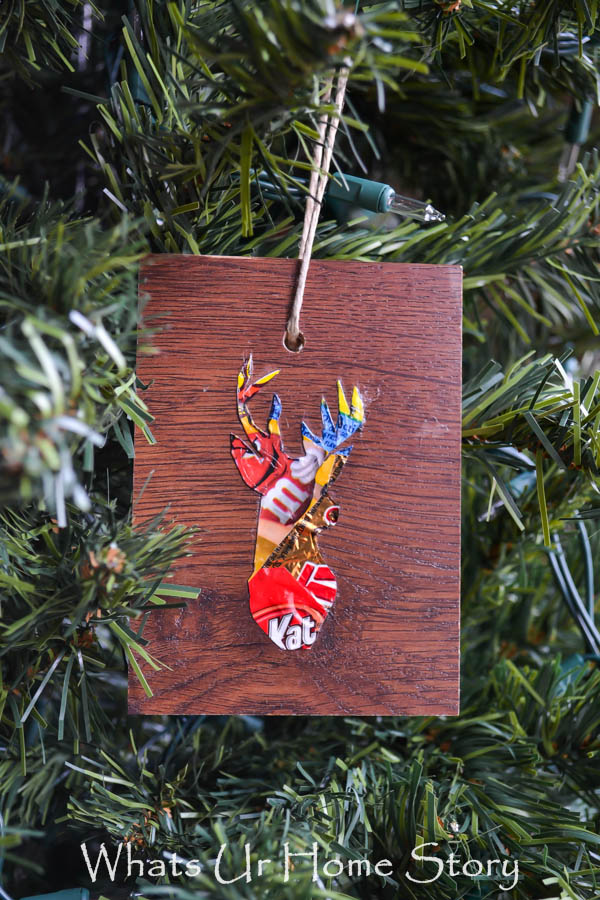
Here’s the second one.
So how exactly did I make them?
Materials
Floor Plank Samples – Home Depot Candy Wrappers Mod Podge Craft Paper Sharpie Adhesive Spray – Michaels Acrylic Sealer – Michaels Scissors Sander Drill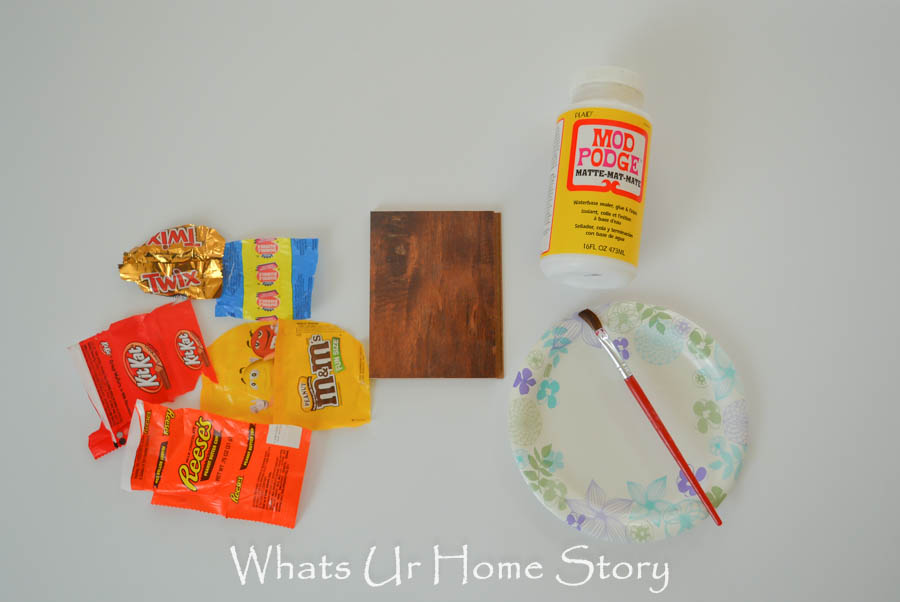
Method
- Most floor planks work on a tongue and groove mechanism. So they have a longer edge on one side.
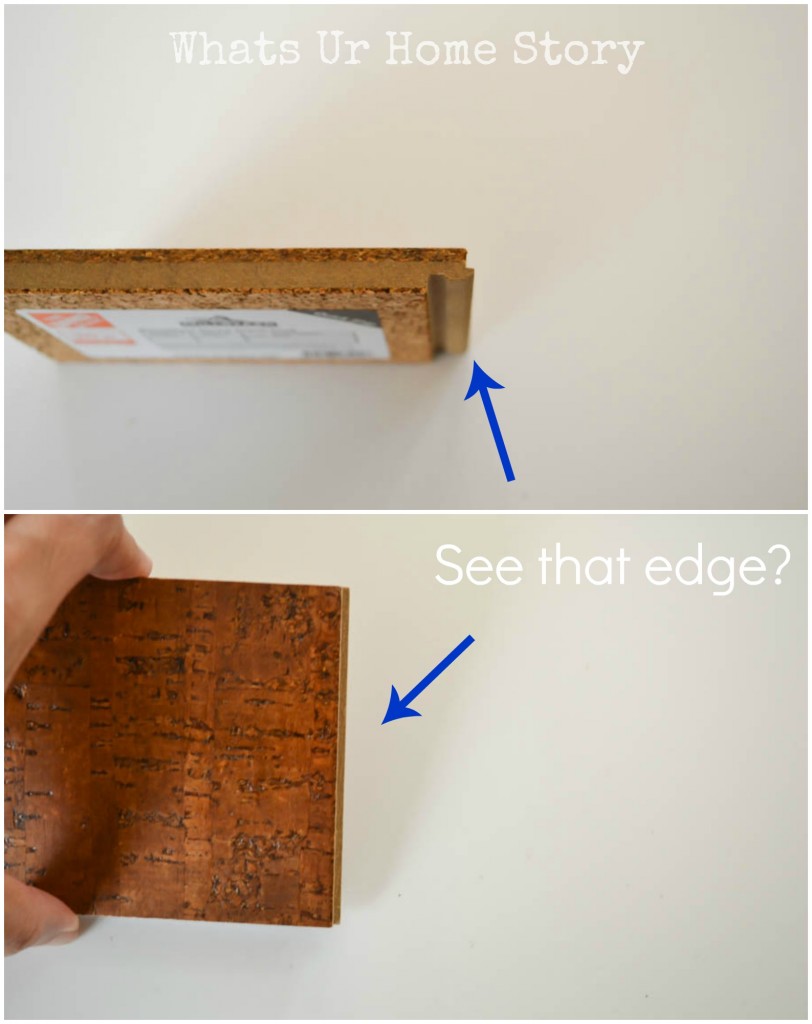
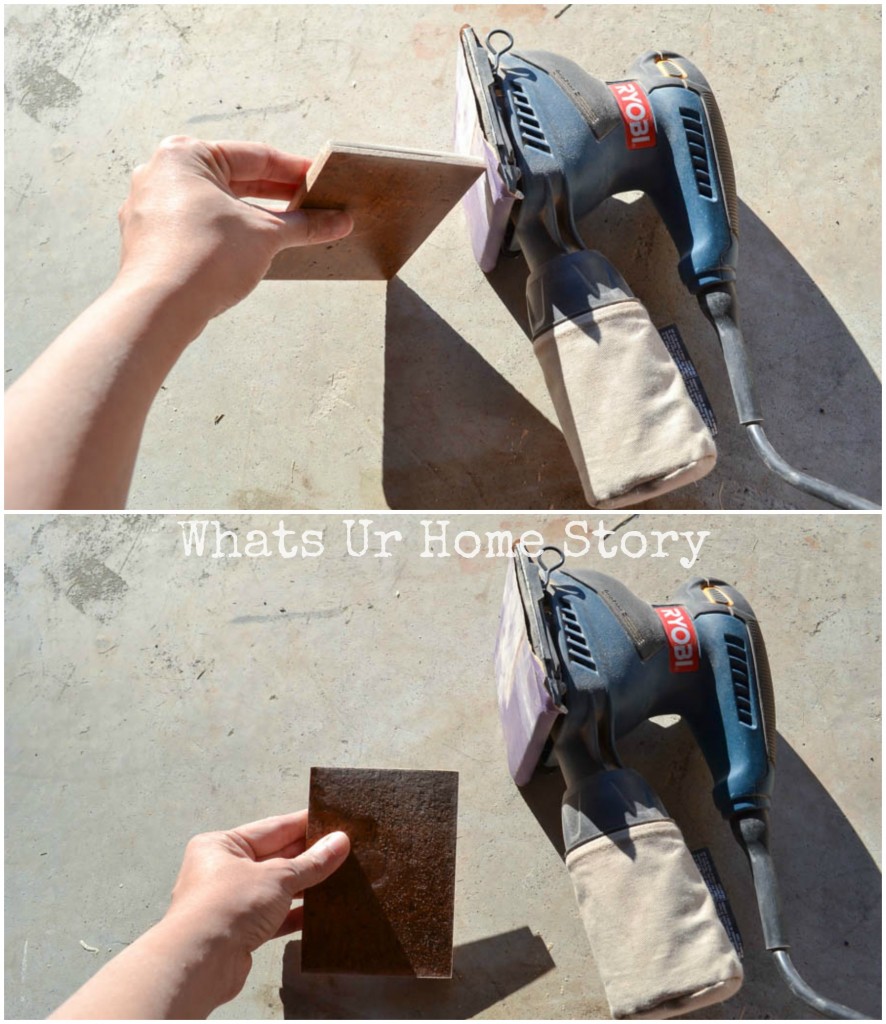
- First off sand that edge straight with a medium grade sand paper. I always use my trusty Ryobi sander, which has become quite the handy tool around here. What with the massive dining table project and the recent vintage sewing table (reveal coming soon).
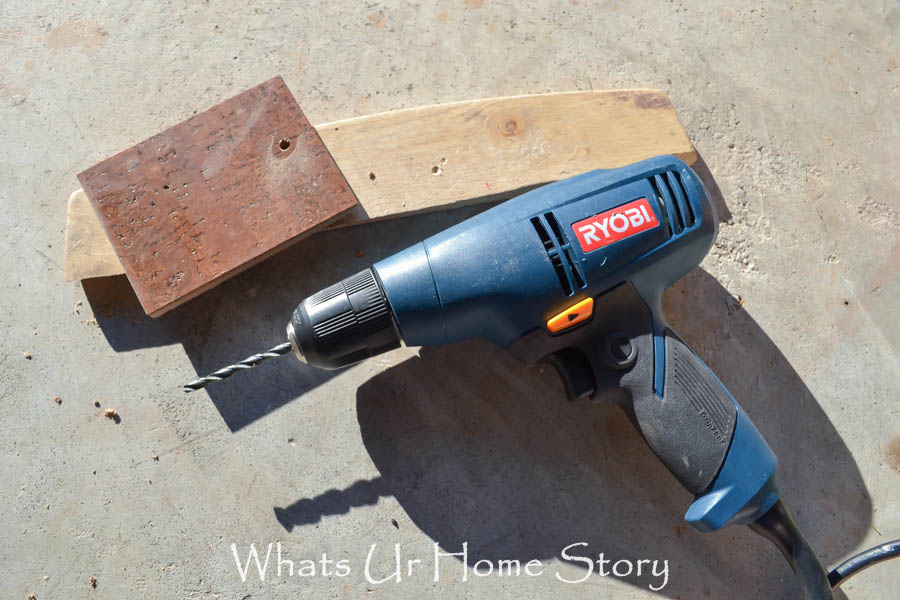
- Once you have cleaned the dust off the piece, drill a hole for hanging. A safe rule of thumb when drilling a hole in a piece like this is to keep a piece of scrap wood underneath it.
- Print out (wallet size) a deer silhouette that you like from the web. Cut a piece of craft paper ( I used it as it has some body but is not too thick like a poster board. Printer paper won’t do unless it is really thick ‘coz it will soak in all the Mod Podge and start to tear.)
- Eye ball the area where the silhouette will go and trace the shape. A general idea is all that what we are going for.
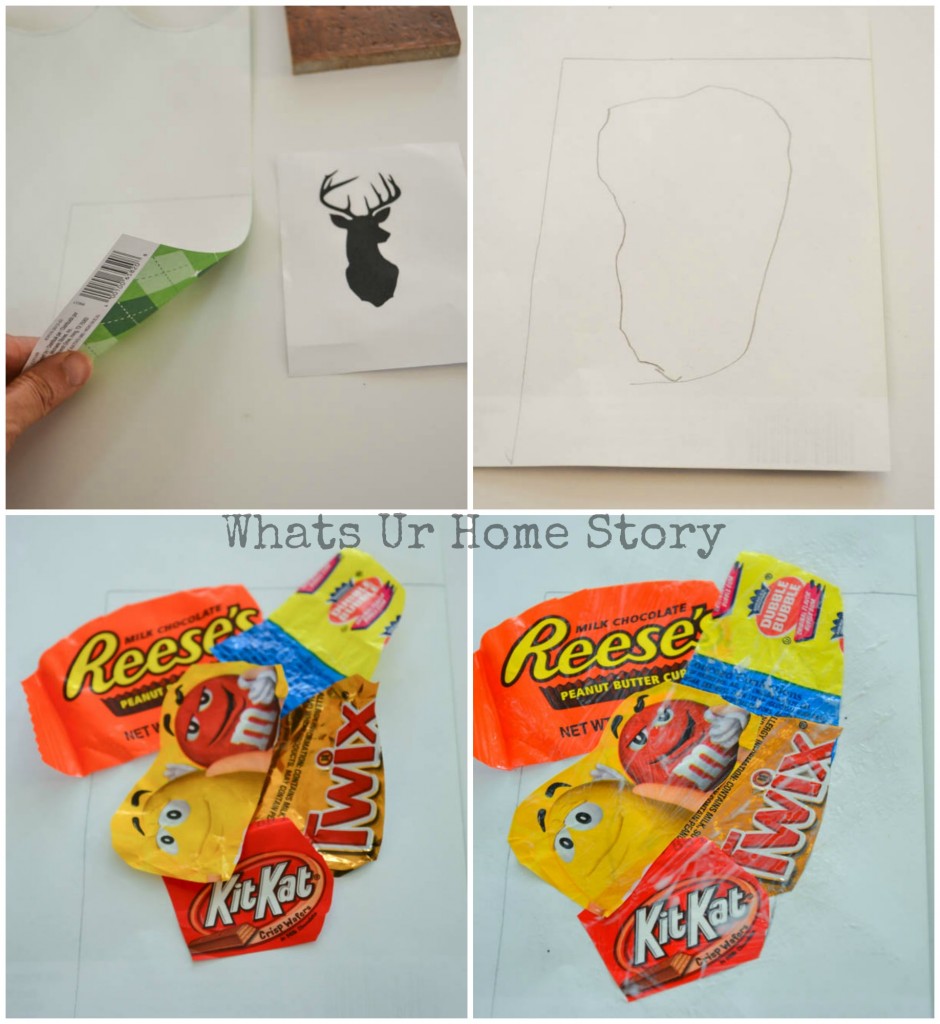
- Cut the candy wrappers and arrange them the way you like. You do have to pay attention to what colors you use as you need they need to go well with each other and also stand out against the wood background.
- Mod Podge the wrappers to the craft paper coating the top well.
- When it is dry, cut the deer silhouette template out carefully (another place were you have to be really careful).
- Keep the silhouette template over the Mod Podge’d candy wrappers and trace the outline with a Sharpie.
- Carefully cut the candy wrapper silhouette out.
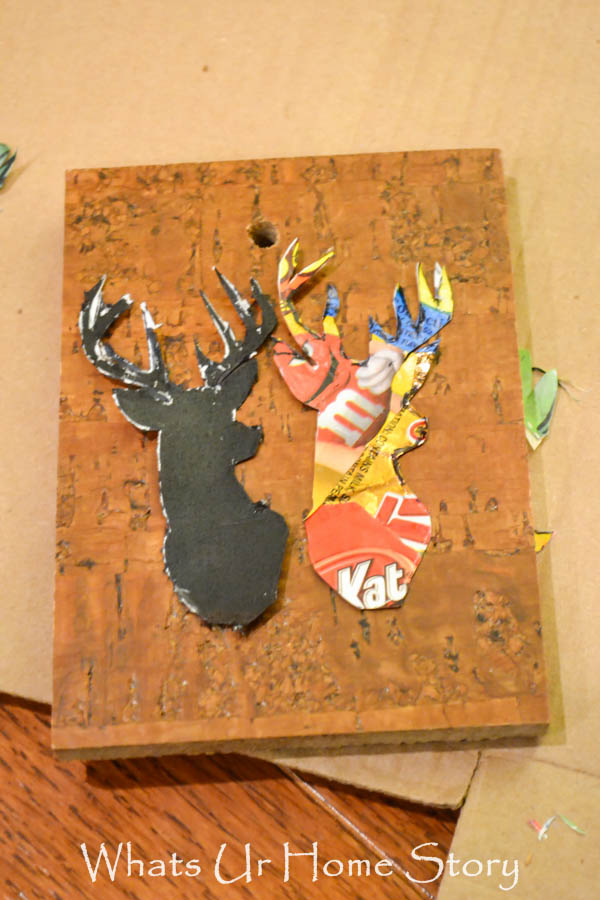
- Spray the back of the candy wrapper silhouettes with the adhesive spray and glue to the center of the plank sample.
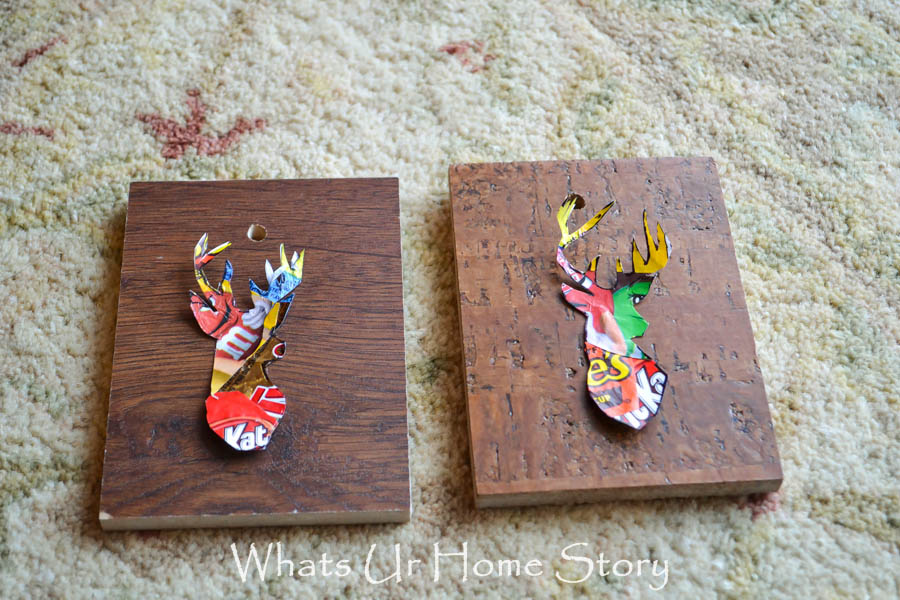
- Seal with the acrylic sealer.
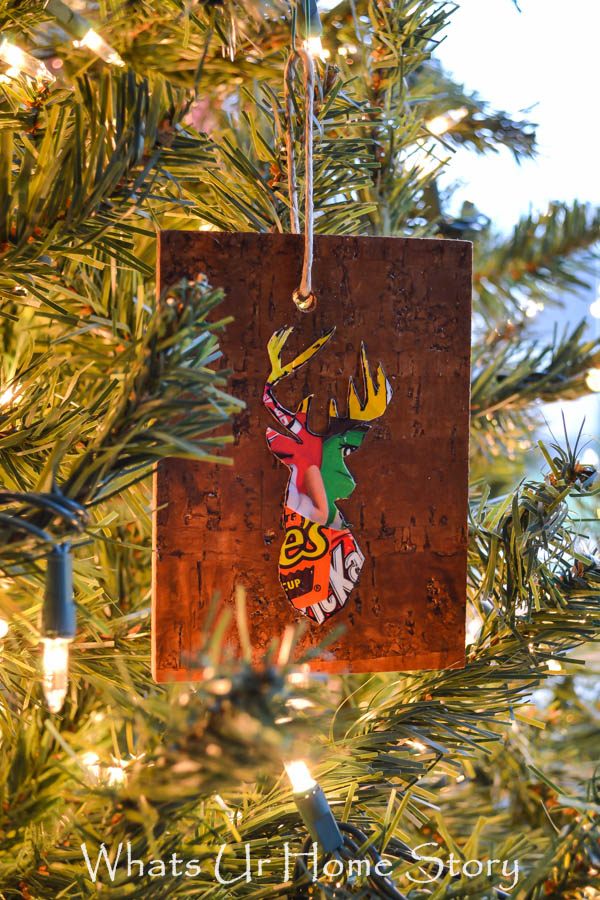
And folks, that’s how you turn a flooring plank sample and candy wrappers into woodland reindeer ornaments!
Be sure to checkout the other 18 easy to build Christmas projects all using RYOBI power tools.
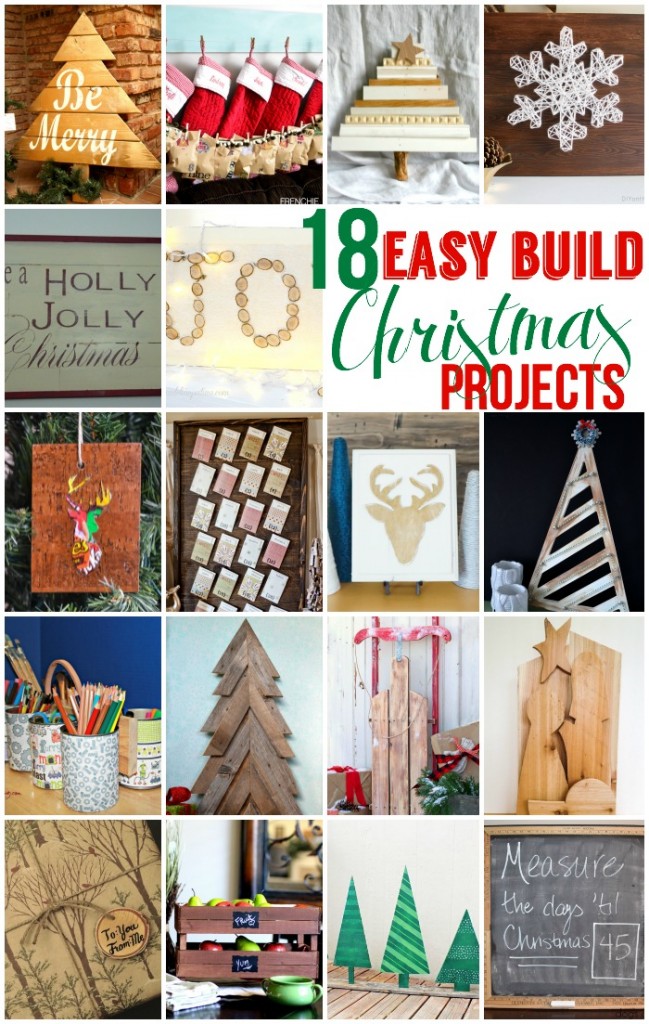
DIY Vintage Sled Pattern– Fynes Designs | Wood gift tag– Being Spiffy | Rustic scrap wood Christmas tree– Dukes and Duchesses | Snowflake String Art– DIY on the Cheap | Silhouette Stand Nativity– My Day Lights | Instagram stocking holders– Frenchie Wraps | Wooden sign– Poofy Cheeks | Repurposed Gift Carry All- Let’s Go Junking | Rustic Christmas Tree Decoration-Her Tool Belt | PB Inspired Wall Art– Create and Babble | Woodland Reindeer Ornaments-Whats Ur Home Story | Advent calendar– Carissa Miss| DIY Stackable Slatted Fruit Crates– Pink When | Joy wood slice sign– Dandelion Patina | Gold Reindeer Décor– Simply Designing | Wooden Christmas Tree Display– Lauras Crafty Life | Pallet Wood Christmas Tree– Roubinek Reality | Christmas countdown chalkboard- Dogs Don’t Eat Pizza | Caddy with herb infused oils – 365 Days of Craft
And a big shout out to my 12 Days of Christmas girls!
Popsicle Stick Soldier Ornament by Remodelando la Casa Tinsel Filled Ornament by The Happier Homemaker | No Sew Felt Horse Head Candy Cane Cover by Serendipity Refined | Picture Frame Ornament by It All Started With Paint | Reindeer Antler Wood Slice Ornament by May Richer Fuller Be | Mason Jar Lid Chalkboard and Jute Ornament by Thrifty and Chic | Travel Keepsake Ornament by Bigger Than The Three of Us | Painted Snowflake Wood Slice Ornament by All Things G&D | Wire Wrapped Christmas Tree Ornament by Cherished Bliss | Homemade Snow Globe by Mom 4 Real | Woodland Reindeer Ornaments by Whats Ur Home Story | Glitter Noel Ornament by Lovely Etc.



What a fun idea! I have a chocolate bar monster at my house, I’m sure he would appreciate this Christmas ornament idea!
Floor samples? Genius!!!
Thank you!
So cute and creative! And I love that you found a use for those Halloween candy wrappers!
Thanks Erin. Oh yeah, especially when you consider the fact that I’ve been eating them all. 😉
Vidya – I just love this project all the way around! Especially the amazingly creative use of materials! Candy wrappers never looked so good!!!
🙂 Linda
What a cute inexpensive idea! Great job!
Cute and easy! We’ve still got Halloween candy left – I’ll get the grandsons eating the rest of that candy and tell their Mom – It’s for a Christmas Project.
Cute idea! I don’t mean to be rude but you might want to edit though, as the floor samples aren’t actually free. (See the barcode on them.) I found out the hard way.
Thanks for the heads up Mechelle. Maybe it was a promotion or something? They were clearly marked “free” at my store. I triple checked and also asked before I took them.
I think this one is my favorite! Love the wood with the texture of the wrappers. Another outside the box ornament. You are killing it!