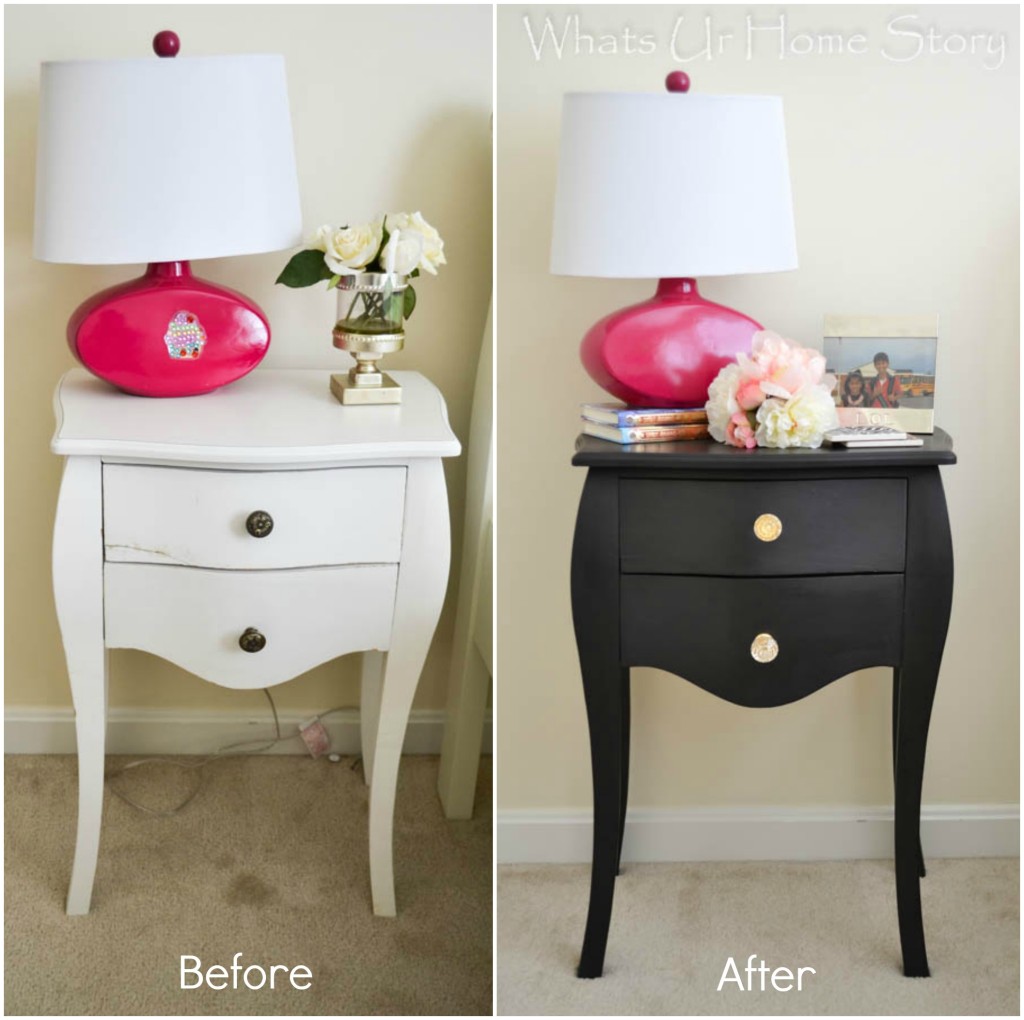
Have you ever been in a time crunch and compromised on your furniture search? I have and the story of this side table dates back to one such incident in 2010. That one crazy time when I had a plan to makeover my daughter’s room in 2 days (yeah!) so that I could submit the “after” pics for a contest. We had just moved into our new home. The only things in the her room were I think the bed, bedding, cubby shelf, and curtains (from our old home). That’s when I learned about the Washington Post’s kids room contest. The last date to enter was in a week and I really wanted to enter my daughter’s room (frankly at that point that was the only room I had a plan of what to do decor wise). So off I went on a frantic shopping trip scouring every possible decor shop in the area. Found a canopy, storage cube, and fuchsia lamp but no side table. With only 2 days to the deadline I was still looking for the right side table . On my third trip in a week to our local Home Goods I saw this one. Not a great quality but the size and style seemed right plus it was functional. Forked out $70 for it (remember this was pre-blog days before I discovered refinishing furniture). As expected B was not on board and thought I had spent way too much for crappy wood. I knew he was right but insisted we keep it as I “needed” to submit the pics for the contest. Anyways, I submitted the pics in time to meet the deadline and garnered a few votes in the contest. That was the end of it.
Fast forward 2 years, after a party at ours we noticed a piece of the drawer front broken. No idea how that happened but now the poor quality wood was quite visible. My gut instinct would have been to trash it but by then this blog was born and I was sucked into the wonderful world of DIY. So fix it I did with Elmer’s ProBond Advanced. It is the same glue I used to make my DIY jewelry stand. The glue works like a charm as long as you clamp the pieces down.
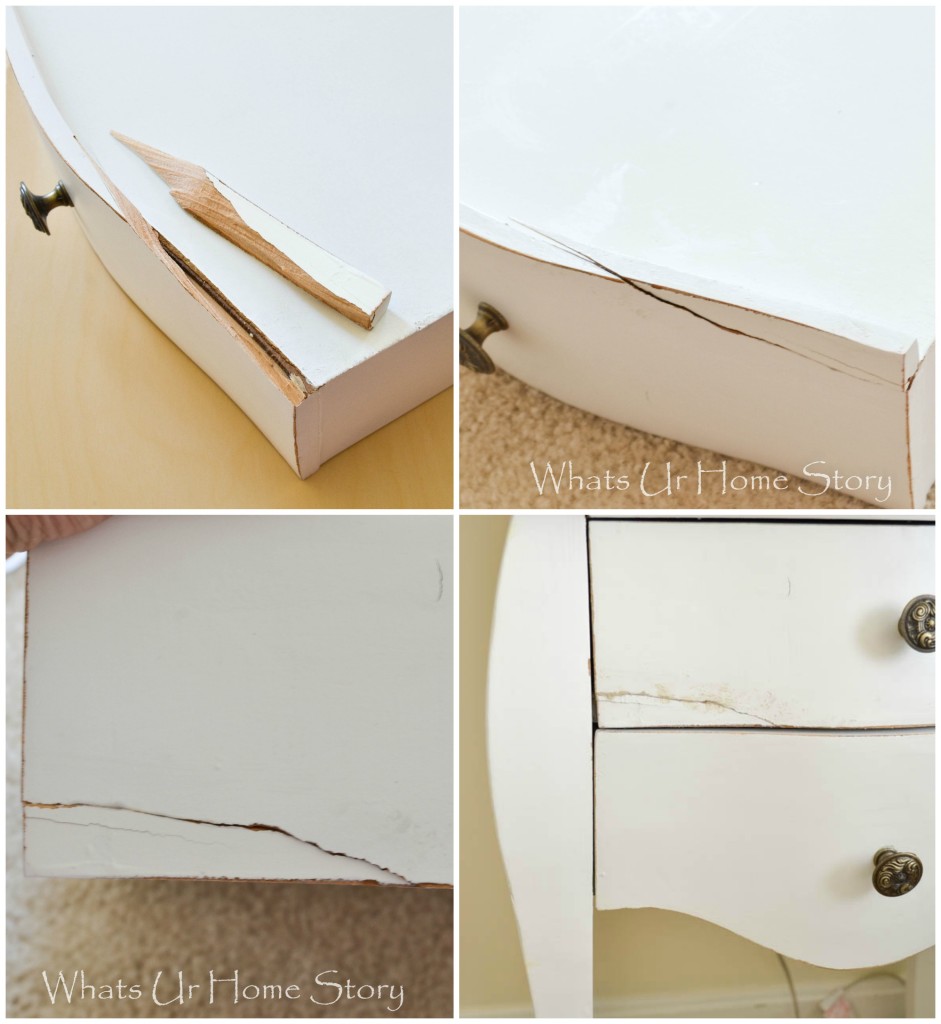
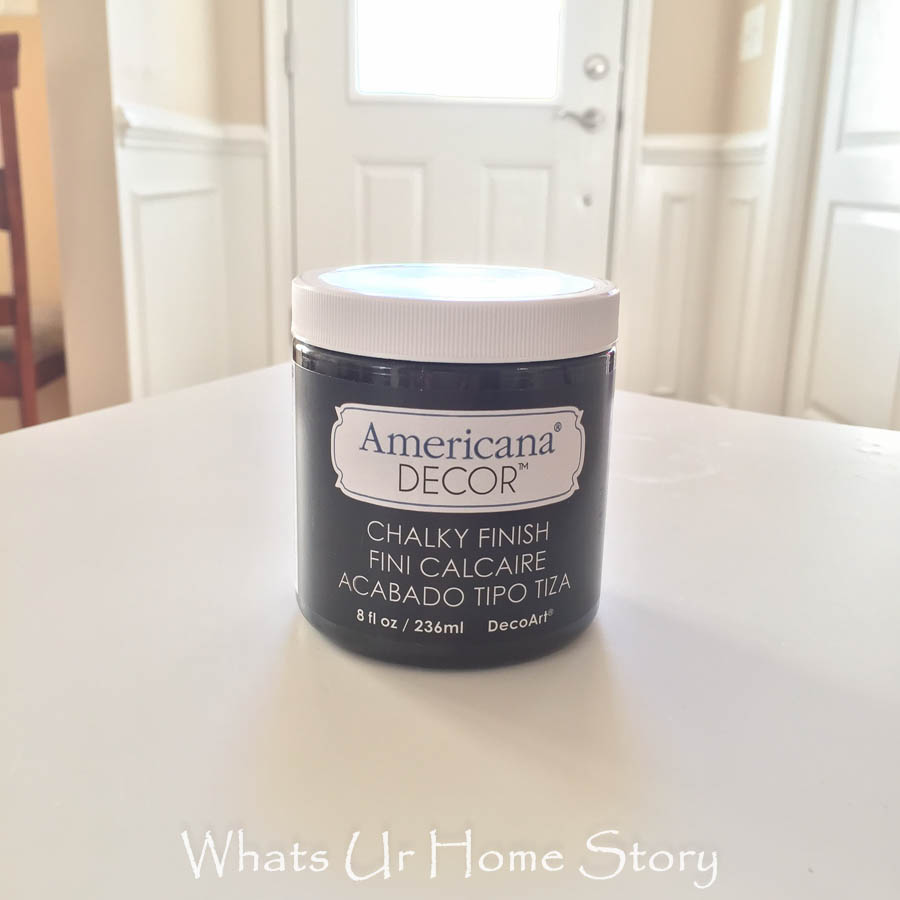
The table stayed like this (Pic 3) till the whole let’s update the look idea started to take root. At which point I filled the uneven edges with yet another Elmer’s product, the stainable wood filler and gently sanded it down (Pic 4). Since she wanted black accents in the room we decided to paint the side table black. Lazy me didn’t want to go out in the garage and sand the table so took the easy way out and bought the Americana decor chalky finish paint (Carbon) at Home Depot. I had used Annie Sloan chalk paint (ASCP) before and loved it. My only gripe with ASCP is that they don’t sell small quantities. Americana decor has small bottles ($8) prefect for a small project like this and the best part it is available at Home Depot.
After a coat of the paint this is where we were at;
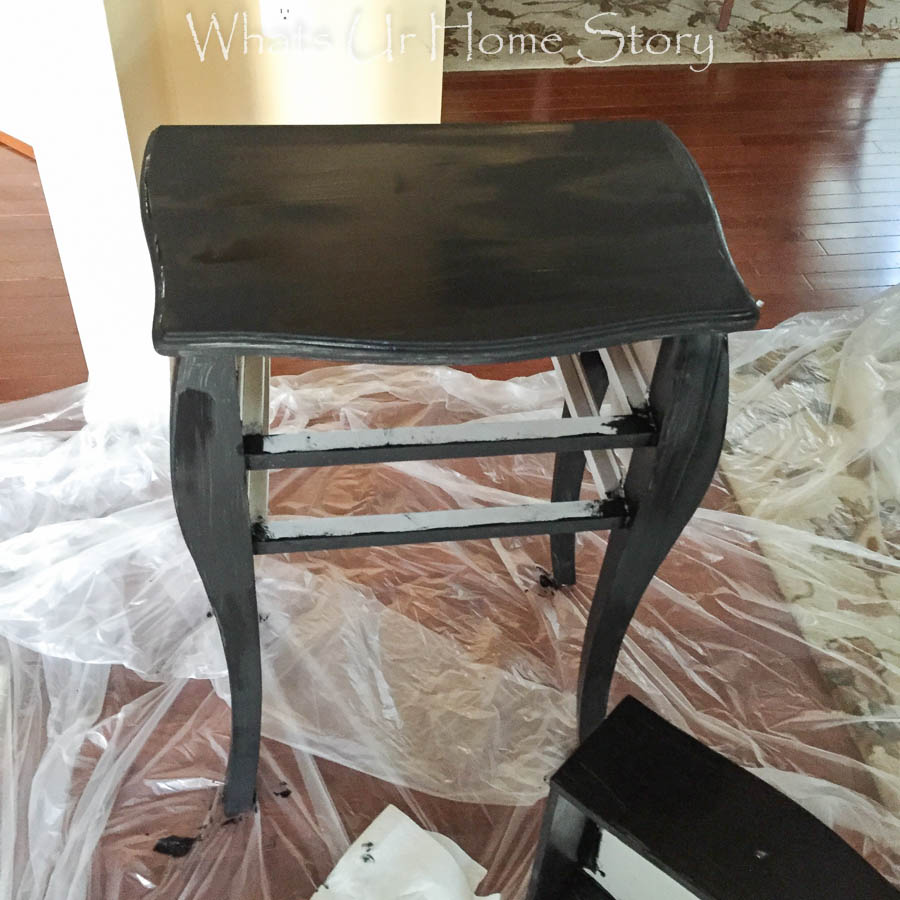
Compared to ASCP the coverage was a little less ( I needed 3 coats) and the black was not as rich as I had hoped. More of a dulled finish. I sealed it with ASCP soft wax, that I still have loads left over from all my previous projects.
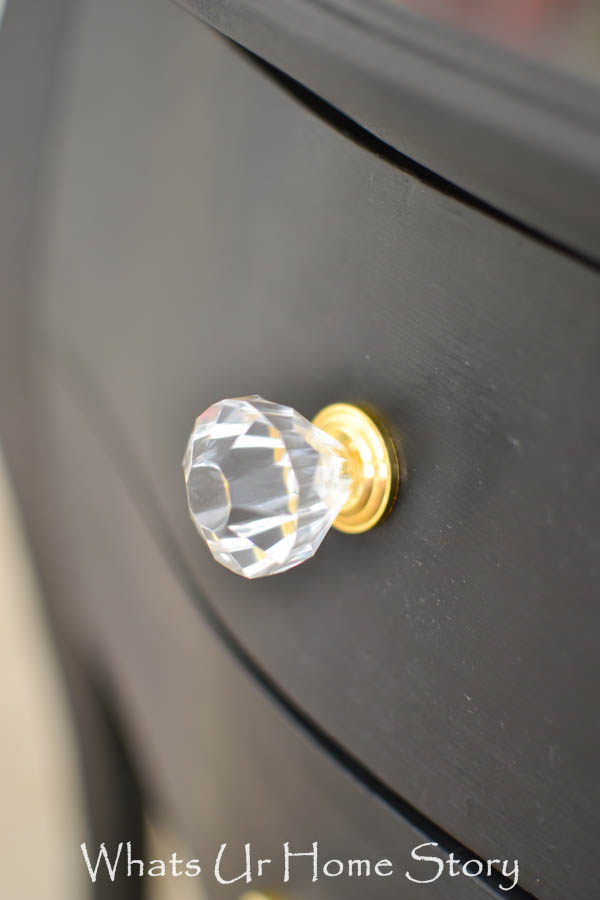
Now came the fun part, jazzing my black beauty up. Bling in the form of acrylic knobs from DLawless hardware added loads of oomph to our quaint little table.
I was not done yet. Given the whole black and white theme we had going in the room I wanted to add some whimsy and color where ever possible in the room. After searching for the perfect fabric to line the drawers I found this speciality paper book at Michaels on clearance for $4 (found a similar one on Amazon).
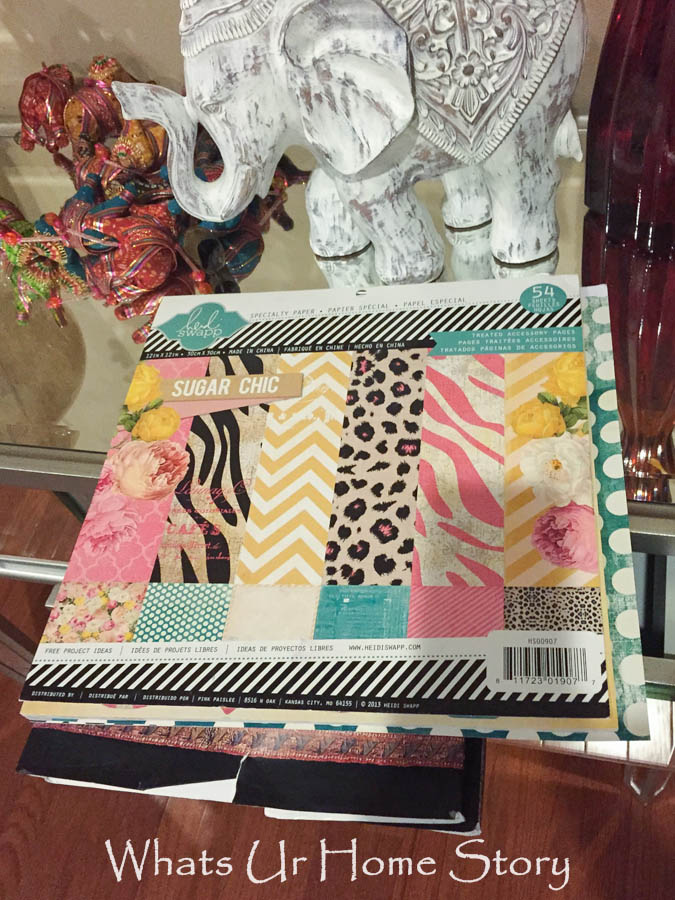
The paper was 12 x 12, which pretty much matched exactly to the size of the drawers.
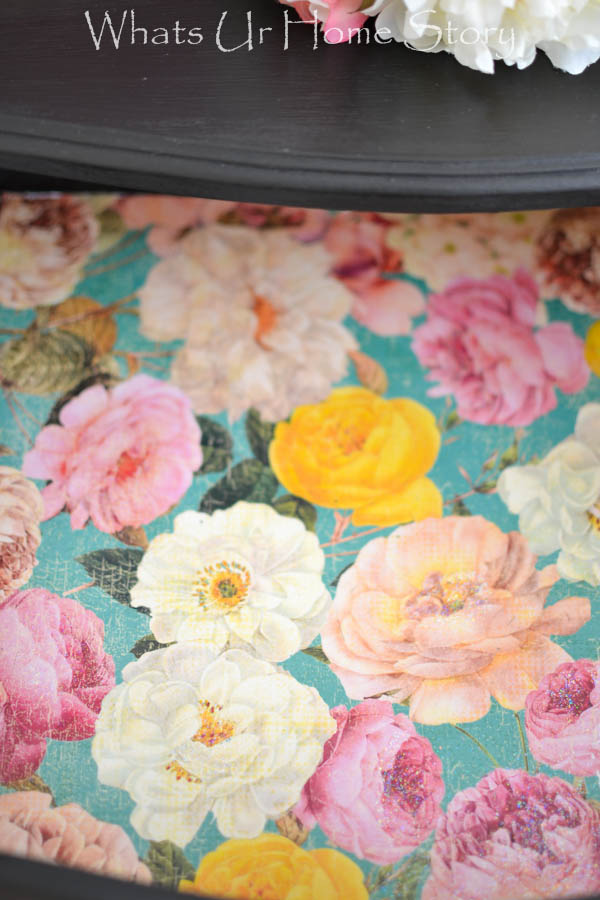
I lined, measured, and cut them to fit each of the drawers. Fun fact; you do need to measure every single drawer as they can be different sizes. By the way forgot mention when you paint the drawers make sure to paint the inside edges of the bottom side. See that arrow in the first pic below? My paper was a teeny bit short on that side but since I painted it black it is hardly noticeable.
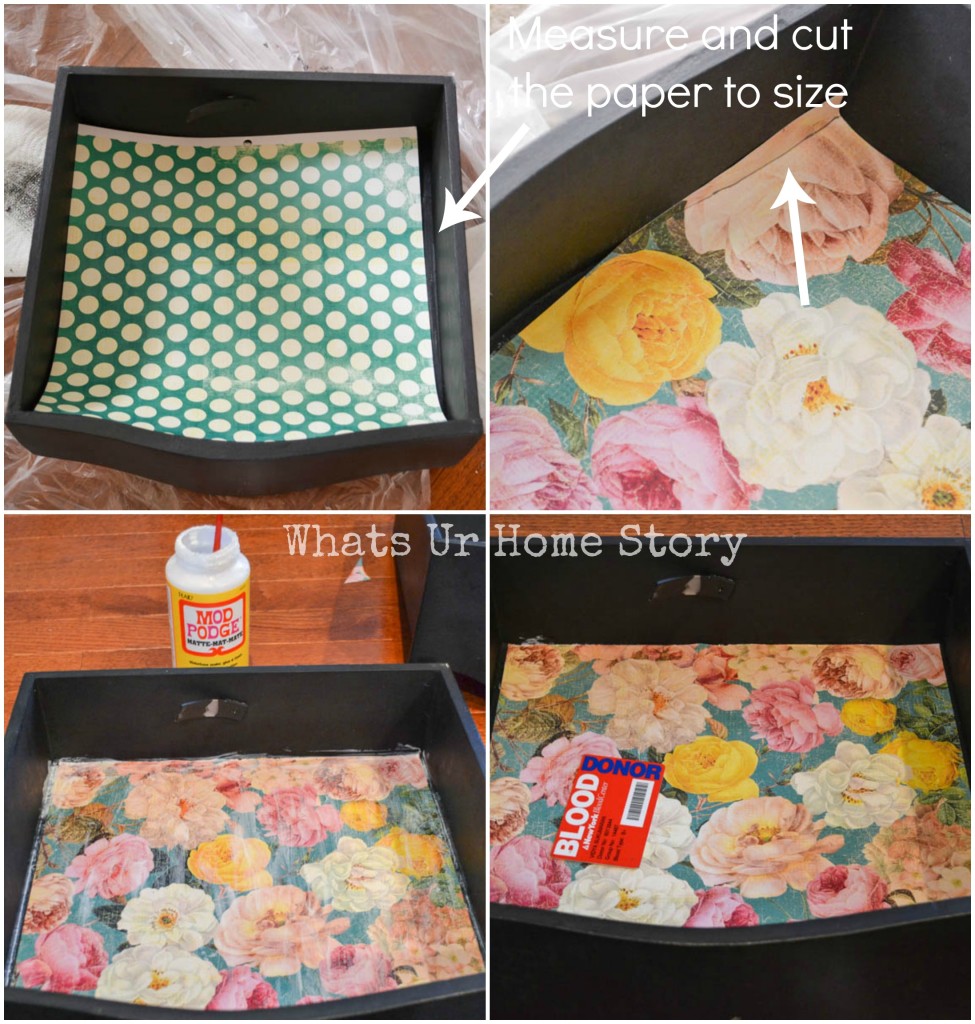
A coat of trusty Mod Podge on the drawer to glue the paper and after to seal it was all it took. Oh also you do need to smooth out the air bubbles with a blood donor card (that’s a must 🙂 ). If you’ve never used Mod Podge this post shows you the steps in detail.
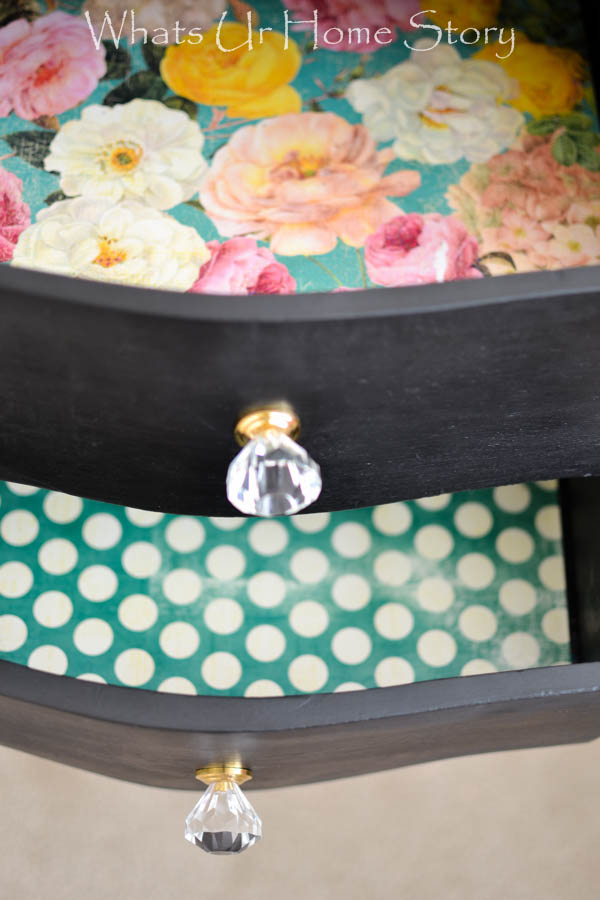
And that’s how this charming lady came to be!
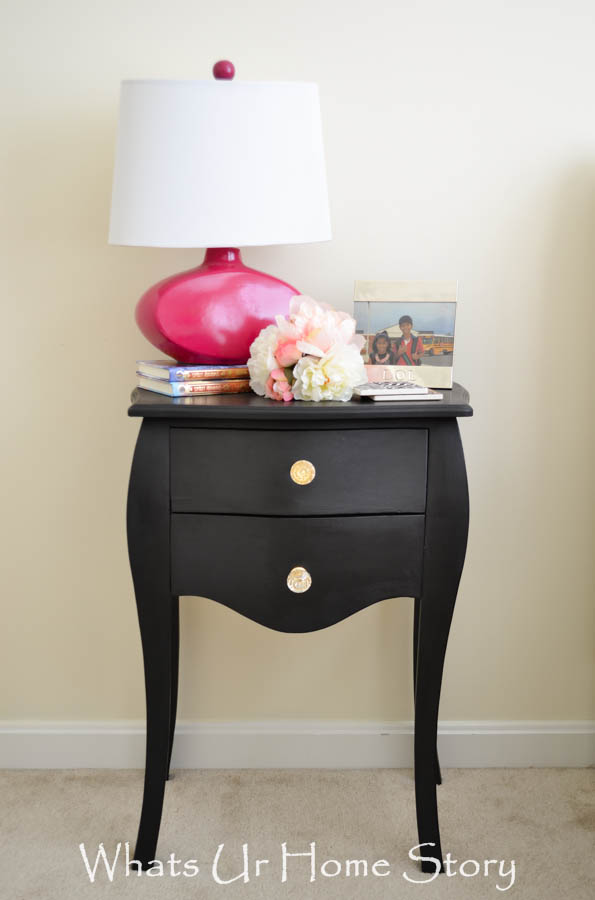
I just love how the fun drawer liners, acrylic knobs, and the black paint color ties in together.
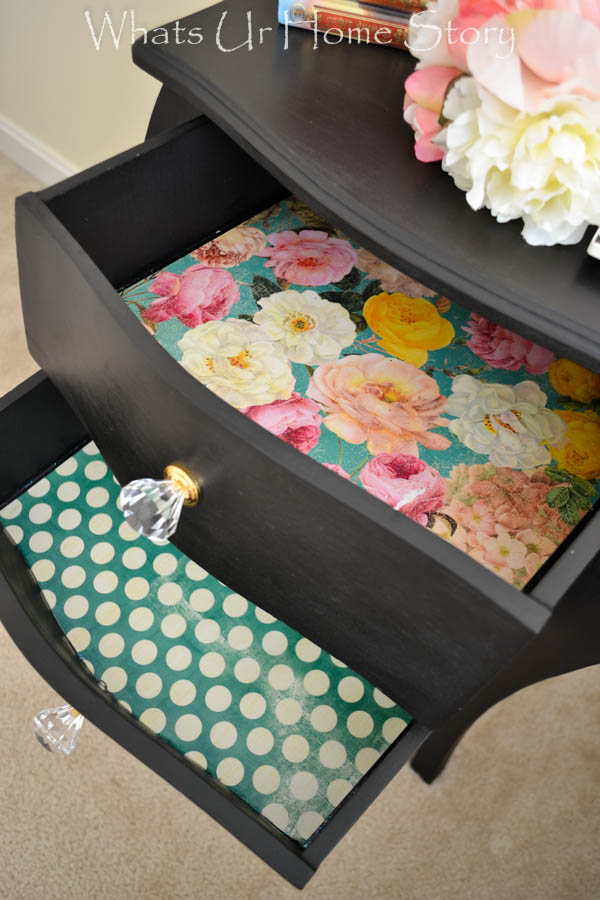
What do you think? Are lining drawers worth the effort?
* Post contains affiliate links


I too line my drawers,it’s a fun pop of color/ pattern when I open the drawer ….classy too.