You saw the reveal yesterday now for the dumb down on how to paint a chair.
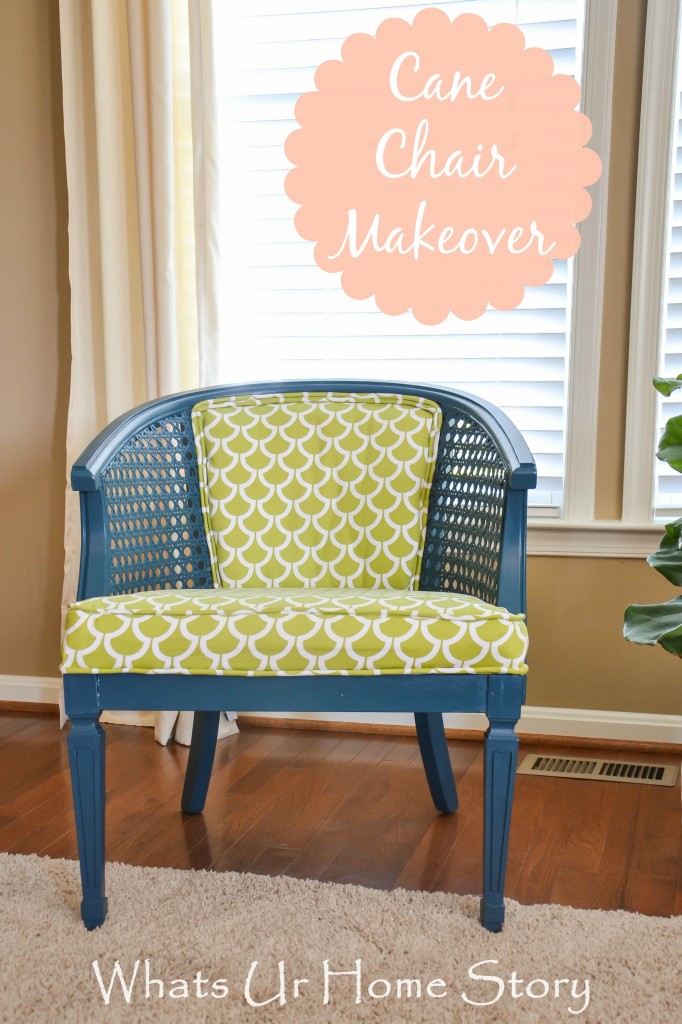
Project Numero Uno: Painting
But first some background. While the cane on both the chairs was very brittle and dry, on one of them it was starting to break in 2 places. This gave me nightmares about sanding and re-staining. Hence the easy way out; painting. As usual I would have picked the path of least resistance and opted for chalk paint ( no priming) had I found something in Navy. But that was not to be. Took the traditional route instead; sanding, priming, painting, and sealing.
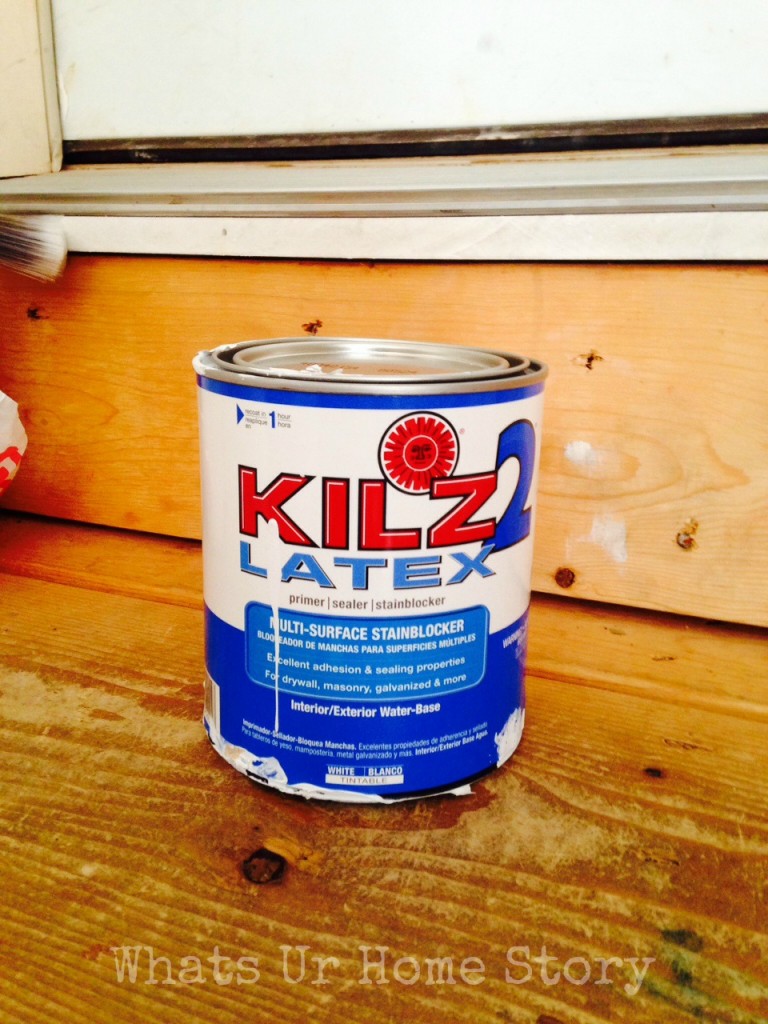
The verdict: I like it enough to become a spokesperson for Kilz! That is the only thing in this world you need to boost up your painting confidence. Yes, you can painting anything, literally anything with Kilz in hand!
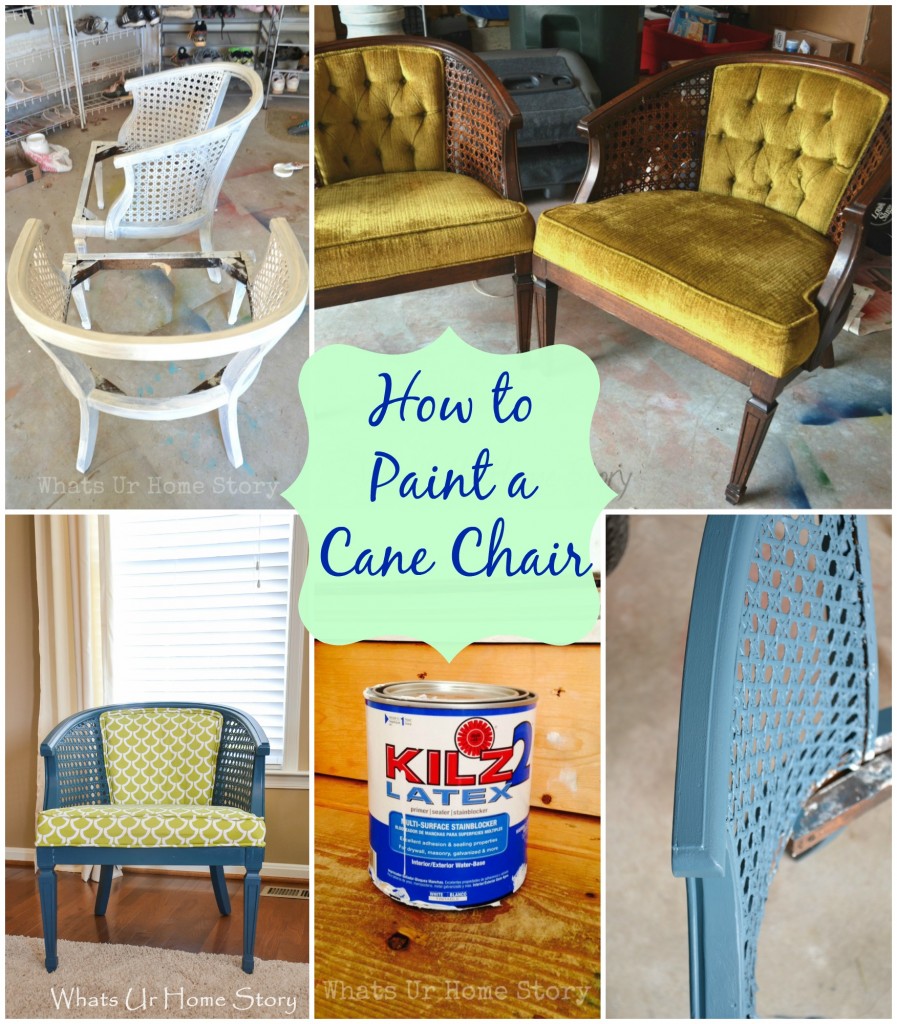
To nail it in we started with these dark stain chairs.
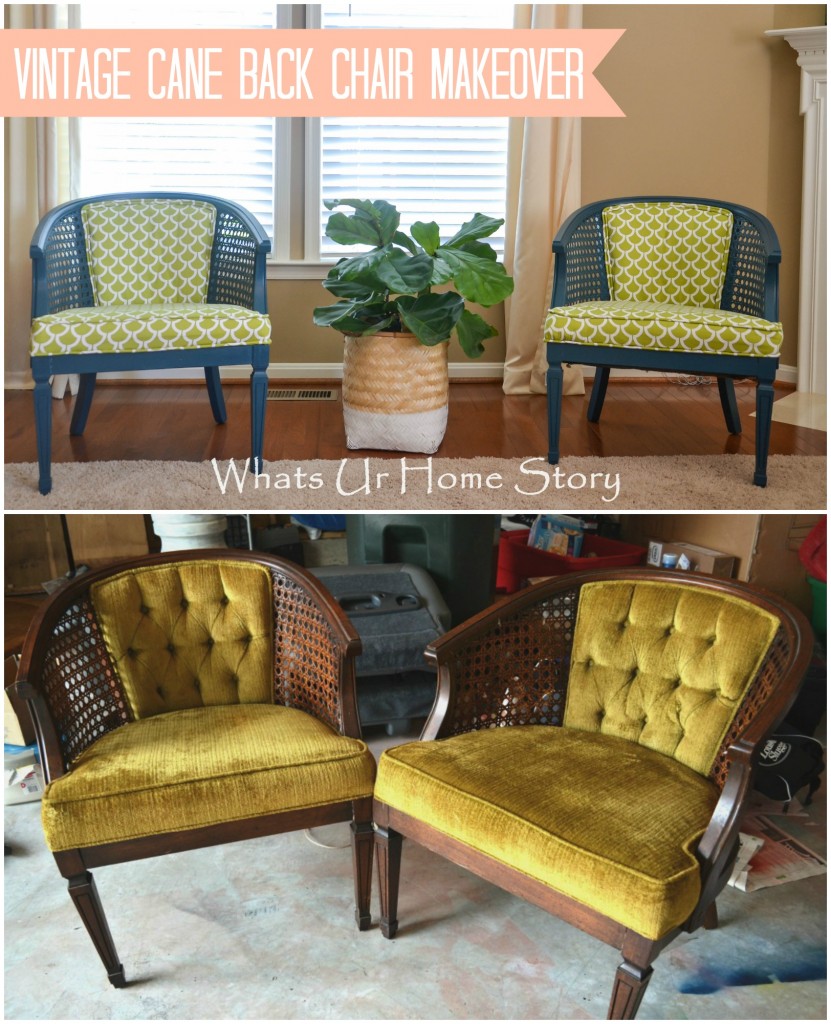
After stripping out the cushions and de-stapling (that needs to be a word, people). Even armed with my trusty staple remover, it took us hours and hours of pulling staples out to get to this stage.
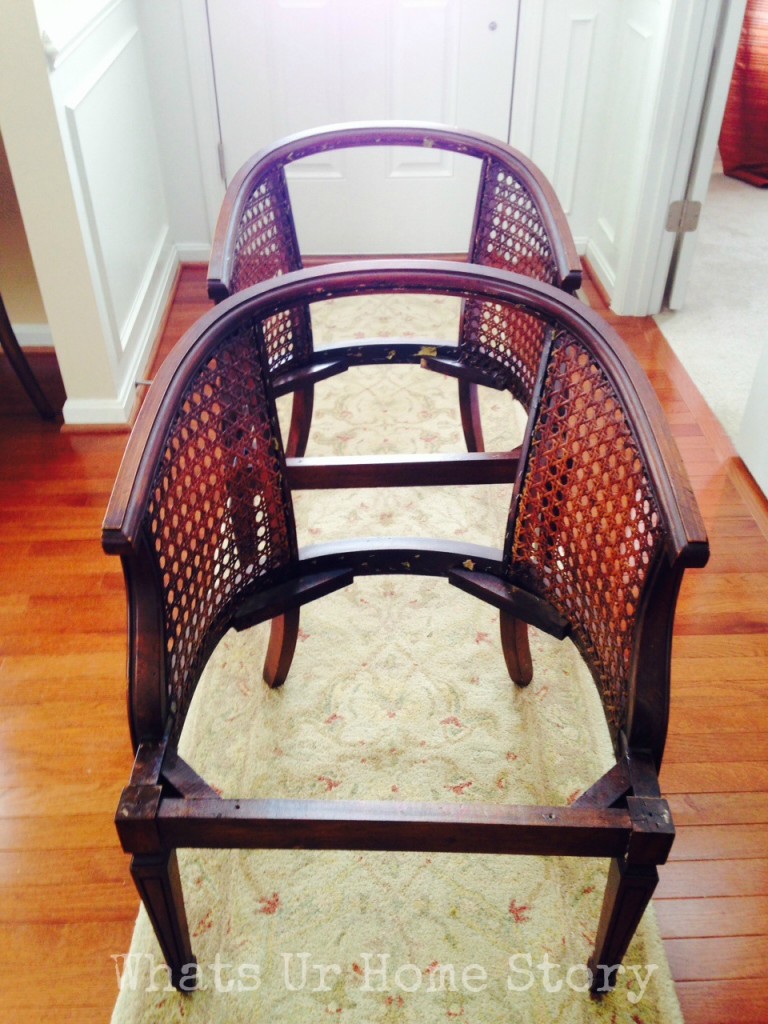
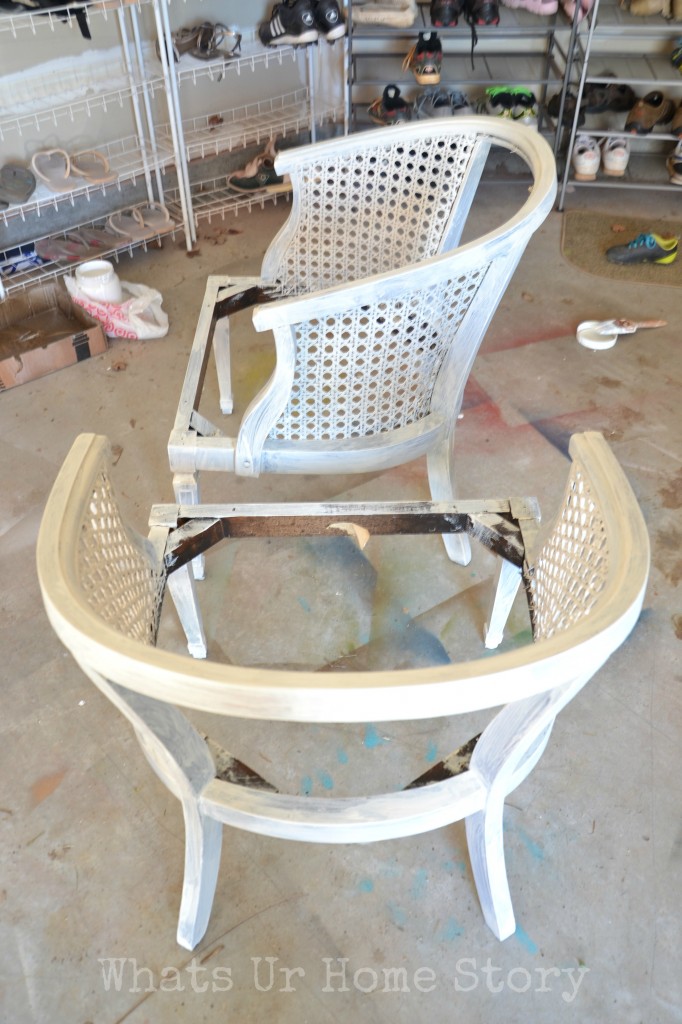
A quick sanding with a fine grit sand paper later we ended up here;
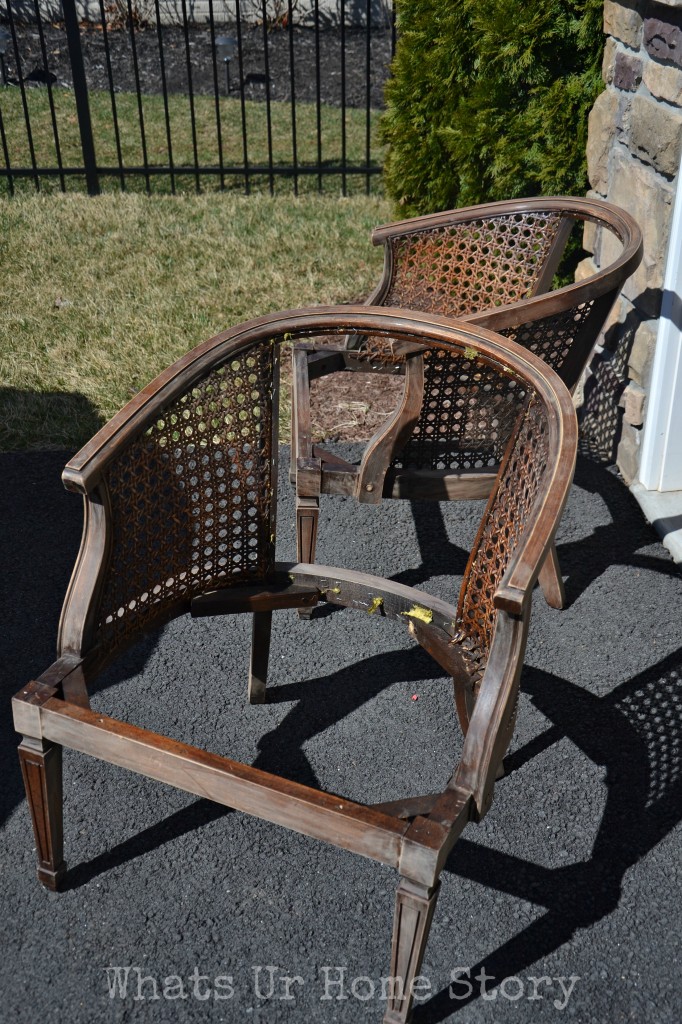
Then the star made his shining entry.
And voila, my chairs were transformed with a rough coat of white. They could now take on anything I threw at them!
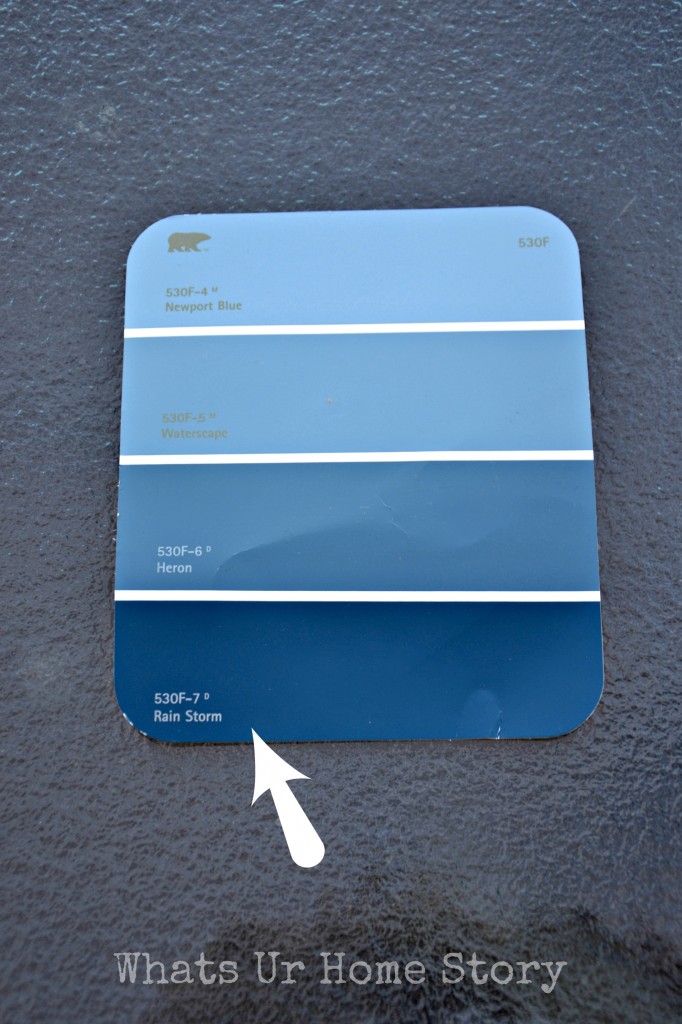
For the actual paint color I picked Behr Rainstorm and used 2 tester size bottles in all for the 2 chairs.
You can see the difference paint makes in the picture below.
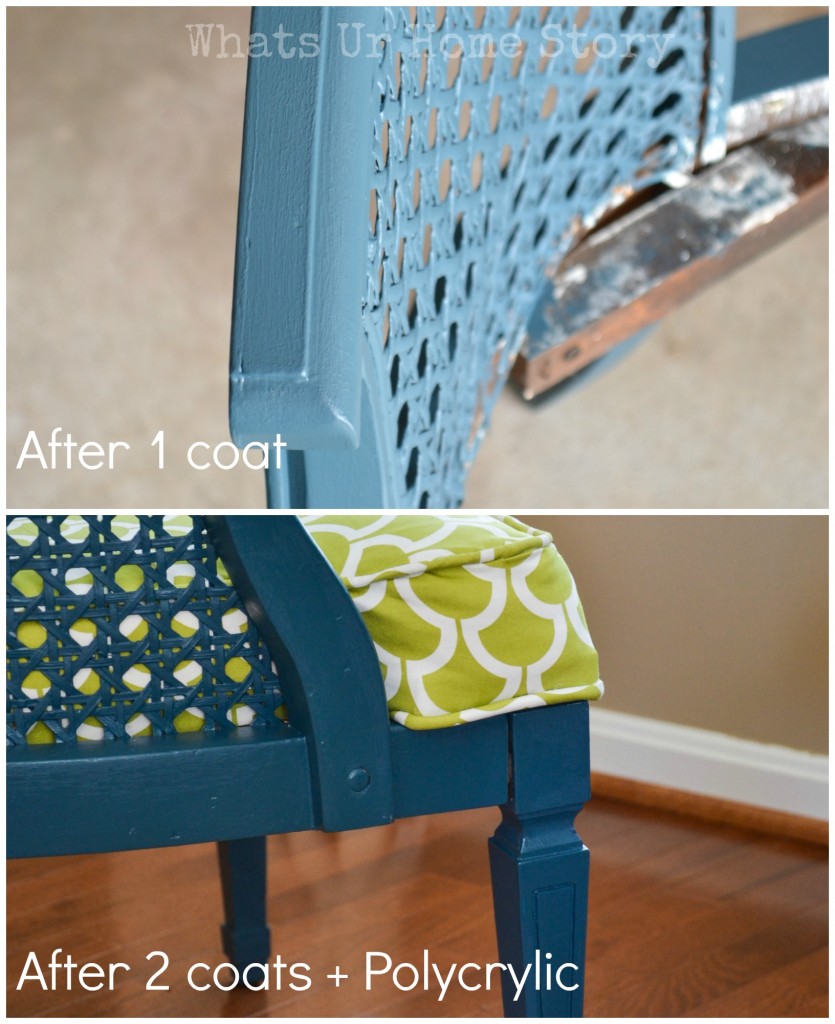
Painting the cane took some patience. The key things to watch out for;
- Might take at least 4-5 coats on just the cane part.
- Use a good brush. I use Purdy
.
- Load your brush lightly. The thicker you load your brush the higher your chances of getting globs of paint stick in between the cane. Not a pleasant sight.
- Wait till the paint dries completely to re-coat.
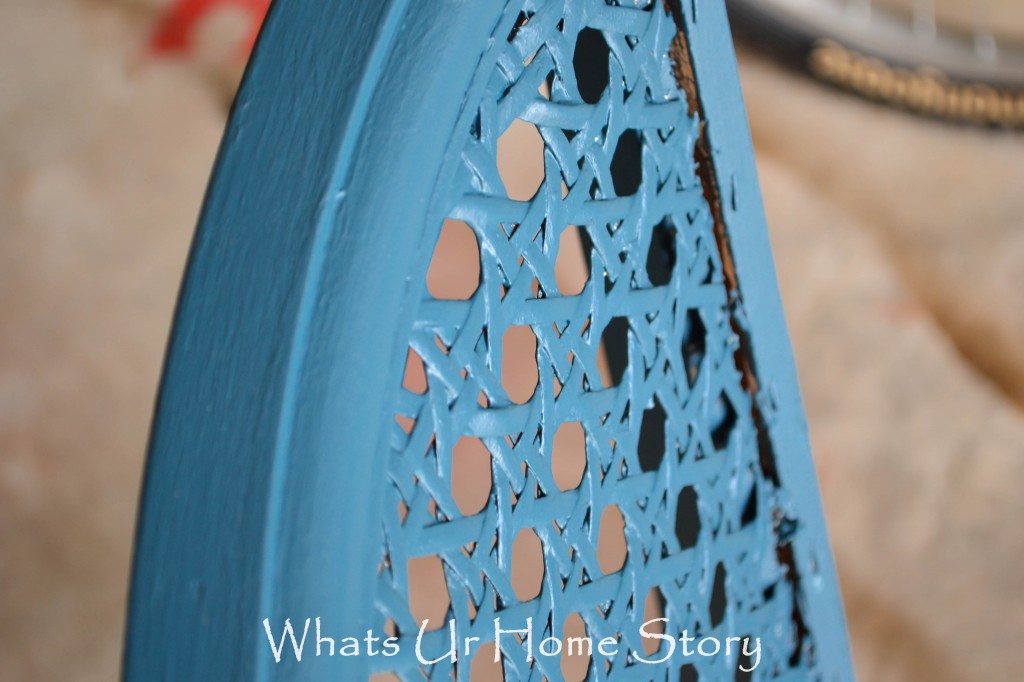
A close up of the cane during the process.
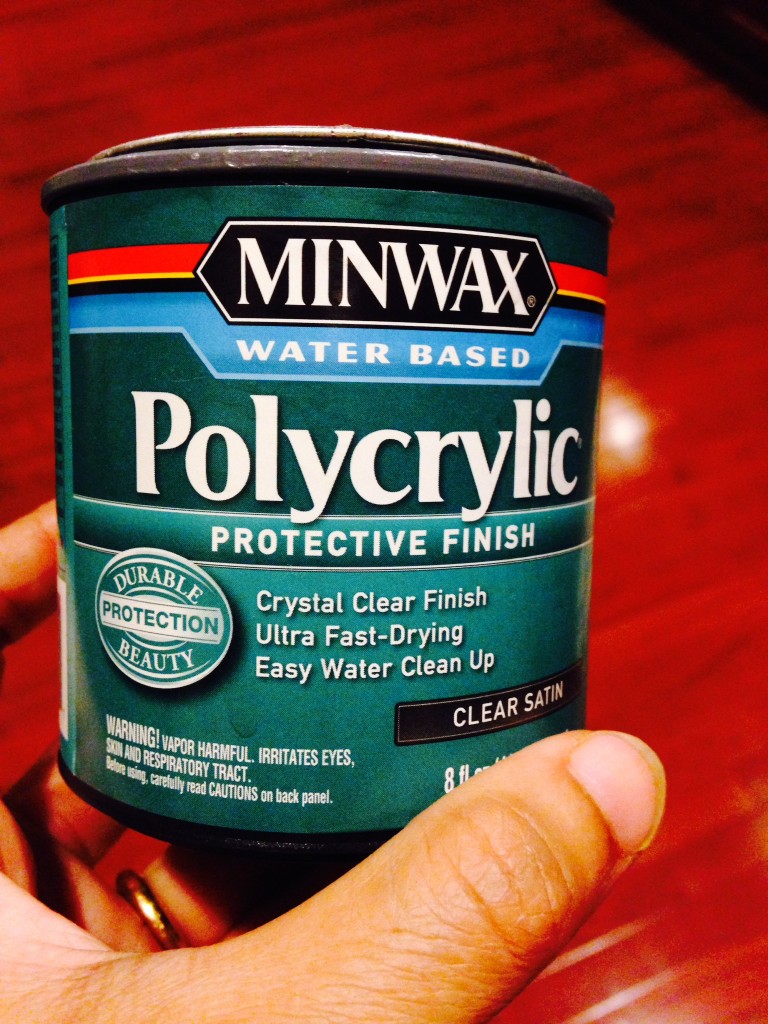
I used some left over Minwax Polycrylic from my Zebra rug project to seal the paint. It is water based so the sealer won’t yellow over time unlike the oil based sealers.
And there you have it folks, a painting makeover. I could have just fixed those musty gold cushions back and called it a day. The color even went well with the paint but then that would have been too easy. 🙂
What do you use when you paint furniture? Are you a Kilz fan too?
For other posts related to this project see; Reveal, How to Reupholster a Chair, How to Sew a Seat Cushion with Piping.
* Post contains affiliate links


I love these chairs. I am inspired but I have to first find chairs to redo. 🙂
Thanks Aarthi. Try checking out your local thrift stores or Craigslist.
The colors you picked are perfect! Found you on the VA bloggers group, newest follower 🙂
Thank you! Heading over to check out your blog.
V
Ironically enough, I picked up two vintage chairs whose style is almost identicle but have nast red and yellow fabric that are shredded on the back.
I decided to reupholster them and restain the wood darker. I don’t want to “paint” the wood. I want to bring out the beauty of it with a deep colored stain, and…. I am making the fabric a green/yellow velvet. Basically my goal are the chairs you started with.
Funny how that happens, hey? But honestly, I hate wood that has been painted with a solid color. It feels like someone is trying to cover up an embarrassment. But I think showing the wood is beautiful and more natural. Regardless, to each their own.
Hi, just wondering, did you sand the cane at all before painting, or was the primer enough to make the paint stick to the caning?
Yes Pearl, I did sand the cane a little bit before priming.
Do you think sanding the cane would be necessary when using chalk paint?
When using chalk finish paint you do not need to sand.