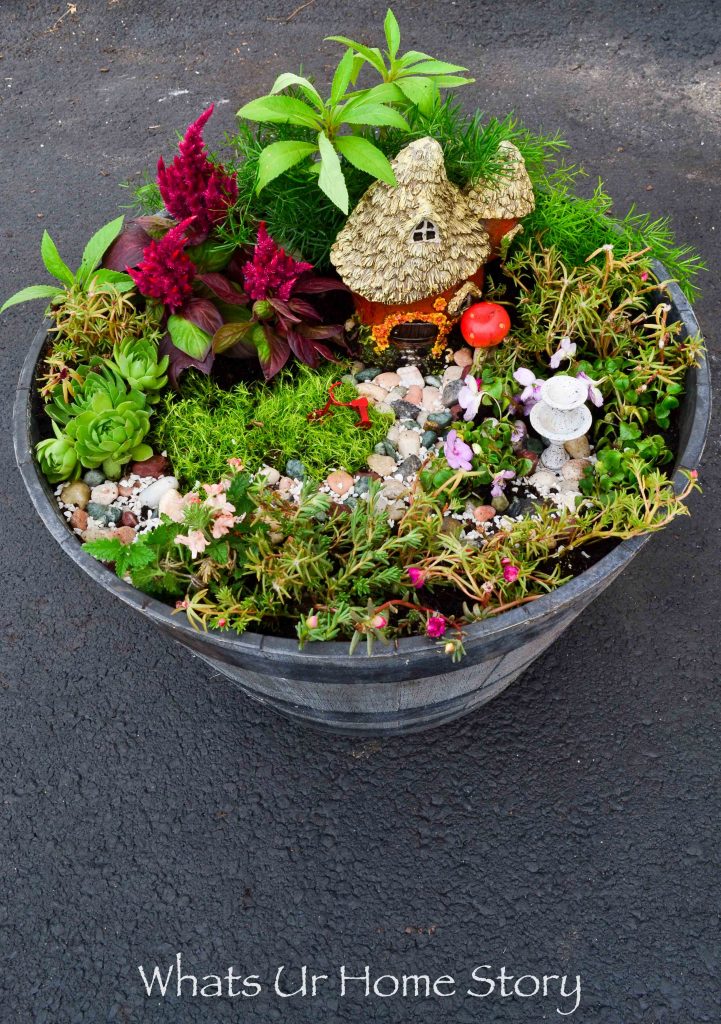
I’ve finally jumped on the fairy garden bandwagon! Though this project has been on my mind for the last 2 years I never got around to doing it. As they say everything happens for good. This time around while I was getting ready to put this fairy garden together I got some unexpected help. Monkey # 2 jumped in on the idea and literally took it upon herself to pick out the accents and provide input on the design.
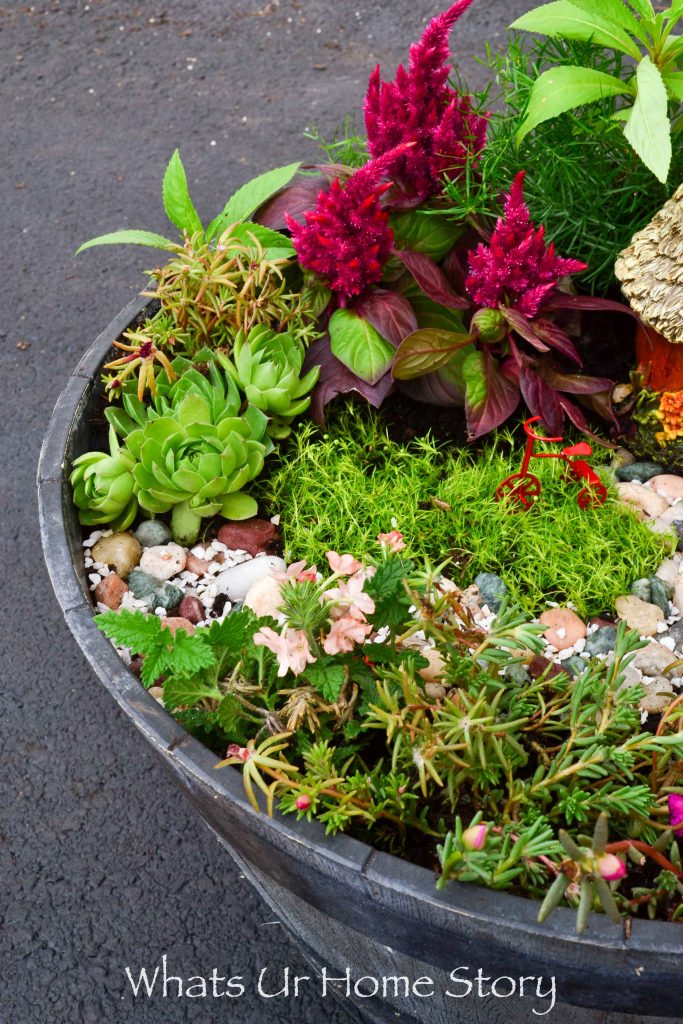
And it soon grew into a fun family activity for both of us. Neither of my kids are interested in gardening, so this was a refreshing change.
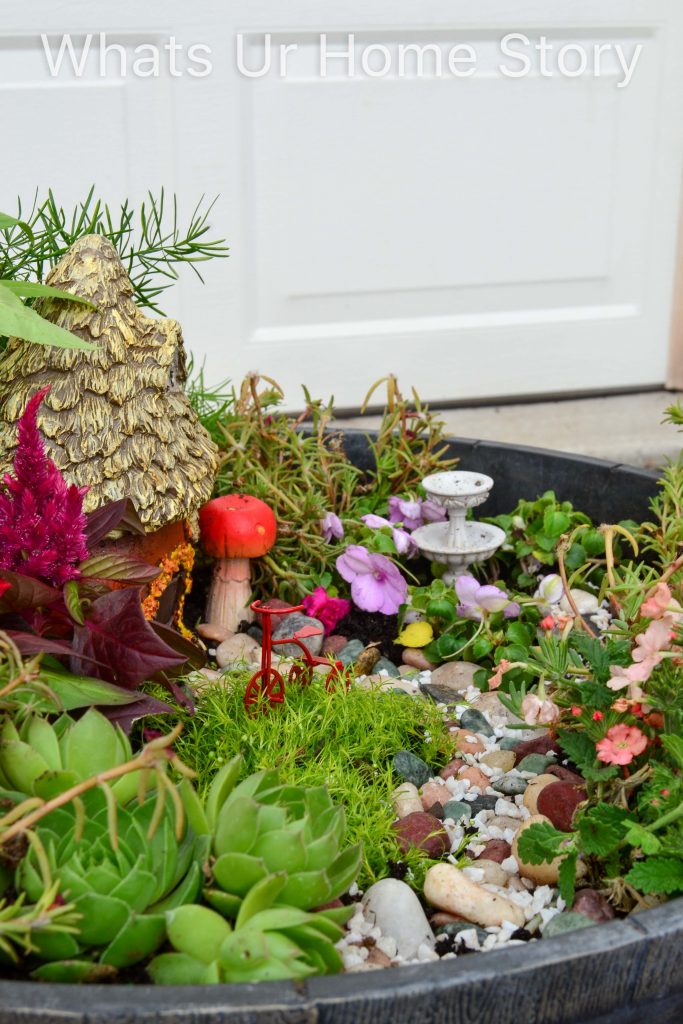
I think the idea of creating a miniature setting is what got her hooked.
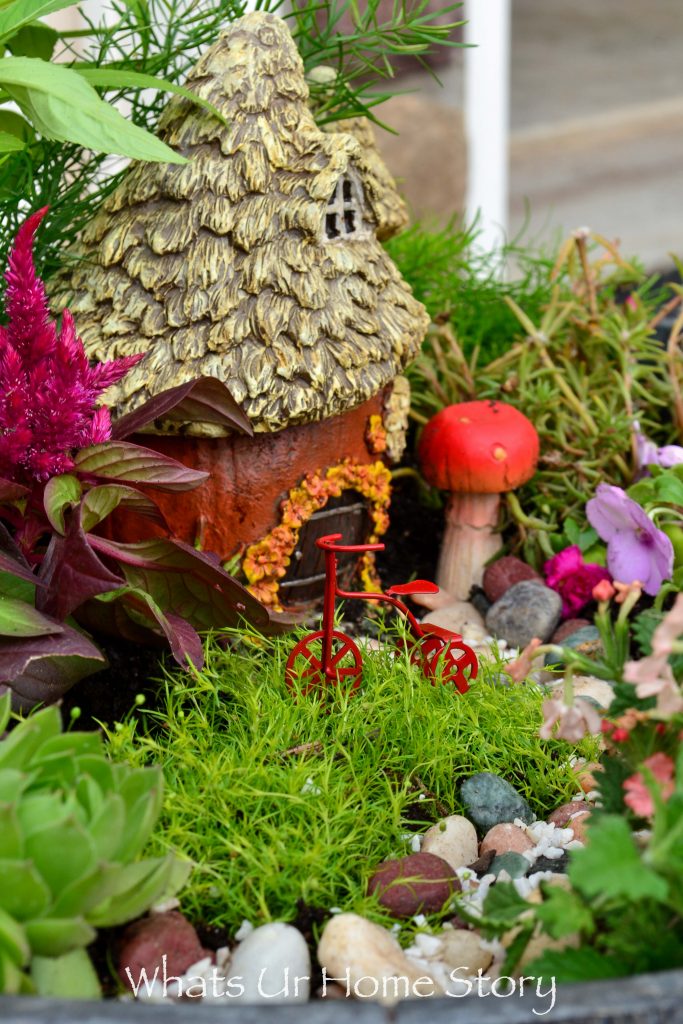
The setting up was pretty easy. We knew we would be using one of our old half wine barrel planters and shopped around for fairy garden accents that would fit in it. Then tried to imagine a setting for the accents and found plants that would fit the image.
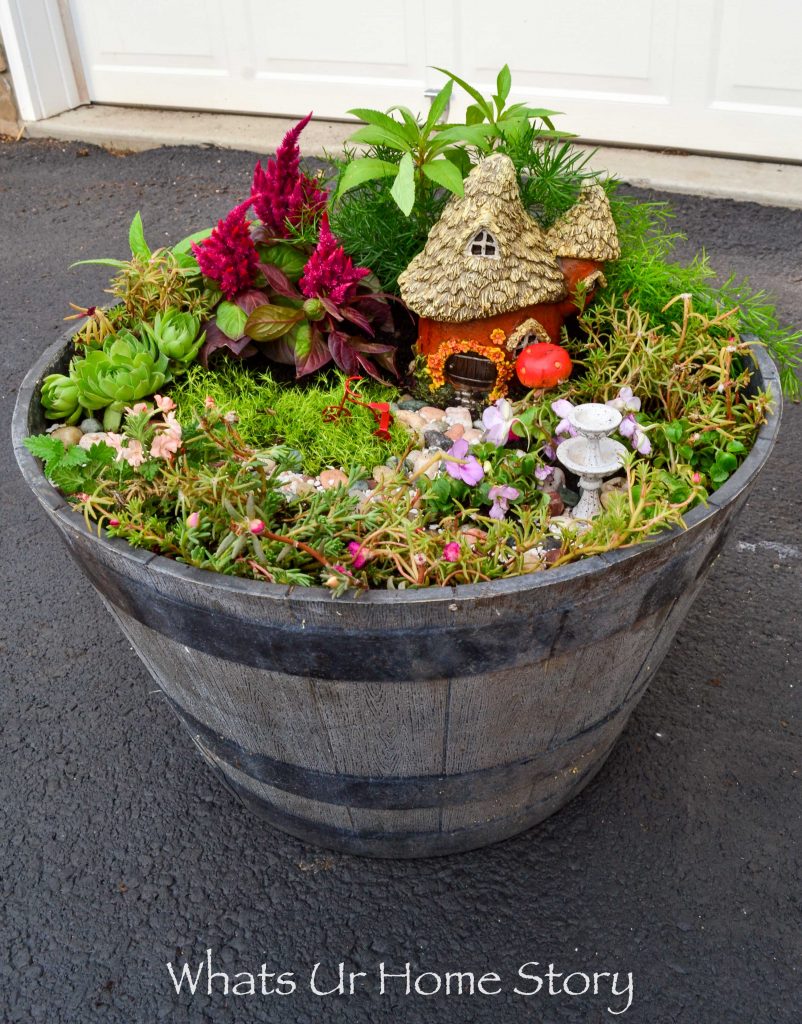
Yes, it does involve some planning ahead, which by no means is a guarantee that you’ll have to adjust your plans later on. I say this because it is hard to figure out the spacing between the plants. We ended up packing them more closely than we thought and had to pull out a few plants like the verbena and balsam from the yard and add to the garden to fill up empty space.
Materials
- Fairy garden accents – I used a fairy house (Big Lots), a fountain and tricycle both from Michaels, and a mushroom pot stake from Walmart
- A planter large enough to fit you fairy garden accents
- Potting soil or garden soil
- Miniature plants – I used hens & chicks, celosia, balsam, asparagus fern, moss rose, impatiens, golden scotch moss, and verbena
- A bag of stones to make the pathways in the garden (Walmart)
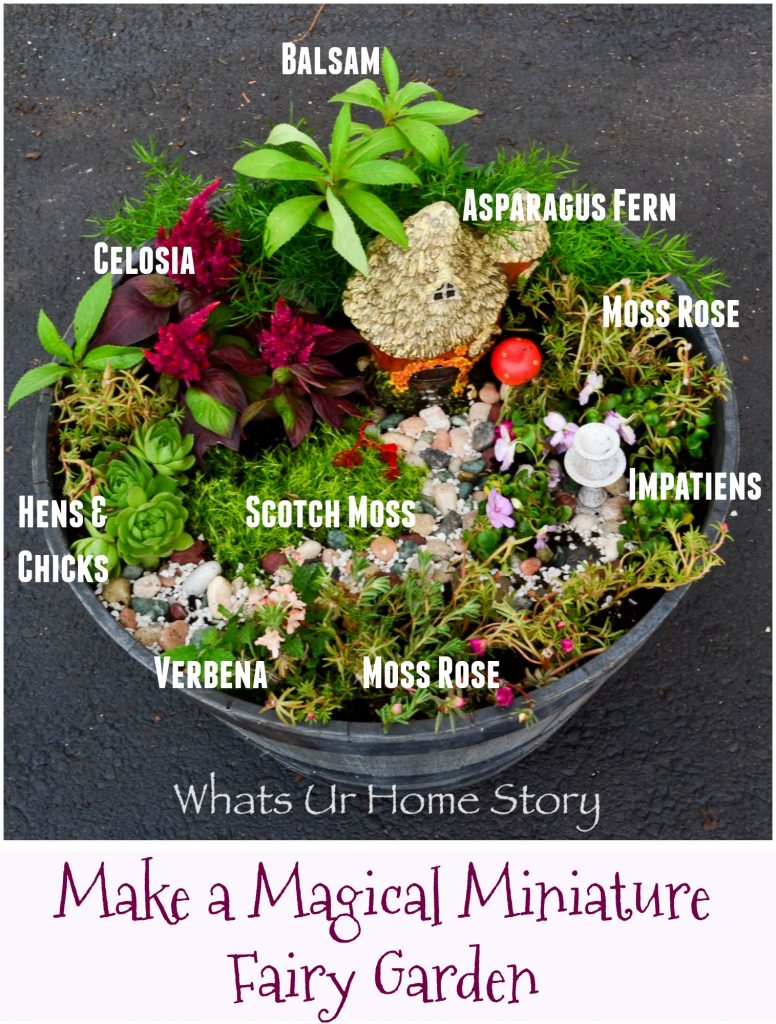
Tutorial
- Assemble your supplies. A good trick when using a large planter like this is to fill the bottom third of the planter with packing pellets. That way you won’t be using a lot of soil. Most of these plants are annuals and are not very deep rooted. So they can survive on that much soil. By the way the hens and chicks and the asparagus fern (very finicky though) are the only perennials in my planter.
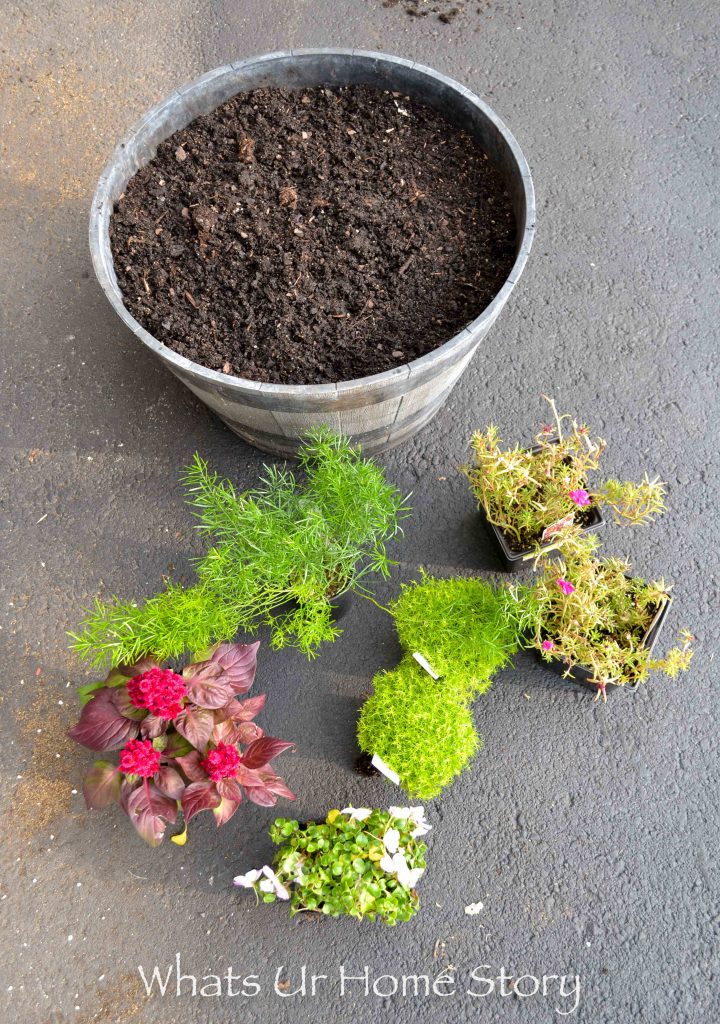
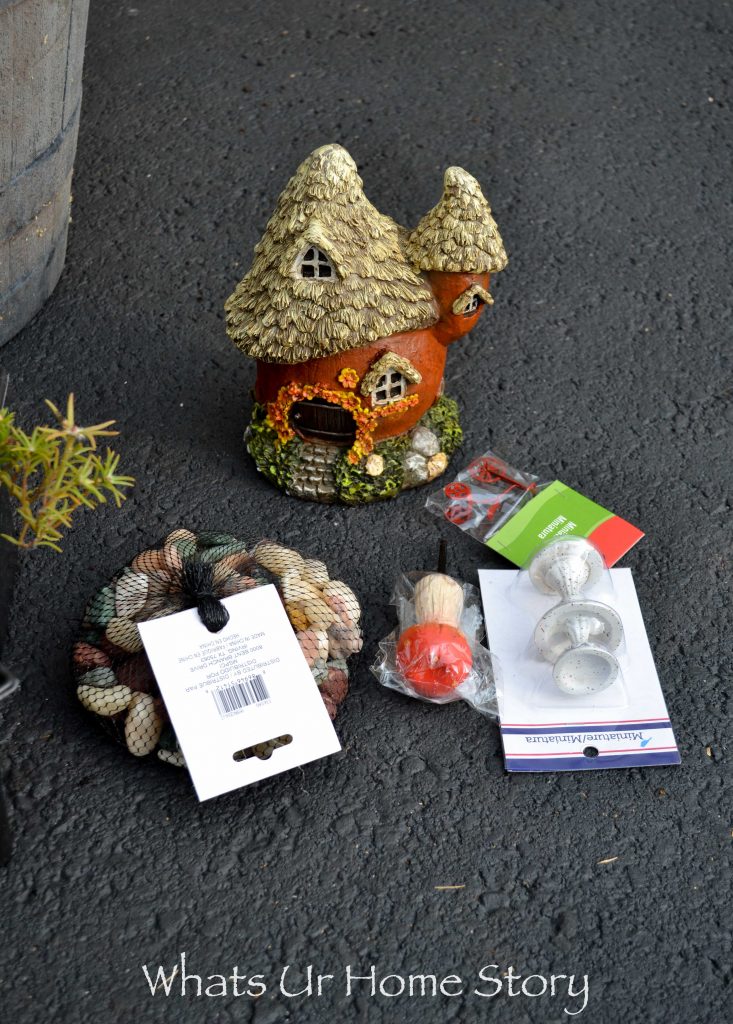
- Place your largest accent, in this case the fairy house in the planter and set the plants (still in their pots) around it till you like the layout. You would be placing the tallest plants in the back behind the house to set the scene and proceed with plants that are shorter in the front.
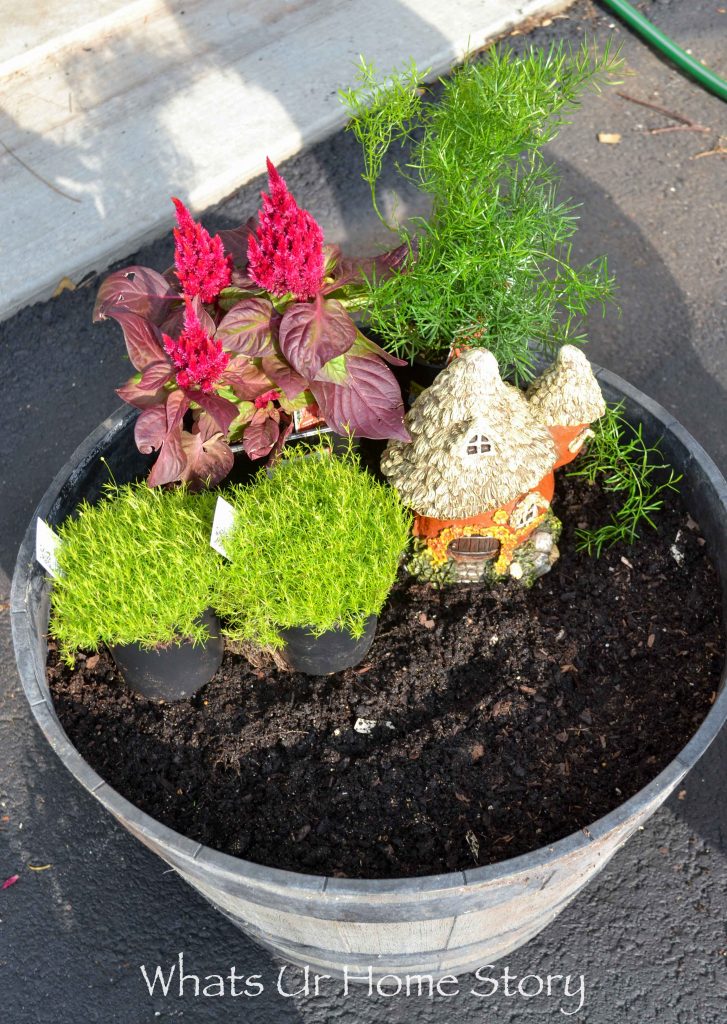
- With a stick mark the pathways in your garden plan. We have two, one leading to the house and the other one from the house to the fountain.
- Once you are happy with the plan start planting. Again start from the back of the garden and move to the front.
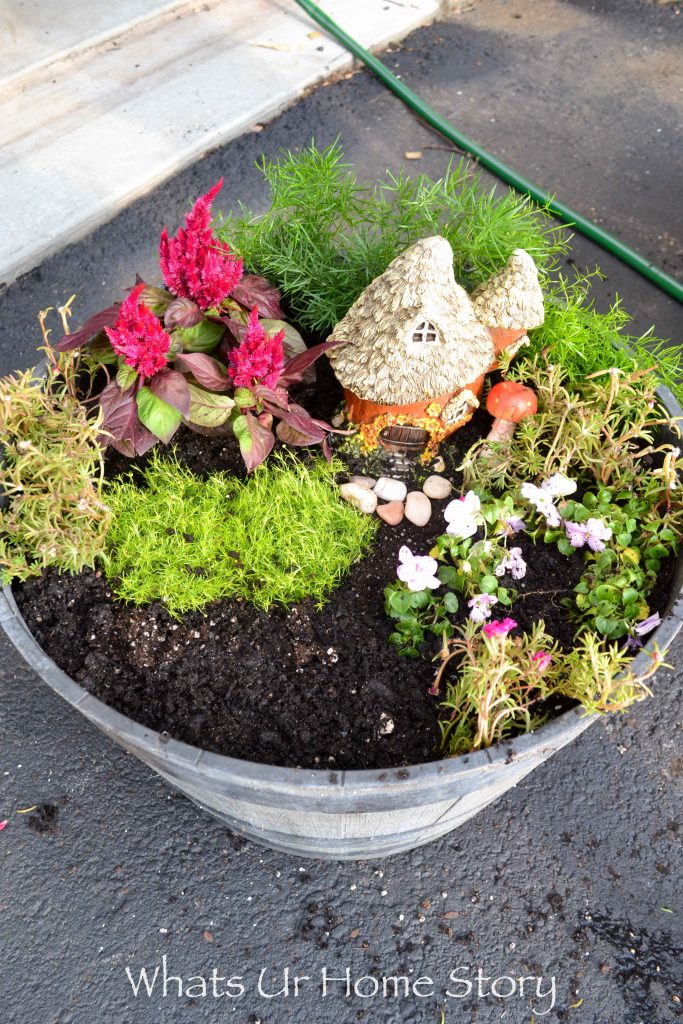
- Fill in the stone pathways last. Don’t make the mistake we did or else your stones will be covered in dirt in a matter of minutes.
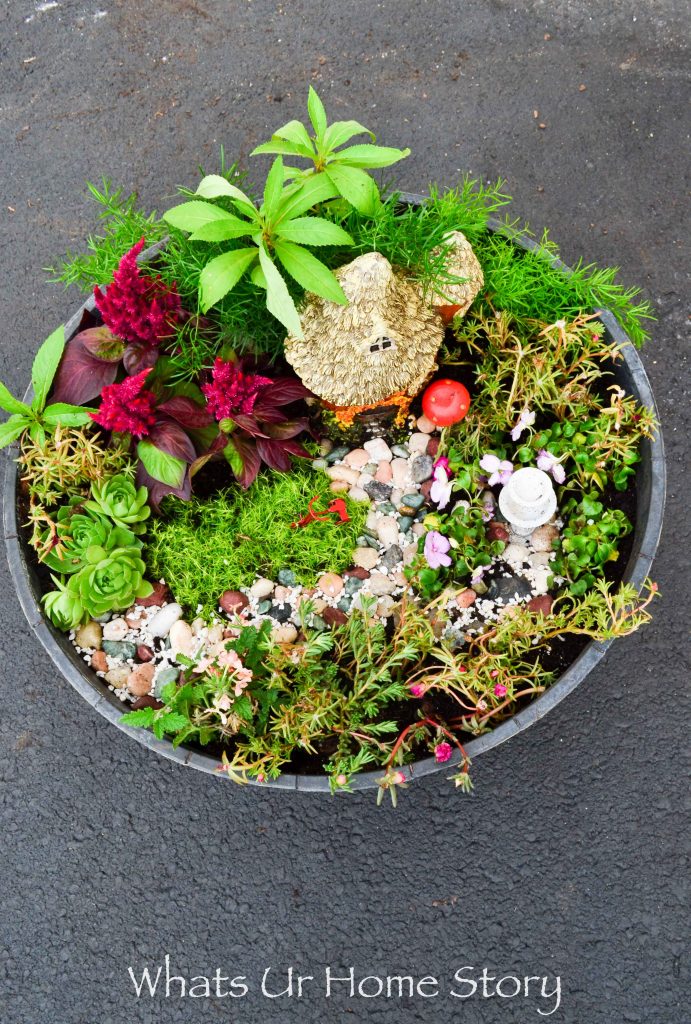
- Fill any noticeable gaps with more plants and you are ready to go!
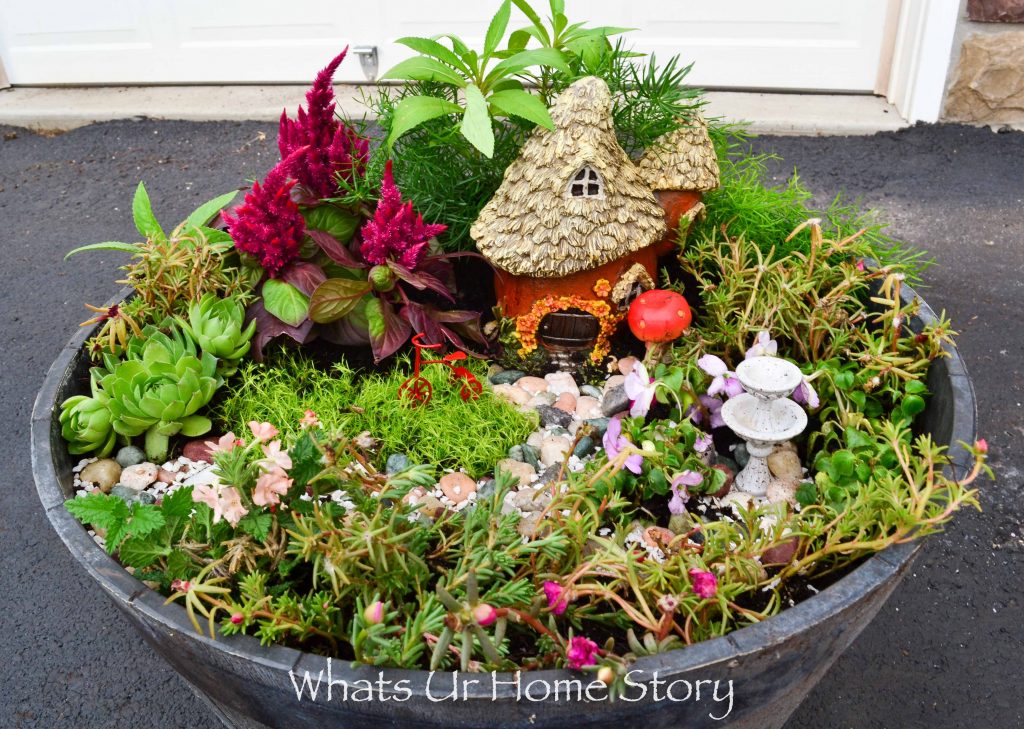
My favorite part in the fairy garden is that teeny tiny tricycle. Too cute!
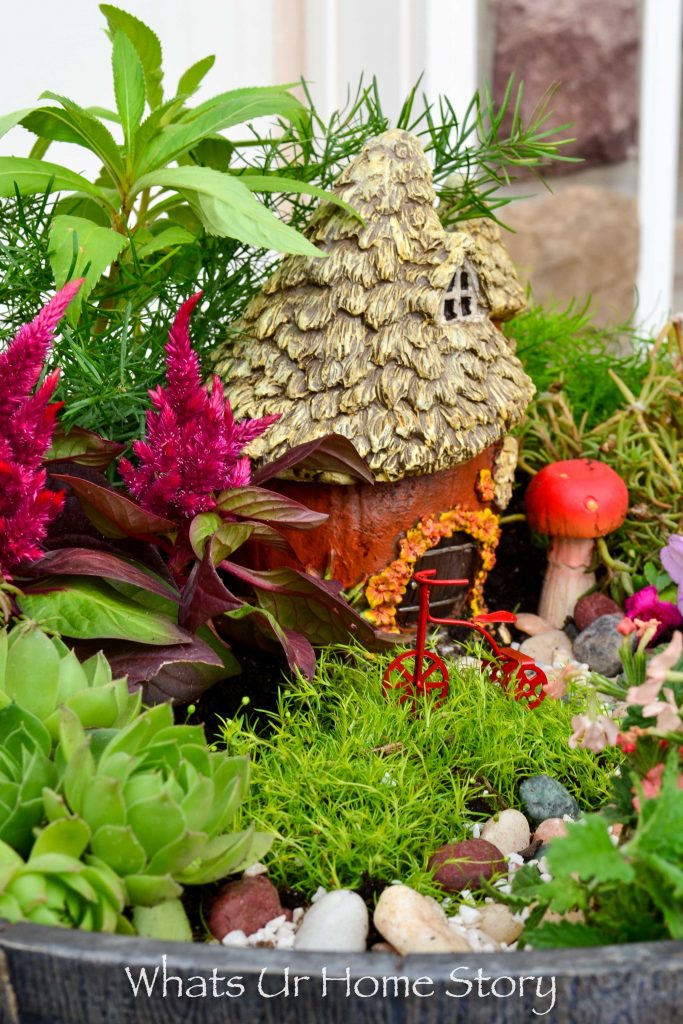
Do you like miniature gardens? What did you like the most in this one?
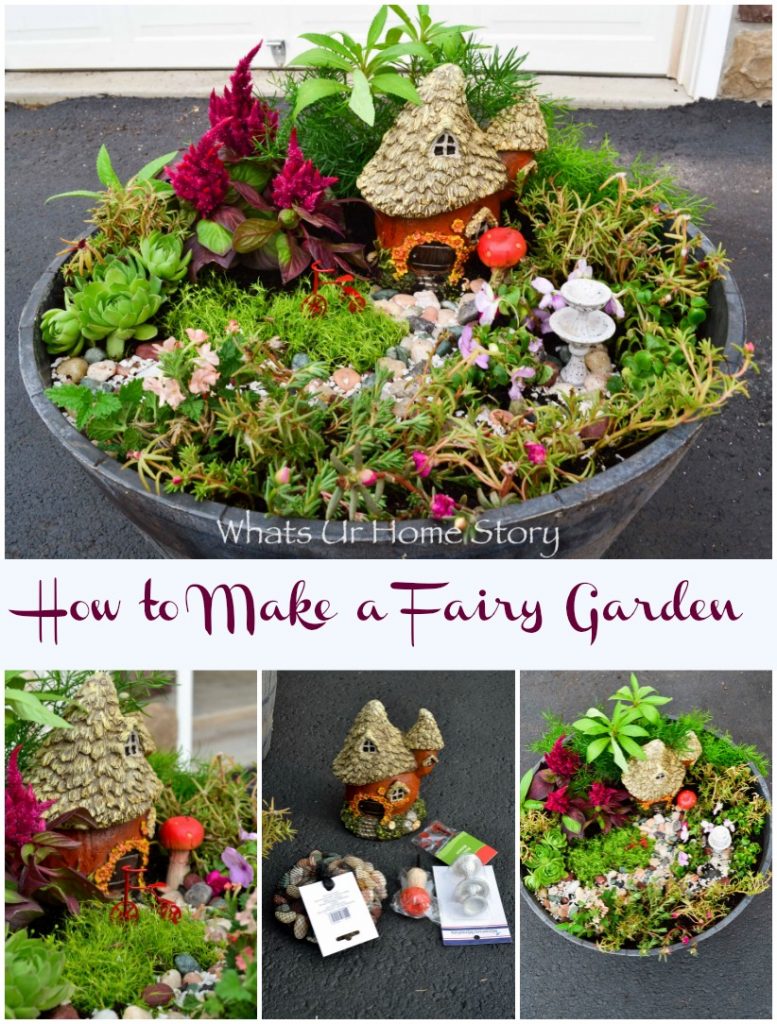
You might also want to check out these other miniature gardens;
Woodland Terrarium Christmas Ornament


Looks like a great place where I’d find some magical creatures living in! Awesome!
Thank you for all the ideas. I want to make one using a dog’s bed and another seaside garden using an old galvanised bath. I am planning it out on paper first, and will take it from there. I have bought several houses to make a terrace and some artificial grass for the front. I already have succulents and hens and chicks. I need some taller plants to give a tree effect behind the houses and I have some thyme rooting which will add height and will get some cuttings from other tall plants to add. I am looking forward to doing it this year. Thank you again for your ides and your gardens look beautiful.