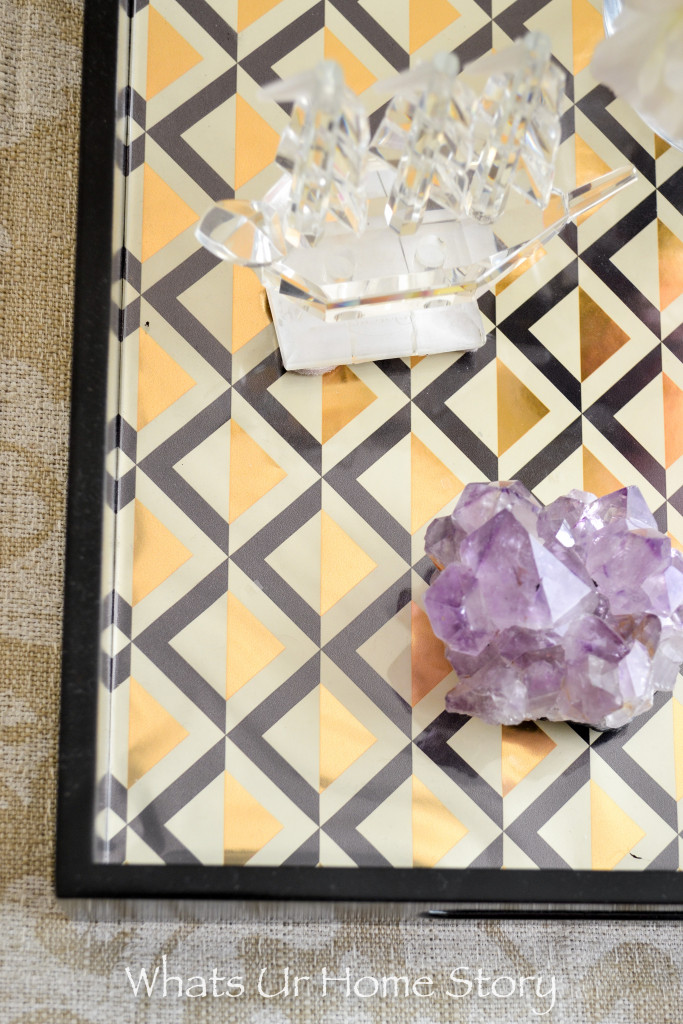
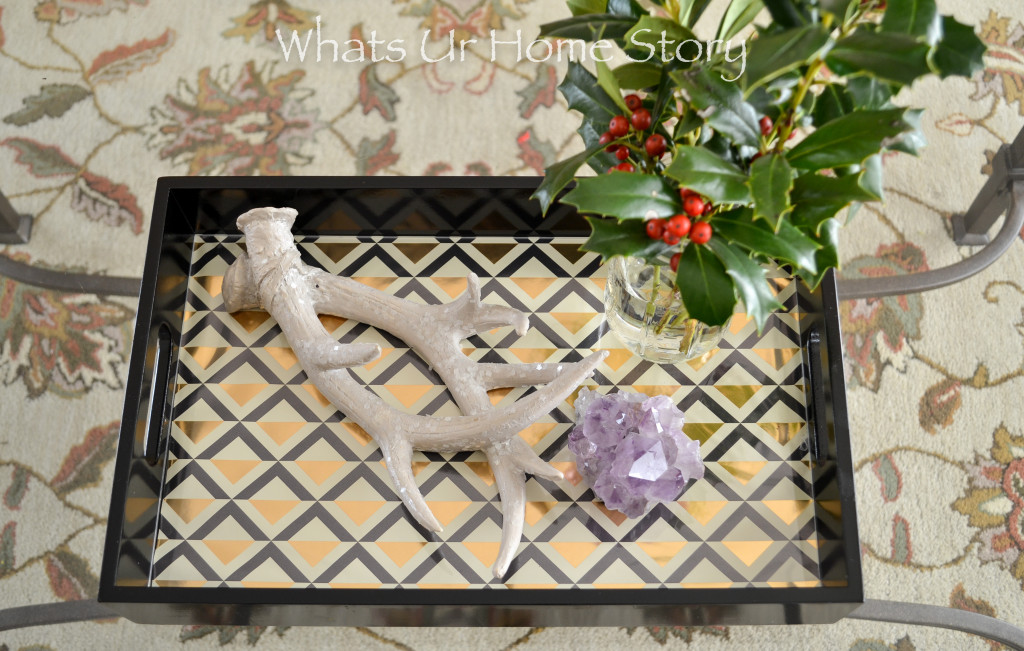
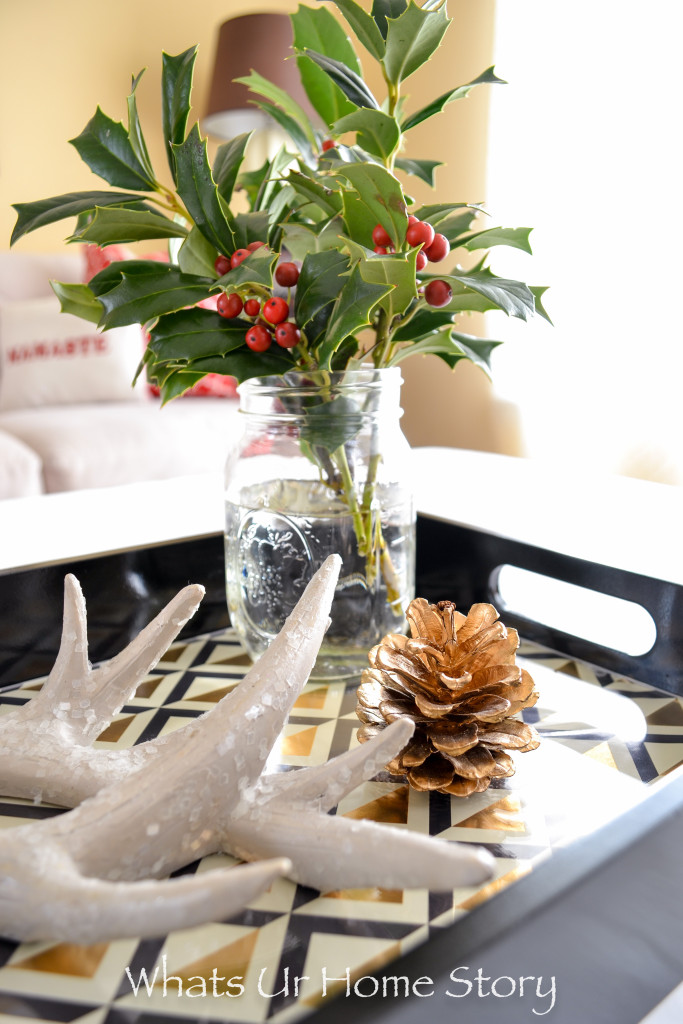
How are y’all doing? We are still snowed in from the blizzard. That finally gave me an opportunity to fix the external hard drive (where all my blog pics were stored) that had crashed. Which means the projects I had worked on during the winter break can finally be on the blog! Starting off this year’s list of projects with the easiest DIY Serving tray makeover there is!
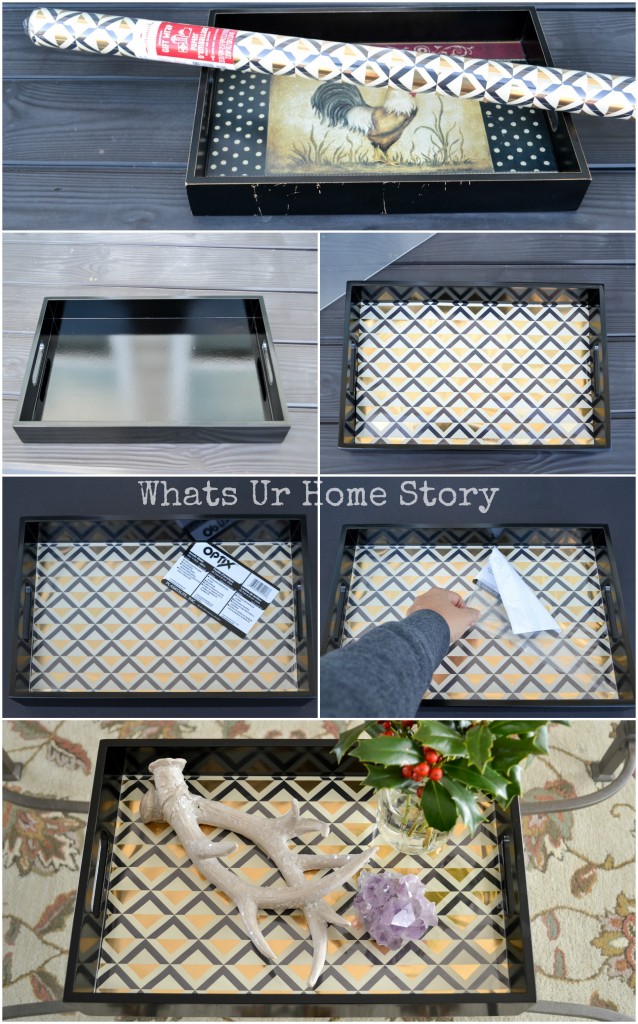
Can you believe that it is the same rooster tray I’ve had for 11 years?
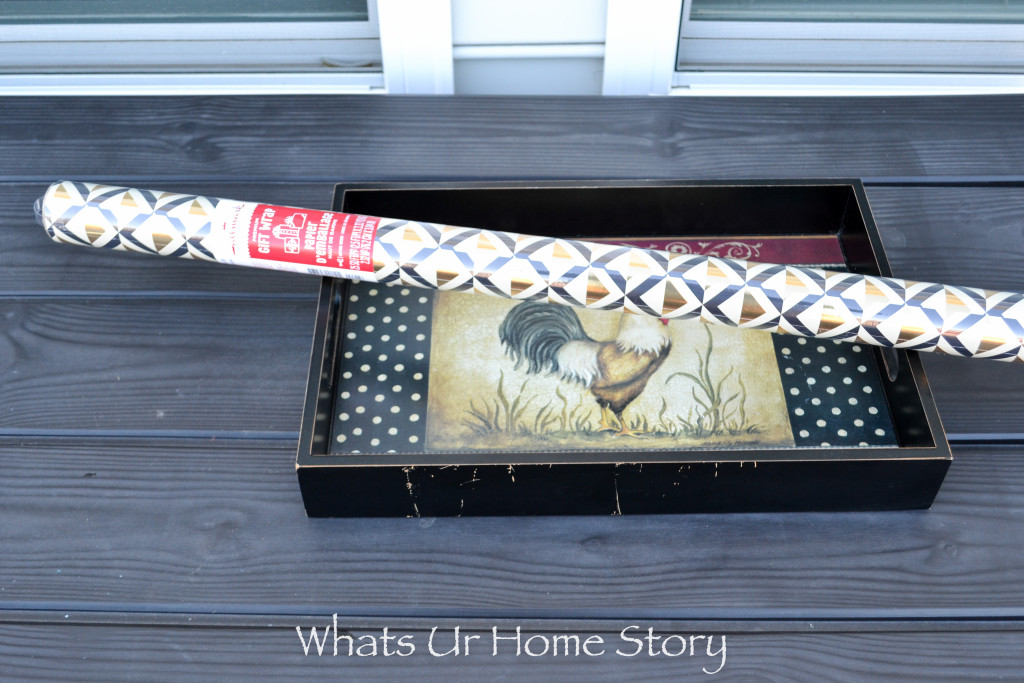
As you can see the paint had chipped in a lot of places and the rooster didn’t really go with our transitional decor. Actually it never jelled with our decor ever. I bought the tray ‘coz it was on clearance at HomeGoods and always hid the rooster by strategically placing books or a vase over it.
I found the geometric wrapping paper at Hallmark when I did my holiday shopping. The moment I saw the navy and gold pattern I knew it would make for a great background.
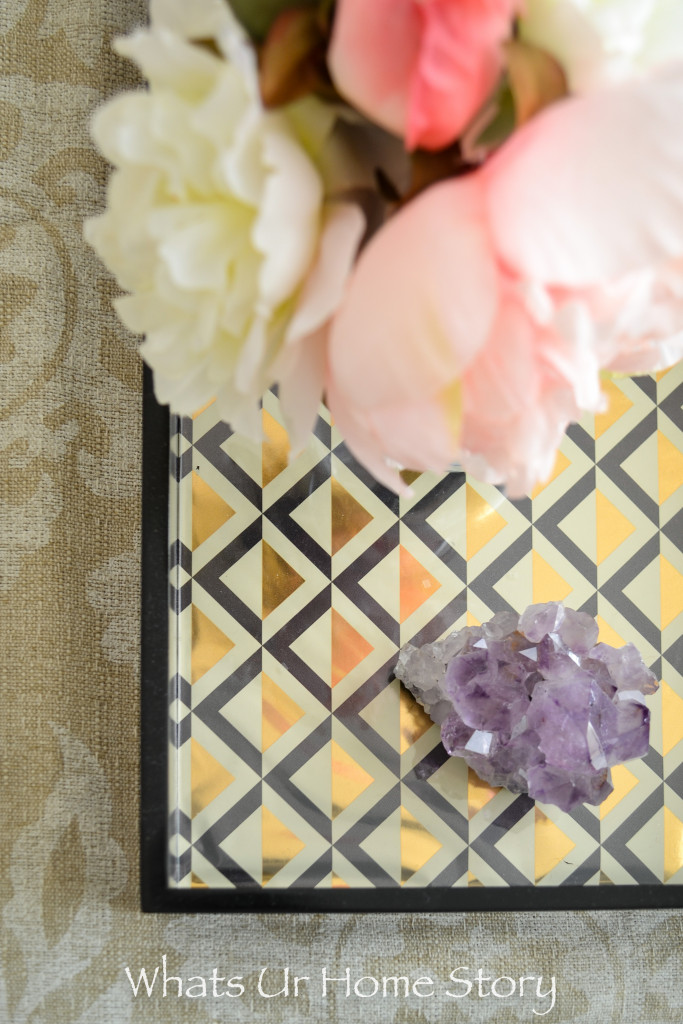
The best part of this makeover is that the DIY serving tray is versatile. When you get tired of this geometric pattern all you have to do is switch it out for another one that you like. As simple as that!
Materials
- Old Tray
- Spray Paint
- Wrapping Paper
- Scissors
- Acrylic Sheet
DIY Serving Tray Tutorial
- Take the tray to your local hardware store (I’ve found Lowes to have the best customer service and selection when it comes to acrylic/glass/wood cutting) and get a piece of acrylic sheet cut to fit inside the tray. Depending on the size of the tray and available sheet selection it can range anywhere from $8-$15.
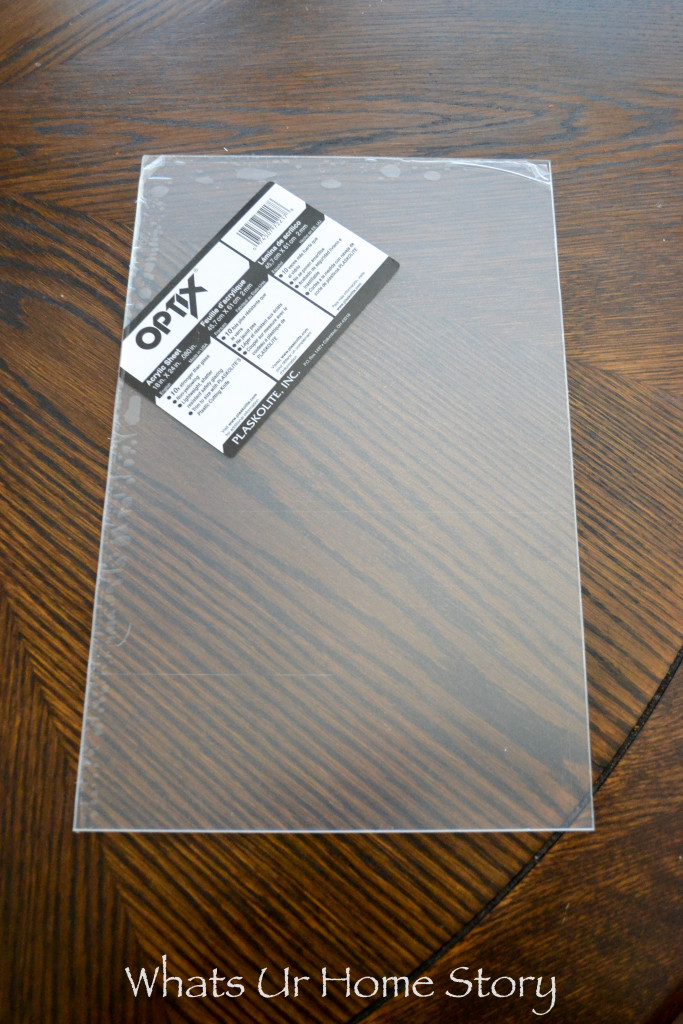
- Clean the old tray well with an damp rag.
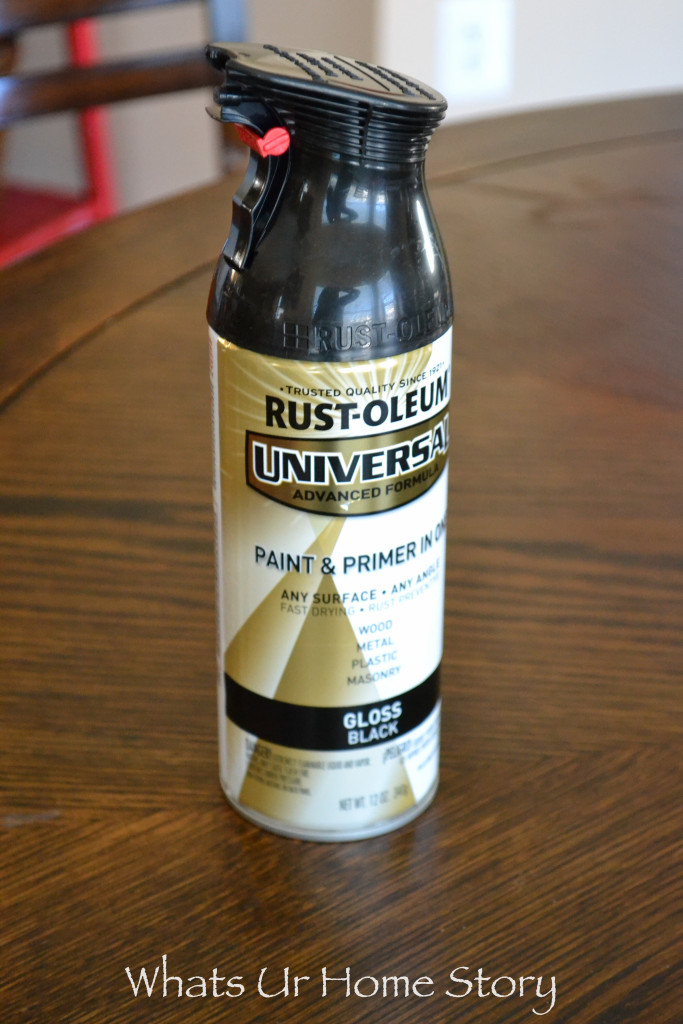
- Spray paint the tray in your favorite color. I used Rust-oleum’s Paint & Primer in Black, which spared me the priming step. If you are using regular spray paint, you will need to use spray primer first. When spray painting always remember to work with thin even strokes. Check out this post for more spray painting tips.
- Using the acrylic sheet as a template cut a piece of wrapping paper the same size.
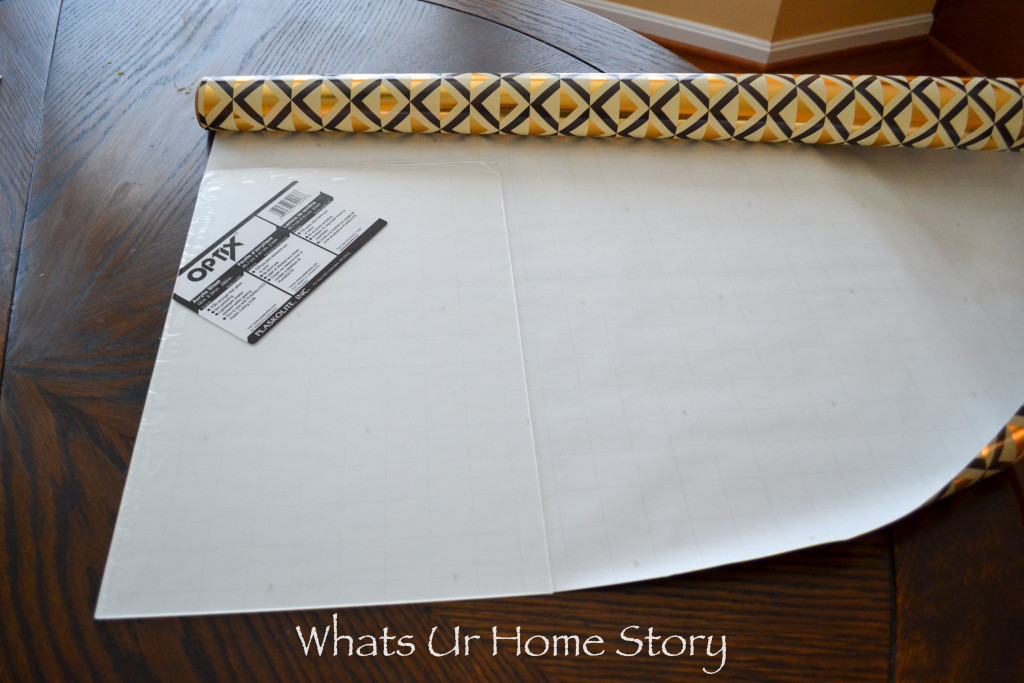
- Once the paint dries carefully place the cut wrapping paper inside the tray. Peel the protective cover from the backside of the acrylic sheet and place it over the wrapping paper.
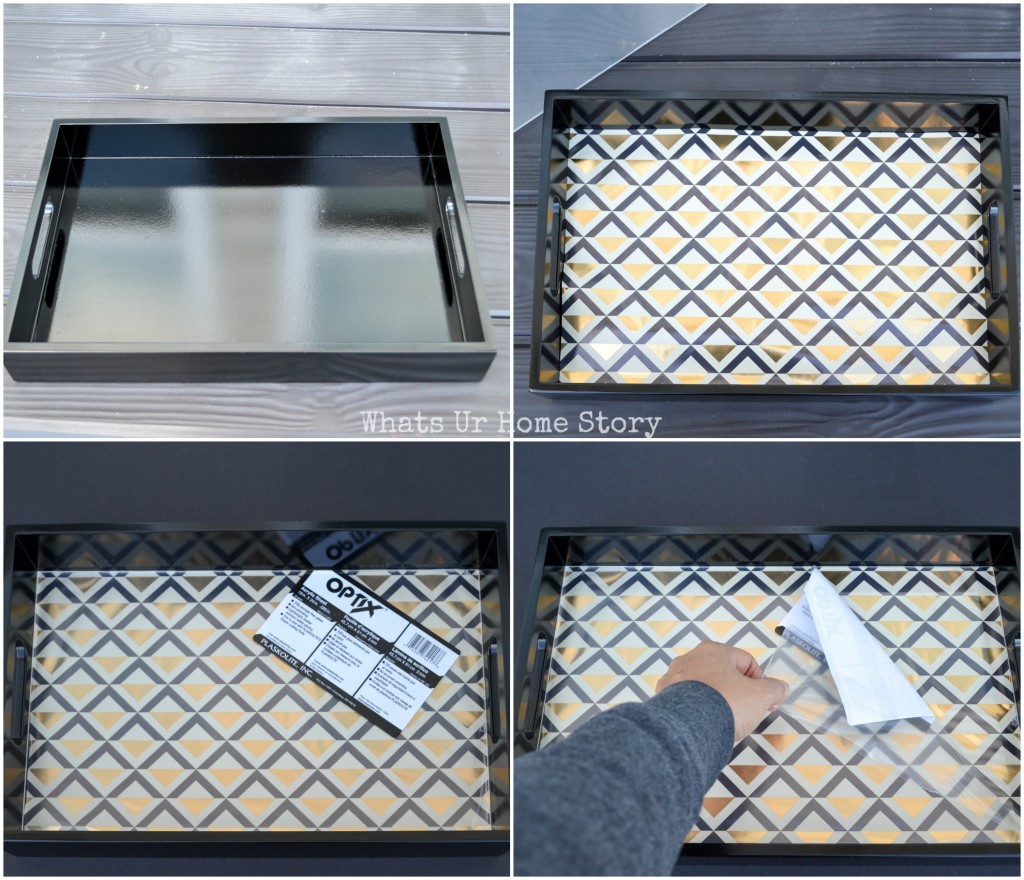
- Peel the protective layer from the top of the acrylic sheet and enjoy your new serving tray!
How is the weather in your neck of the woods? Have tried any DIYs this year?


Great makeover! Question – did you remove the rooster backing first or apply the paper over it?
Deepika,
I just spray painted over the rooster. If your tray is in good shape and no need to spray paint you can just place the paper over whatever pics is there. I just dropped the paper in there no glueing or anything. Hope that helps.
Vidya
Vidal, what a clever idea. I’m sure I will use this idea in the future. I love your blog.
Rita
Thank you Rita!
Very nice makeover! I like the idea of the acrylic sheet.
Glad your back. Was wondering what happened to your blog
Thank you Sara! Really appreciate you checking in.
Hi Vidya
I’m a Malayalee from Mumbai, India.
I’m new to your blog & home tours. Loving it !!!!
Have been binge watching all your YouTube videos from past two days. Also a special mention that you have a good taste & that can be seen in your beautiful home.
Best wishes!!
Sindhu
Thank so much Sindhu. So sweet of you to come over here and comment. Big thanks!