Before we get into today’s post I would like to say a big thanks for the features that WUHS has received the last few weeks.
My finds at the Old Lucketts Store Spring Market was featured on their blog!!!
Thanks again for the mention. I had such a great time at the market and will be back next year. I’ve already put some of my finds to use. 🙂
The 11 hour stenciling marathon for my dining room makeover was featured on Royal Design Studio’s blog and Facebook page.
Couldn’t have done it without your awesome stencil!
This blogging experience has been so humbling and has taught me to be appreciative of even the smallest of things. Another big thanks to all of you for giving me some moments of your day.
Now where were we? Ya, framing art…I’m not talking about canvas paintings, this is more like the cheap, on the fly art or photos. Mats can give even your mundane photos a new lease of life. This project was part of my post card walls. So I was framing post cards and some personal keepsakes.
You’ll need;

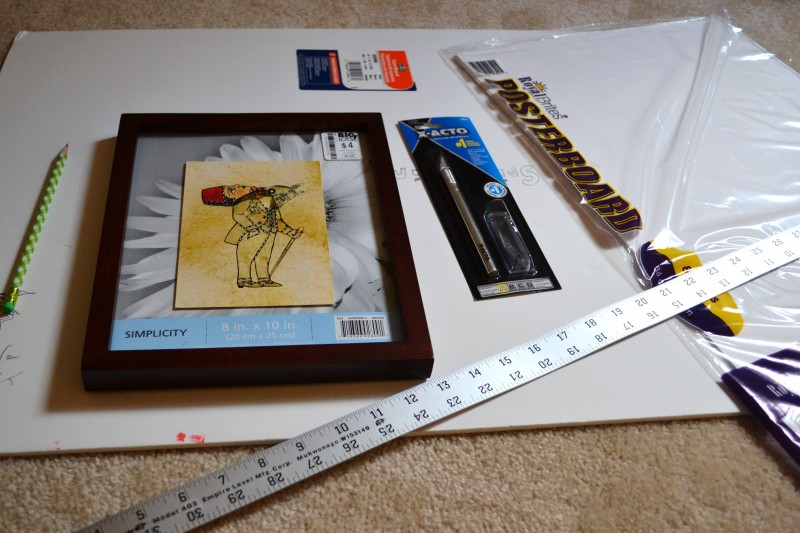
Your art, frame (of course), a ruler, pencil, X-acto knife, a hard surface to work on, and your matting material. I used poster board and in some cases just craft paper from Micheals left over from my easy art switch project.
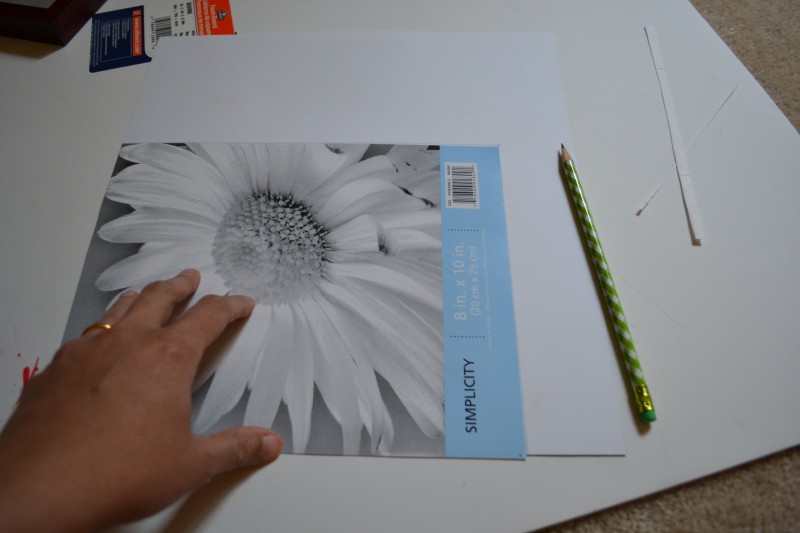
Let’s say, you have an 8 x 10 frame and want to frame a 4 x6 photo. You would use the picture that was in the frame as your template for the mat. Trace around it on the poster board and cut it out with the X-acto knife.

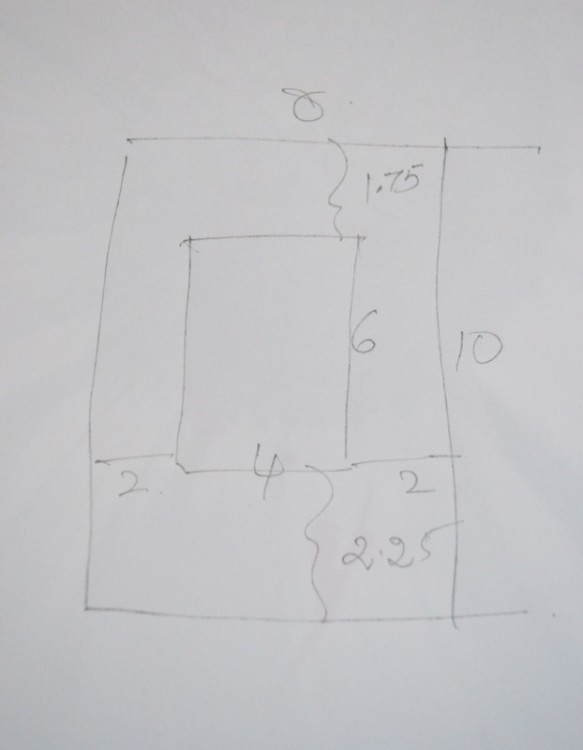
Now comes the tricky part. How do you cut the 4 x6 hole out? Your gut feeling would be to measure from the center or to subtract 2 inches from each side, right? It seems, for the frame to look balanced to the human eye the bottom part of the mat needs to be slightly longer! So, this is how we are gonna break it down;

For the width, you are fine with your measuring 2 inches from the corners. But for the length, you need to break up the 10 inches as, 1.75, 6, and 2.25 inches. i.e. the bottom part of your mat should be longer by 0.25 inches.Once you have your grid ready like this cut out the 4 x 6 along the lines. Use a tape to secure your photo to the back of the mat. And voila you are done!

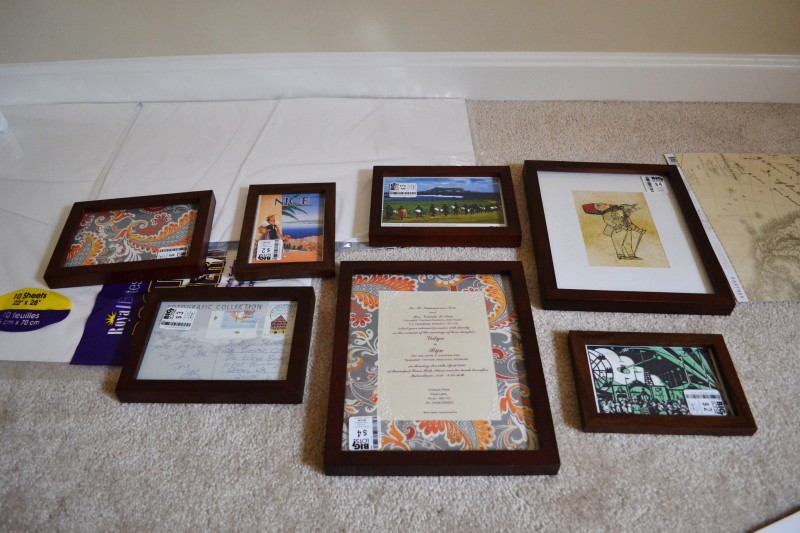
There, I just showed you a peek at my gallery wall….:) Have you tried your hand at framing pics? I have but never really knew about the uneven mat cutting (until I Googled it) and would always wonder why my framed prints were slightly off. Anyone else noticed that?


Leave a Reply