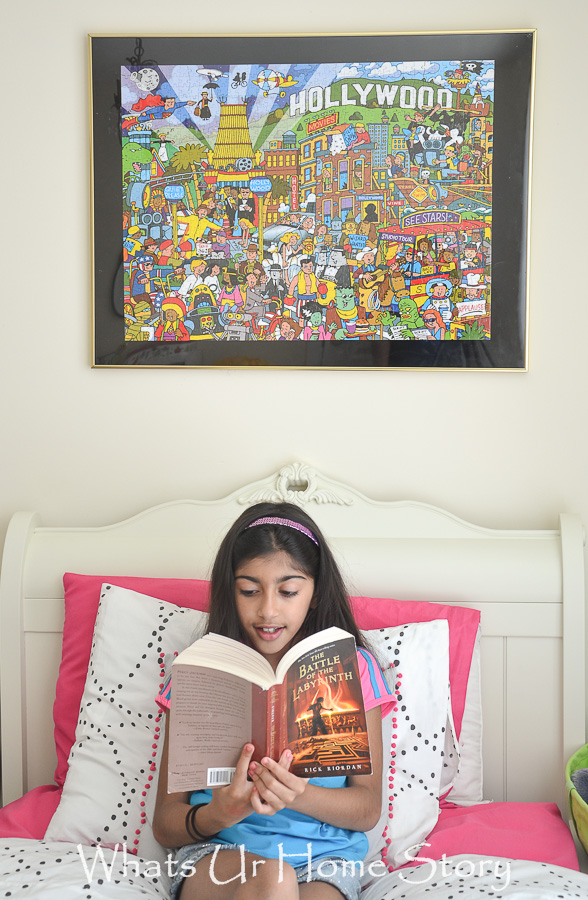
Hope y’all had a great Mother’s day. We had family visiting over the weekend so it was great to catch up after a long time. As you can see we made a lot of progress in Monkey’s #2’s room. We also got a lot of yard work done but that’s for another day. So the puzzle is up, finally! It was one of those projects that met with a lot of hurdles and ended up costing us more than what we’d planned for. As I told you the other day, our puzzle story started out over a snow day when the kids and I started solving this fun Hollywood themed puzzle*.
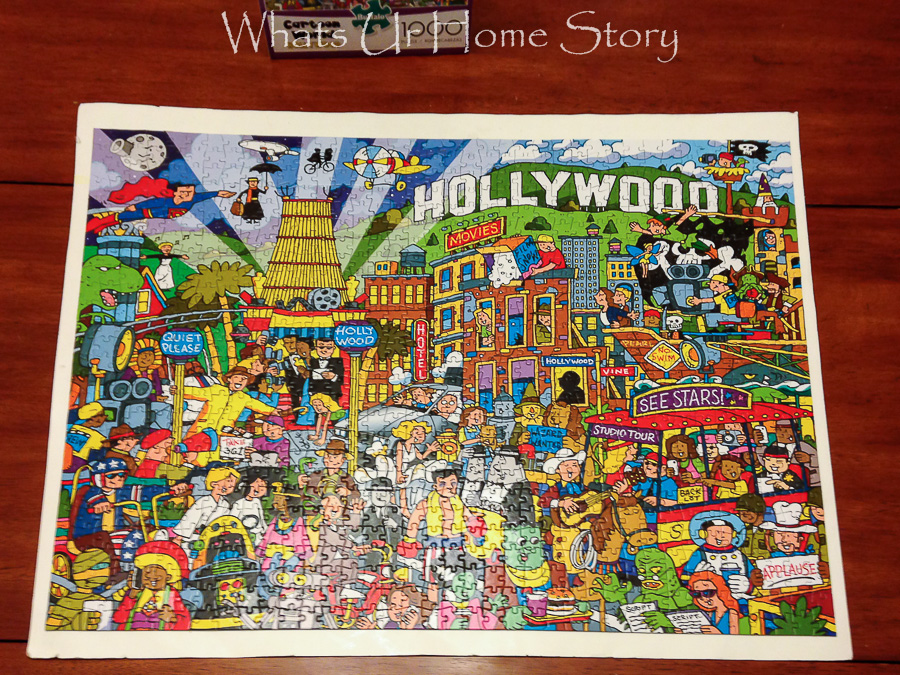
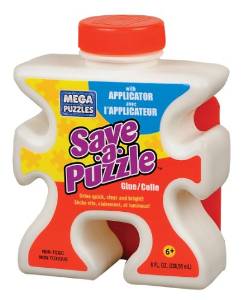
When we were done the kiddos were so proud of their work and wanted to preserve their puzzle. I remembered how my friend, Bharati of Techie Adventures turned puzzles into art work and researched options. I found this Save-a-Puzzle Glue on Amazon* and ordered it.
The glue is thick like your regular school glue but is transparent and comes with its own applicator.
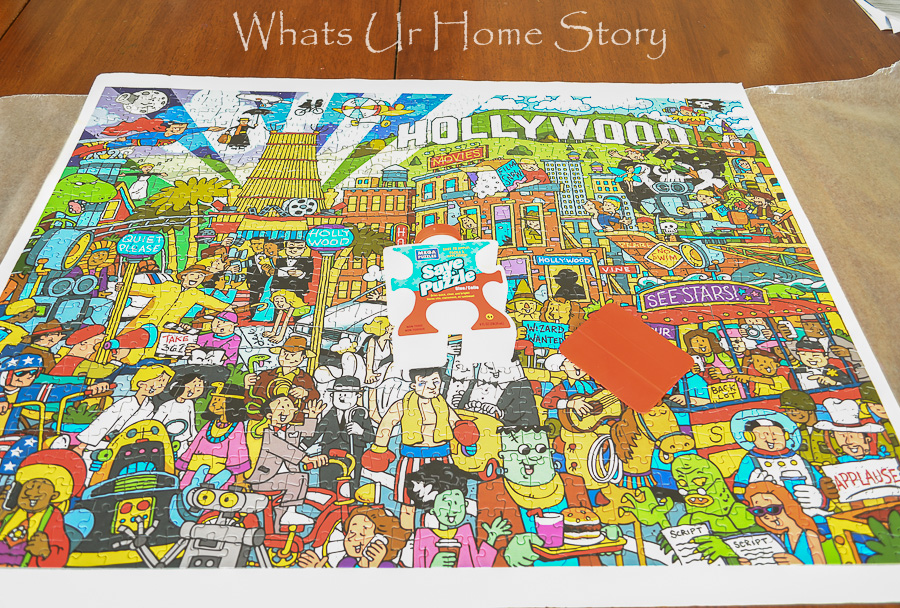
The process is pretty simple.
- Place the finished puzzle on a large piece of paper (you don’t want glue seeping through the cracks onto your work surface) face up.
- Pour a little of the glue on the puzzle and spread with the applicator so that there is a thick even layer on the pieces.
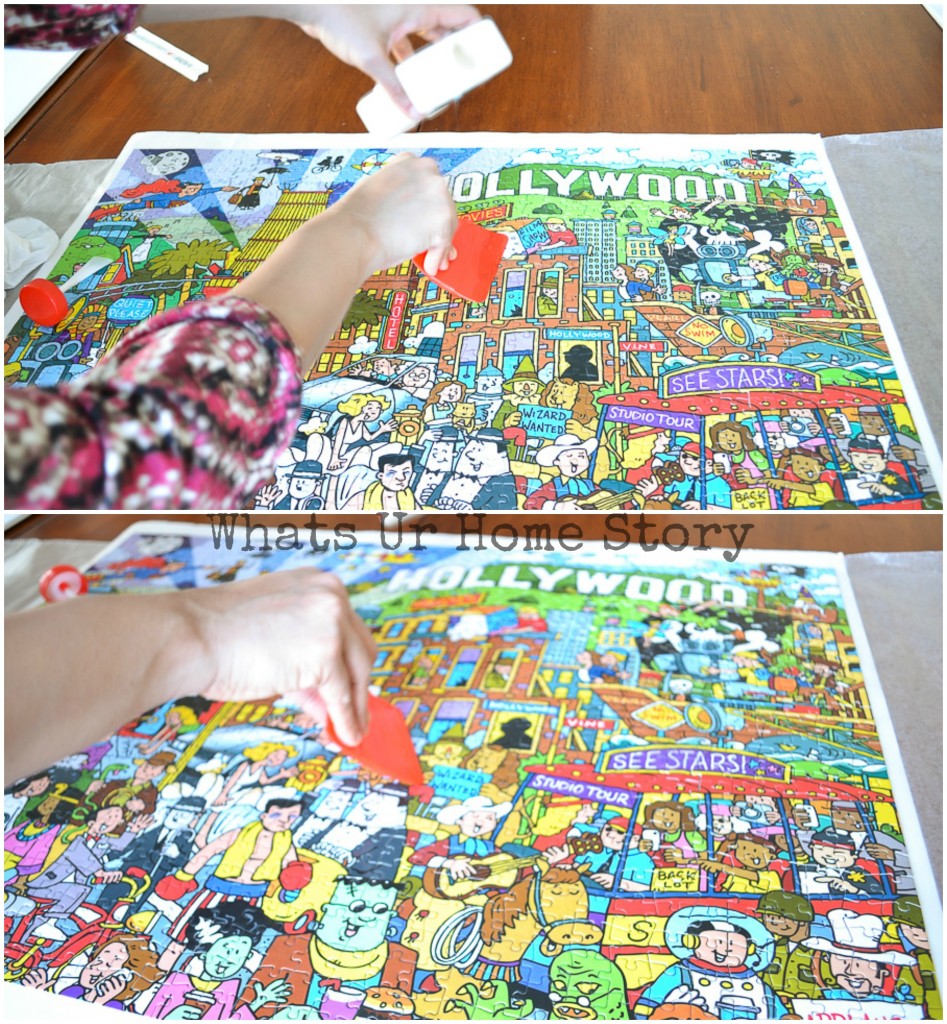
- Pour more glue as needed and spread all over the puzzle. We do not want any excess glue on the surface so pour as you go instead of dumping a lot at first.
- Dry according to the package directions (think it is 4-5 hrs). In between drying I prefer to loosen the edges of the puzzle pieces from the paper below to make sure that it doesn’t get stuck to the latter. That way you’ll have a clean edge.
- The instructions on the bottle suggest turning the puzzle over when completely dry and repeating the process. I didn’t do it as my dried puzzle was all in one piece and the pieces stuck well to each other.
The next job was to find a frame so we could preserve the puzzle forever. The odd size of the puzzle (26.75″x 19.75″) didn’t help much. So after a few trials I found a good poster frame at our local thrift store. Sorry didn’t take the before pic but imagine glass and a thin gold frame around this Dolphin poster.
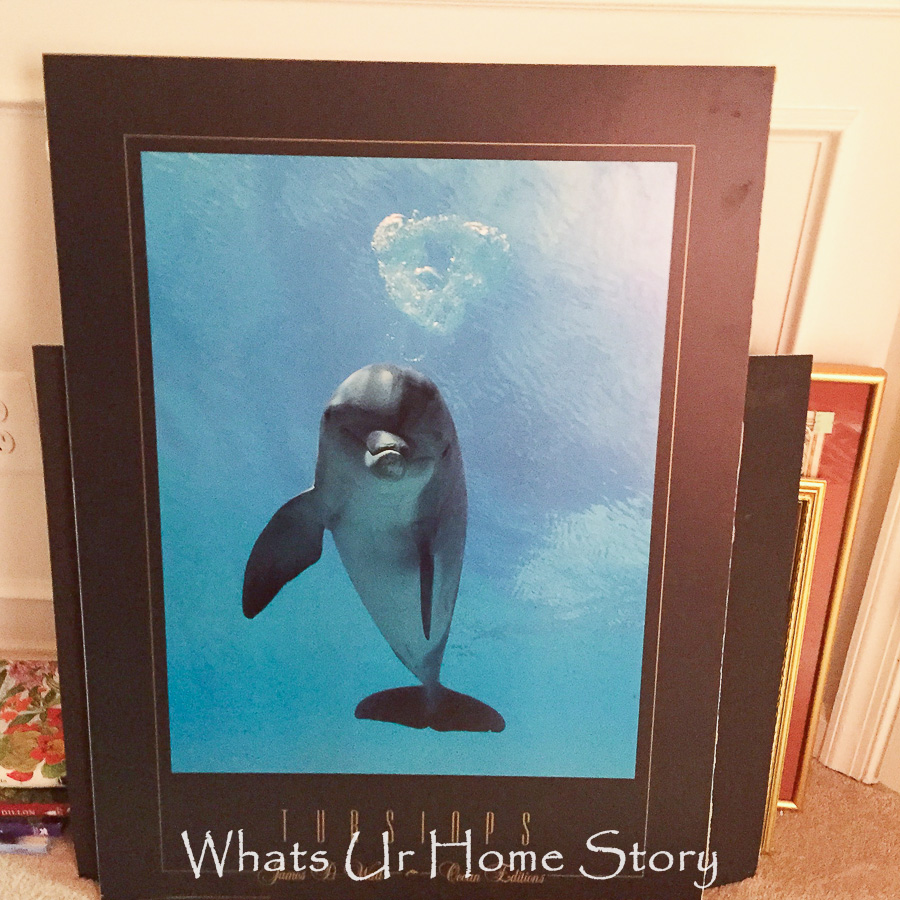
The plan was to somehow make a black border out of this for our puzzle. Again after researching a lot of options I went with my all time favorite and never fail trick; spray paint!
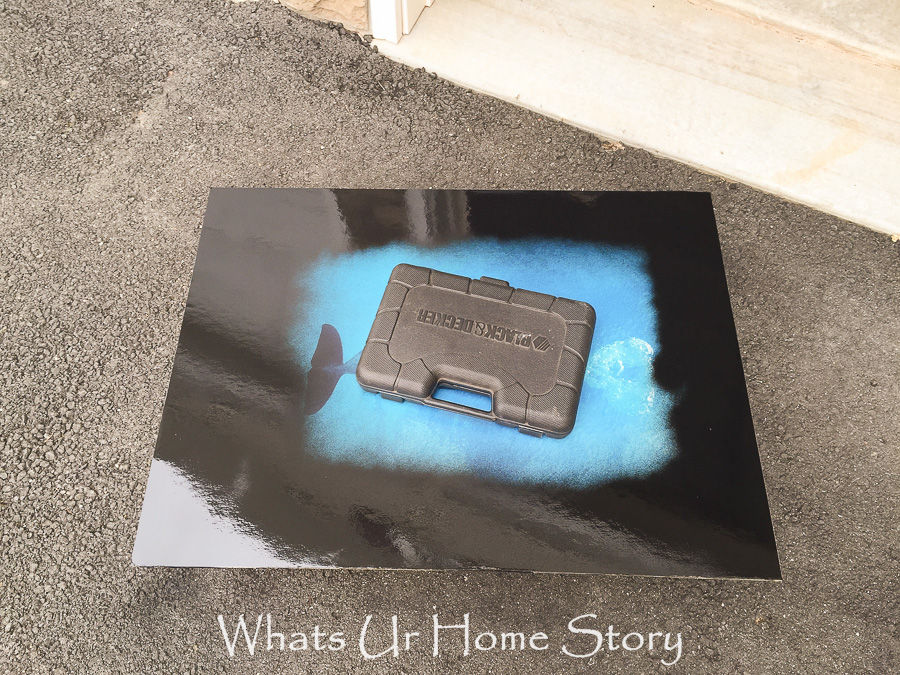
A couple of coats around the edges was all it took to create this easy mat. After centering the puzzle on this mat with tape we put the glass (wait that is another story) and frame back on. You might remember from my last post that the glass of the thrift store frame broke as we were about to frame it. Since we had invested time into this frame and ‘coz we were short on time we decided to replace the glass (bad idea, should have waited to find a similar frame at the thrift store). B called up the hardware stores and enquired if they’d cut the glass for us. Our local Lowes said they would. Off B went for the glass, on a weeknight all tired and ready to head back home ASAP. Unfortunately the glass cutting guy was not in when he went. After waiting for a good amount of time he decided to go with Plan B, which was getting acrylic sheet (or plexi-glass) cut in the size. That piece of plexi-glass ended up costing us $25!!!! The glass would have been $15! All for a $5 frame and $12 puzzle! 🙁
Anyways we were at the point of wanting to be done with this project and move on. So the $25 plexi-glass it was!
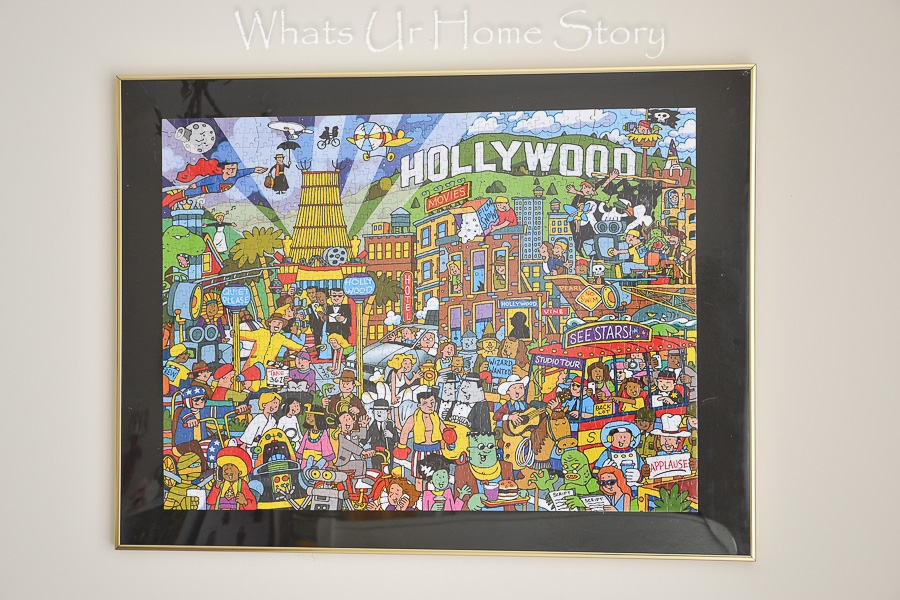
In hindsight I would have just waited to find another $5 frame at the thrift store to keep the cost down. The only consolation is that kids love it and feel so proud whenever they see it.
Do you also feel bad to break the puzzles apart when done?
*Post contains affiliate links


Thank you for the shout out Vidya. Puzzle looks pretty with gold frame