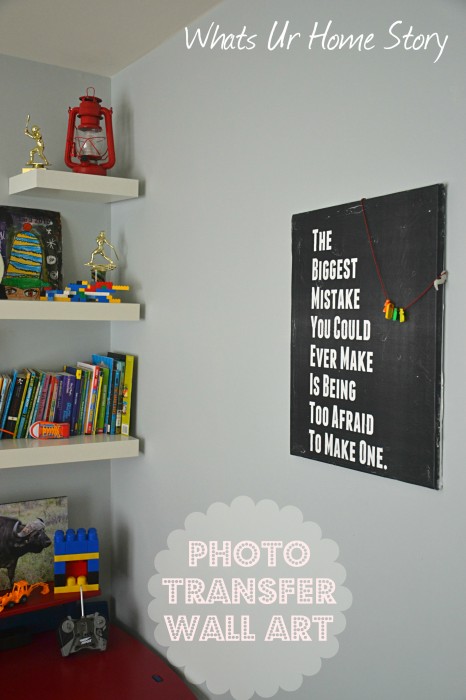
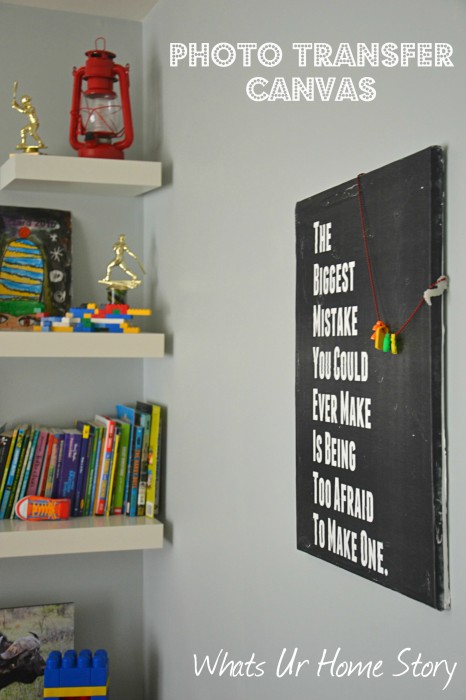
Over the weekend I worked with the Mod Podge Photo Transfer Medium and this is what I ended up with! A Restoration Hardware like vintage word art!
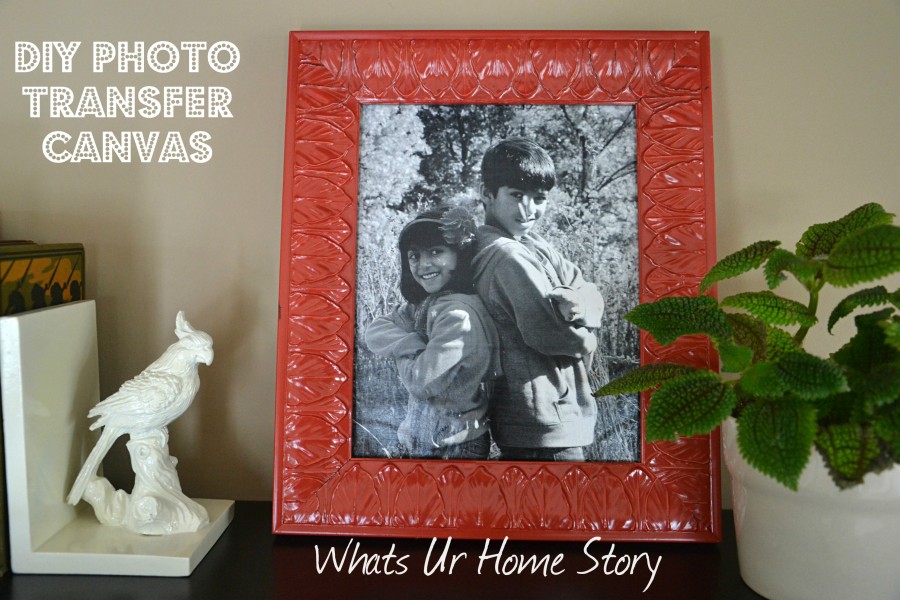
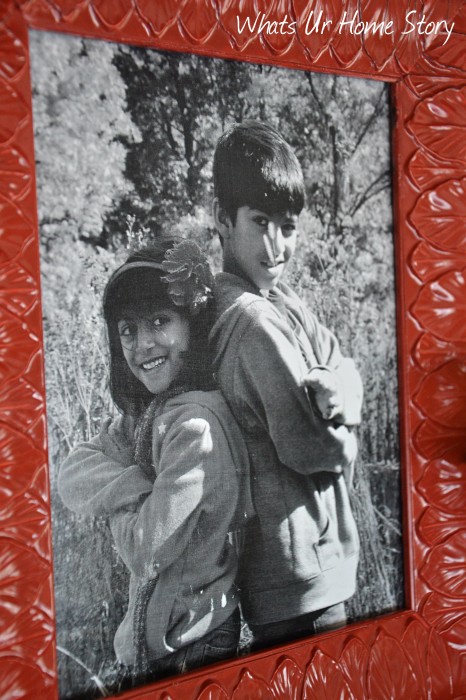
Wait, there is more. If you don’t want to tackle a large canvas then the medium works great on smaller versions too like this pic of my two monkeys transferred onto a canvas board.
To create your own personalized photo art you need;
- Mod Podge Photo Transfer Medium -you can get this at Micheals
- Foam Brush
- Canvas/ canvas board – I used a 16 x 22 canvas for the word art and an 8 x 10 canvas board (left over from my paisley art project) for the kids’ pic
- Ink jet print out of your photo on regular printer paper (not the real photo) – I printed the word art at Kinkos as an ‘Engineer’s Blueprint’. The other one I just printed on my home printer.
- Sponge
- A protective surface to work on
- (Regular) Mod Podge – Gloss or Matte depending on your preference
If you are using a photo with words/writing on it then you have to reverse the pic before you print it out as the photo transfer will give you a mirror image. I didn’t do that to the kids’ photo as I didn’t really care if it was reversed or not.
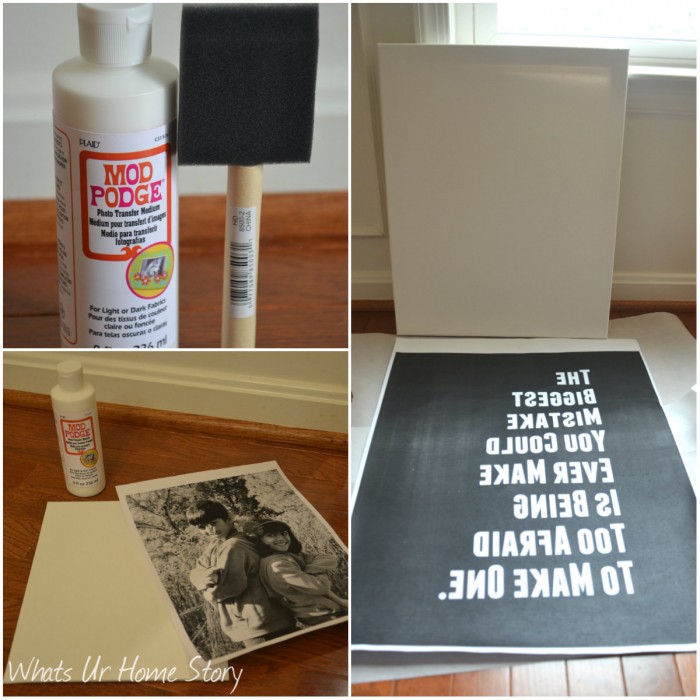
Those of you who follow me on Facebook might have seen this quote that I shared last week. When I showed it to my son he said, “Amma, that is so me. Some one need to remind me of that always.” And I thought what better way than to hang it in his room! I wanted more of a vintage word art feel for it like the Lithograph Maps you see at Restoration Hardware. The Mod Podge Photo Transfers were perfect for that look. I made my own poster picking fonts, style, vintage effects etc. on Pixlr. Remeber to cut out any white edges from the print out or they will get transferred as well. I didn’t do it for the word art as I had made the print out an inch larger than the canvas on all sides so that I could wrap it around the edges. I figured I could trim the edges out with an Xacto knife in the end. On a side note, if I had to do it again I would make the pic the same size as the canvas (will tell you the reason soon).
Once you have all the supplies, place your print out face up and spread the photo transfer medium over it evenly with the foam brush. You want to get full coverage but don’t over do it. I might have used a lot more than needed for the word art as my paper got soaking wet, which in turn caused some issues later on. Wipe away any extra photo transfer medium from around the edges so that it doesn’t dry.
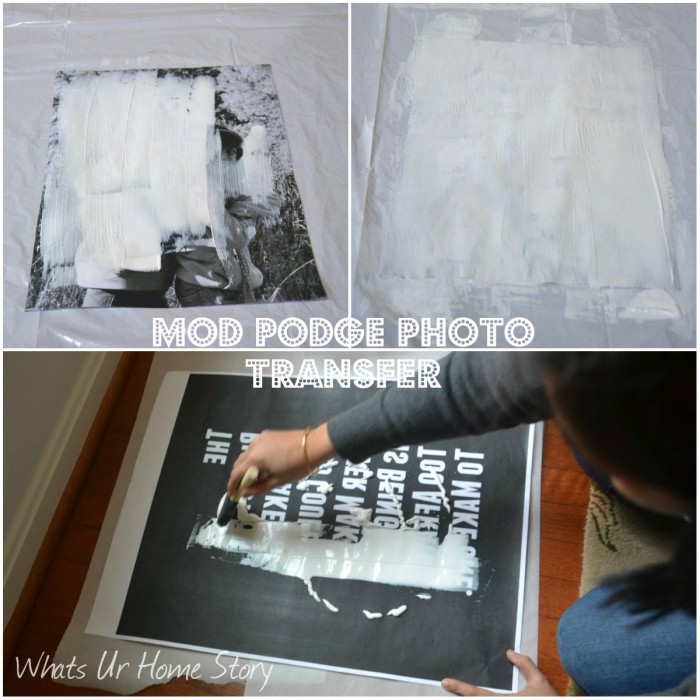
Place it over your canvas (medium side down) without touching the medium and press it down gently. Using an old credit card starting at the center smooth out any air bubbles. The process worked great for the kids’ photo but for the word art, as I had said earlier I used way too much medium and my paper was really wet. When I realized that the paper was wet I panicked and in a hurry pressed down the sides. ‘Coz of which I had a hard time removing the bubbles on the word art.
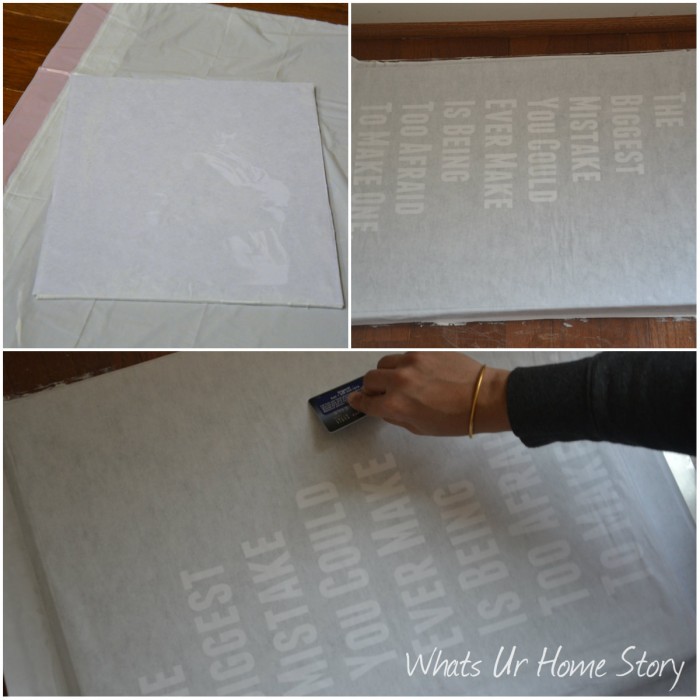
So if you are working on a large piece of art take your time to ensure that you’ve removed all the air bubbles. Let it dry for 24 hrs. Yes, leaving it alone for that long is the key part.
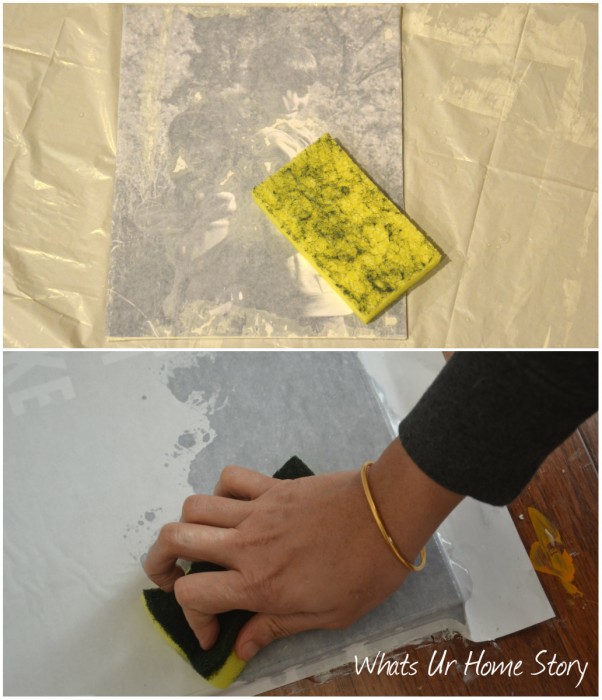
Now using the wet sponge, in a slow and gentle circular motion, rub off the wet paper from the transfer.
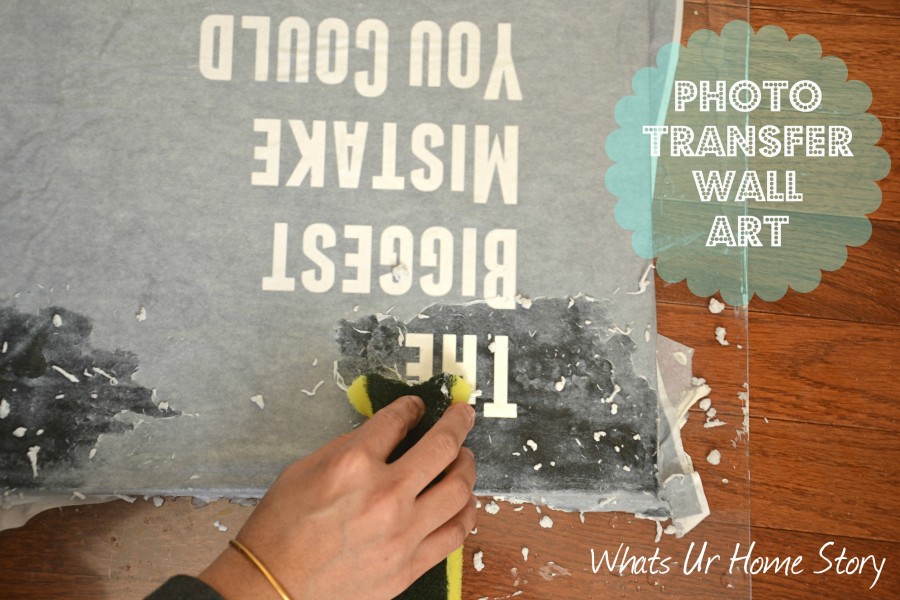
Let it dry and repeat the process till you are satisfied with the look/ have gotten all the paper out. It is a messy process but totally worth it. Just be careful that you are not too harsh with your rubbing as you might rub the transfer medium off. For a large black and white piece like my word art I had to do the rubbing 4 times. Even after all the rubbing the transfer might appear a bit milky. No worries, a coat of Mod Podge (the usual) in the end does double duty; seals the masterpiece and works wonders on saturating the color. And there you have it!
Don’t you love it my son’s explorer themed room? Got plans to add some hooks below it.
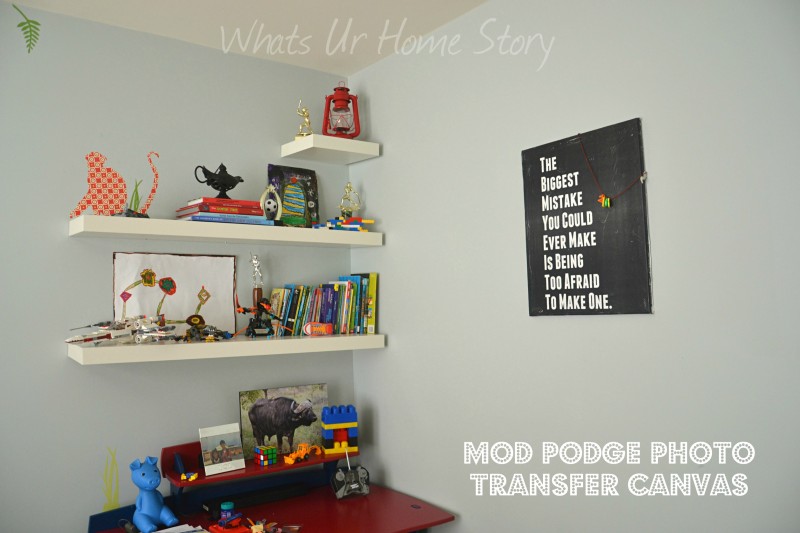
Here’s a close up;
And the kids’s photo on my floating shelf in the family room….
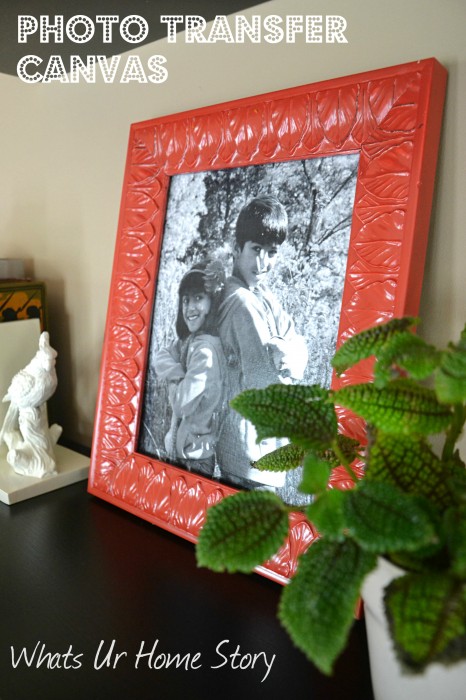
I got the frame at Ross for $6.50, spray painted it Krylon Pimento (was black originally), and took the glass out. You can see the textural details better in this shot.
So who all are heading to Micheals? 🙂
Visit Paint Me Plaid
Like Plaid Crafts on Facebook
Follow Plaid Crafts on Pinterest
Follow Plaid Crafts on Twitter
This post was written as part of a campaign with The Blueprint Social. All opinions are my own.


Great DIY project, thanks for sharing!!
Thanks Bindu.
This is beautiful Vidya, I am definitely gonna try this and when I do..I will send you the pic:)
Thank you Nayana. Please do.
Vidya
What a wonderful quote! I love the bold black and white – so fun!
Thanks Amy. It was fun trying the medium out.
V
I love how your canvas turned out! The quote is fabulous!
Thanks Ashlee.