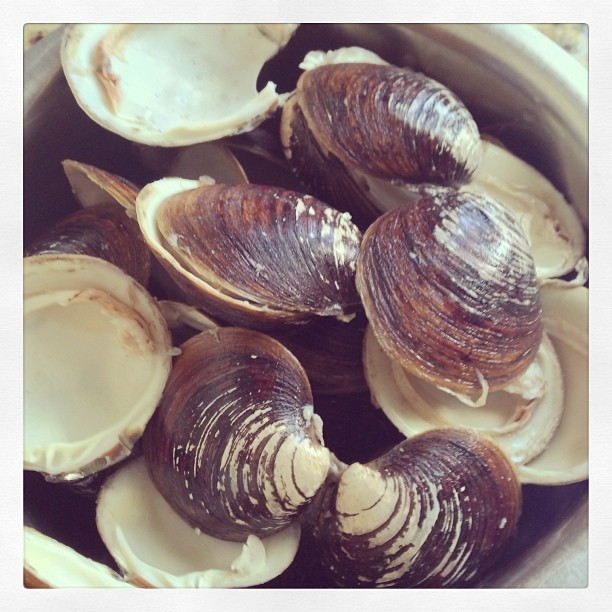
Last month I teased you with this Instagram picture of the clam shells left over from lunch.
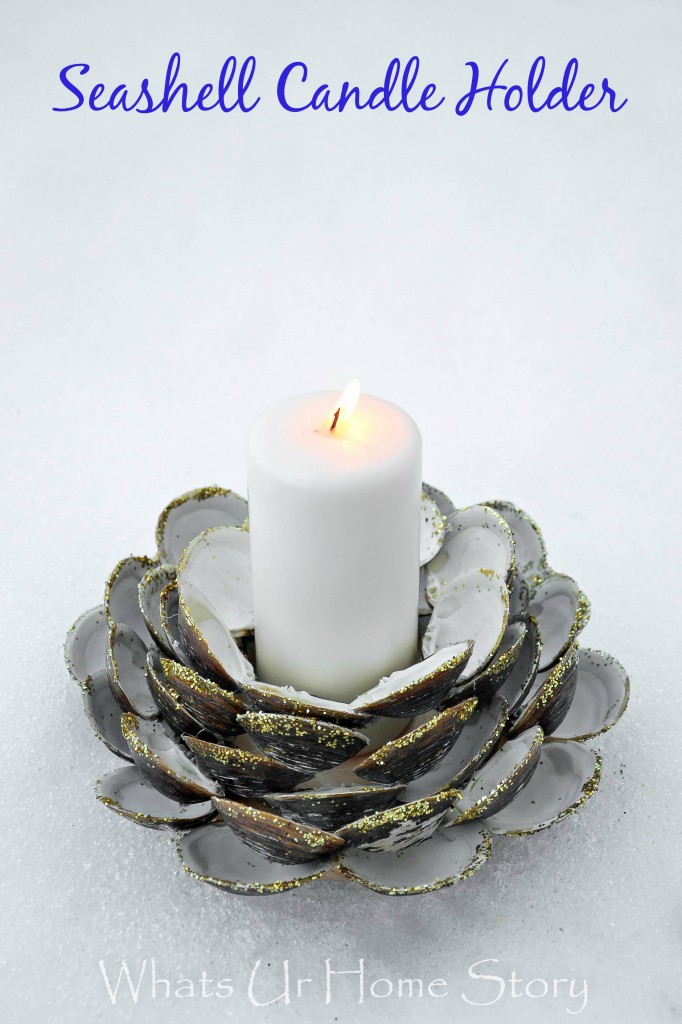
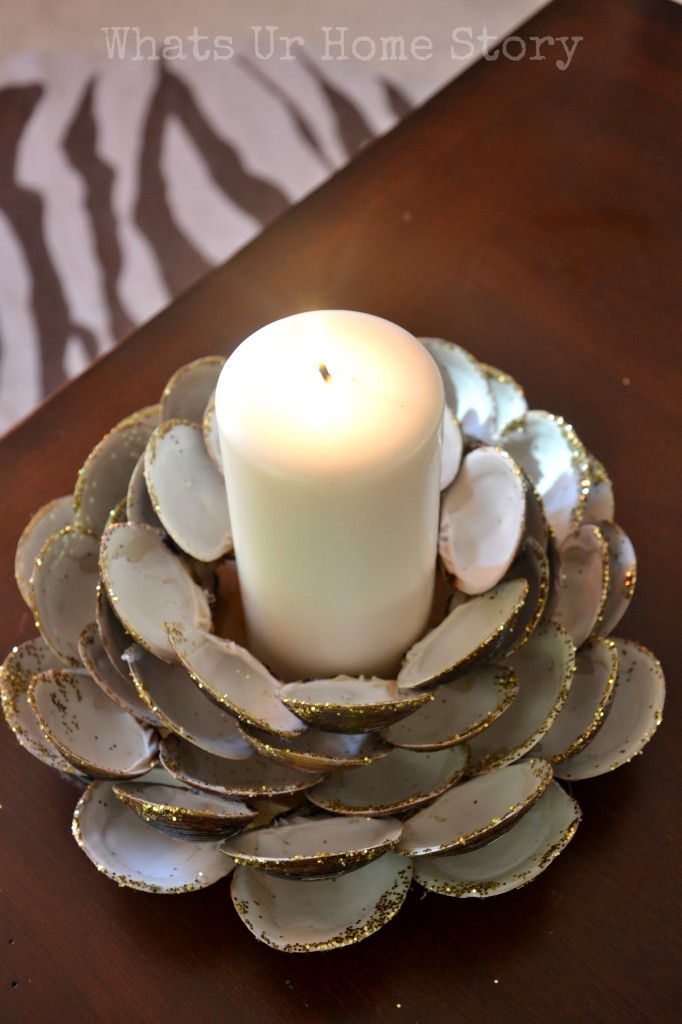
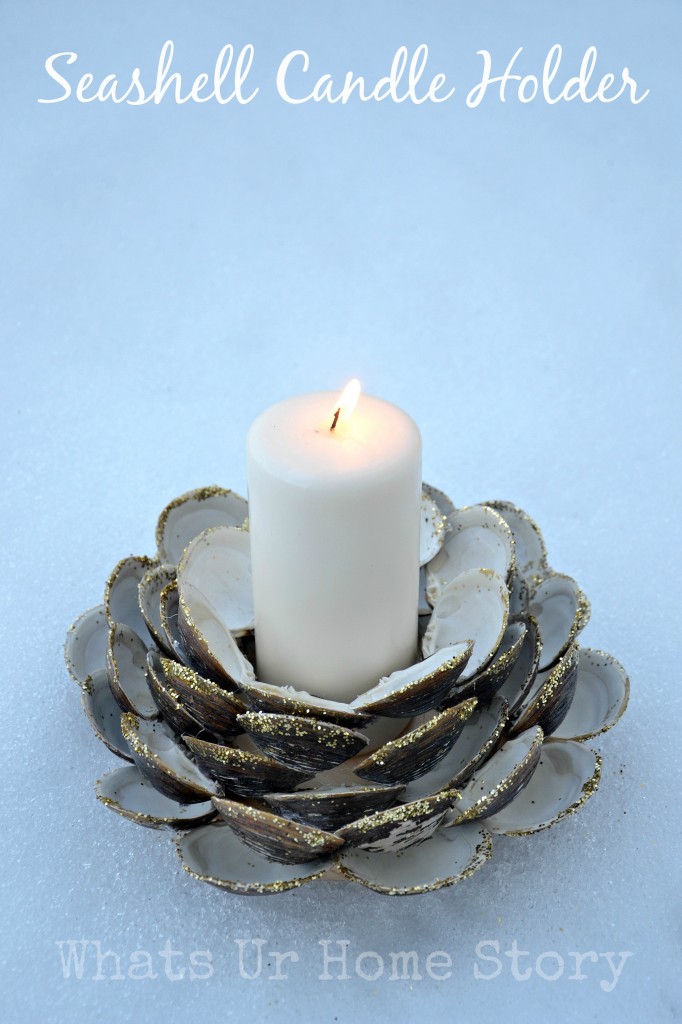
Now they are eye candy in our home. A bag of clams to fill our tummies doubling as home decor, isn’t that neat?
We are big on seafood so it pretty normal to have Clams or Mussels for lunch or dinner but the funny thing is I have never thought of saving the shells till now! Strange how you are always on the look out for new ideas once you let your creative side loose.
Before we get into the details here is a short long list of what you should not do.
- To clean do not soak the shells in soapy water. Luke warm water is best, maybe a quick rinse with soap to get rid of the smell but a long soak is a no -no as that dries them out.
- Do not store the clean shells in an grocery bag. Do the project as soon as they are dry. If you have to store them away then try not moving them around. The reason; they rub against each other causing the sides to chip. These sides can be quite sharp.
- Paint or Stain the base before you even start the project. Don’t be in a hurry like me.
- Sort your shells by size beforehand, saves you a lot of panic later on.
With that out of the way let us start.
Materials
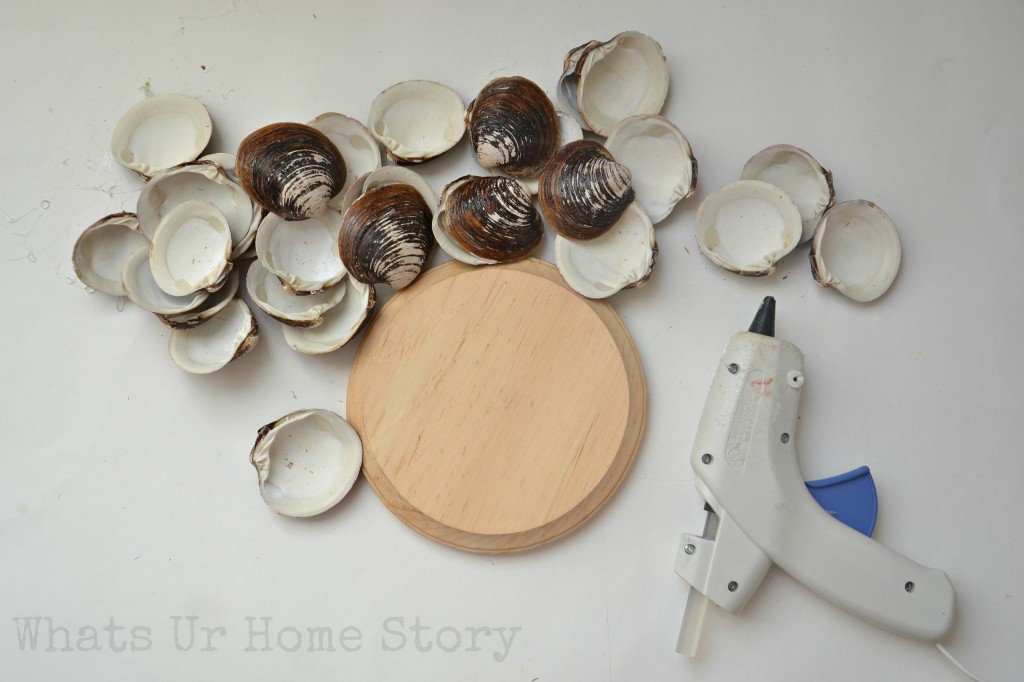
Shells – I used whatever I could save from the usual mesh bag that you get at the grocery store. A wood plaque or base – I had bought 3 of these for my sunburst mirror project from Micheals and never returned the extras. Hot Glue Gun Mod Podge Gloss (not shown) – again from Micheals Glitter (not shown) – Left over from my Christmas Ornaments also from MichealsTutorial
- Paint/Stain the wood base. Was too excited to start the project that I didn’t want to wait for the paint to dry. I plan on doing this soon.
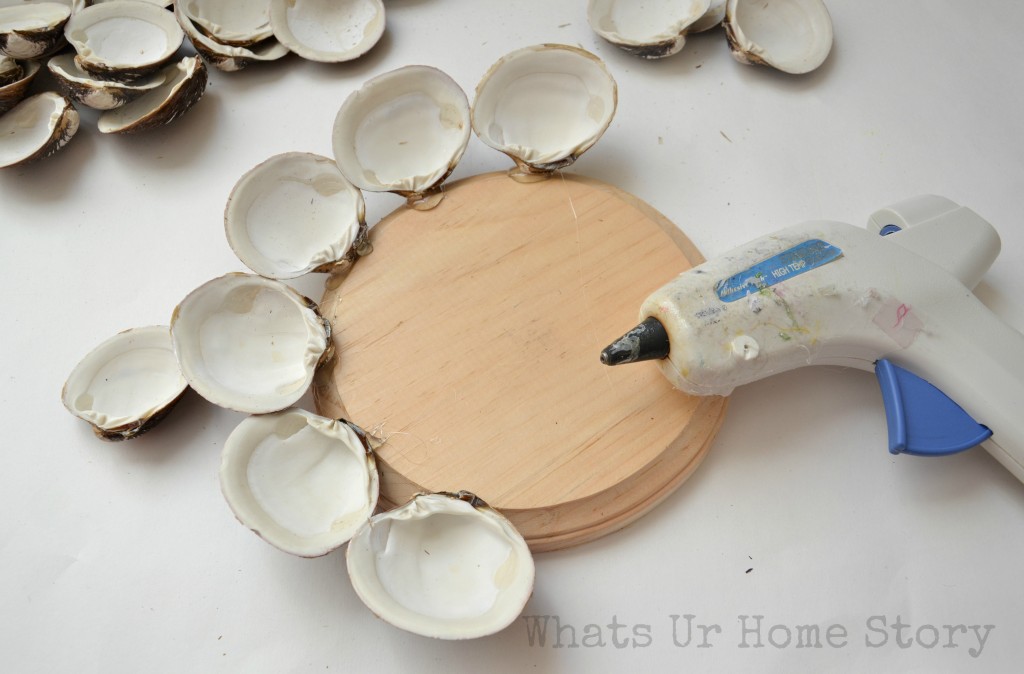
- Start by gluing the shells to the sides of the wood base.
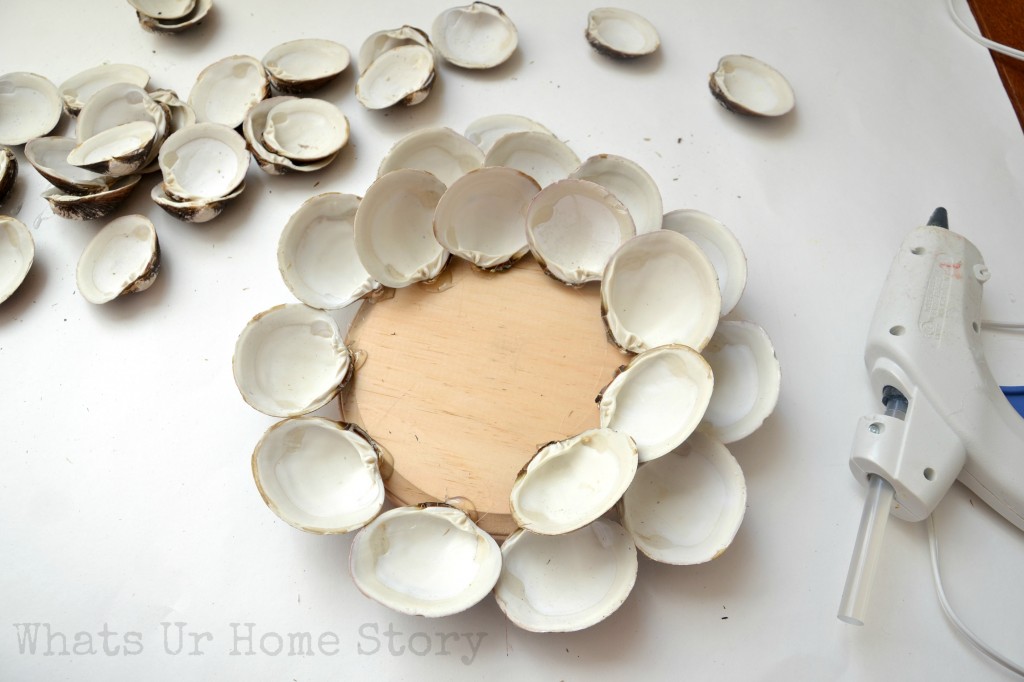
- Move onto Layer 2. This time start where the shells overlap.
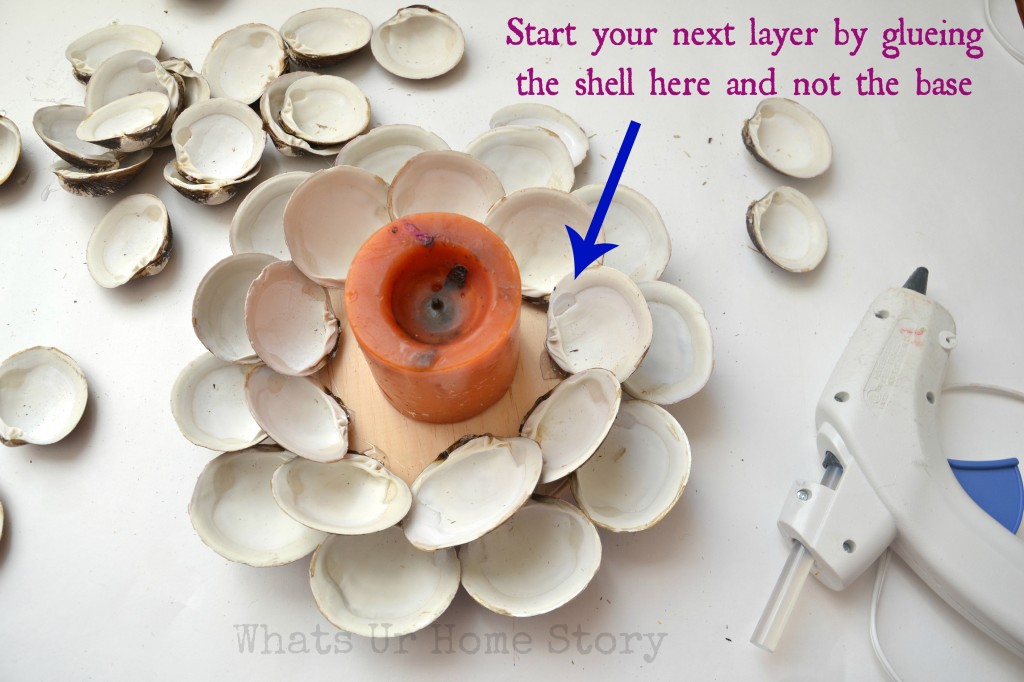
- For your third layer glue the shells to the joints between 2 shells in the previous layer as shown in the picture.
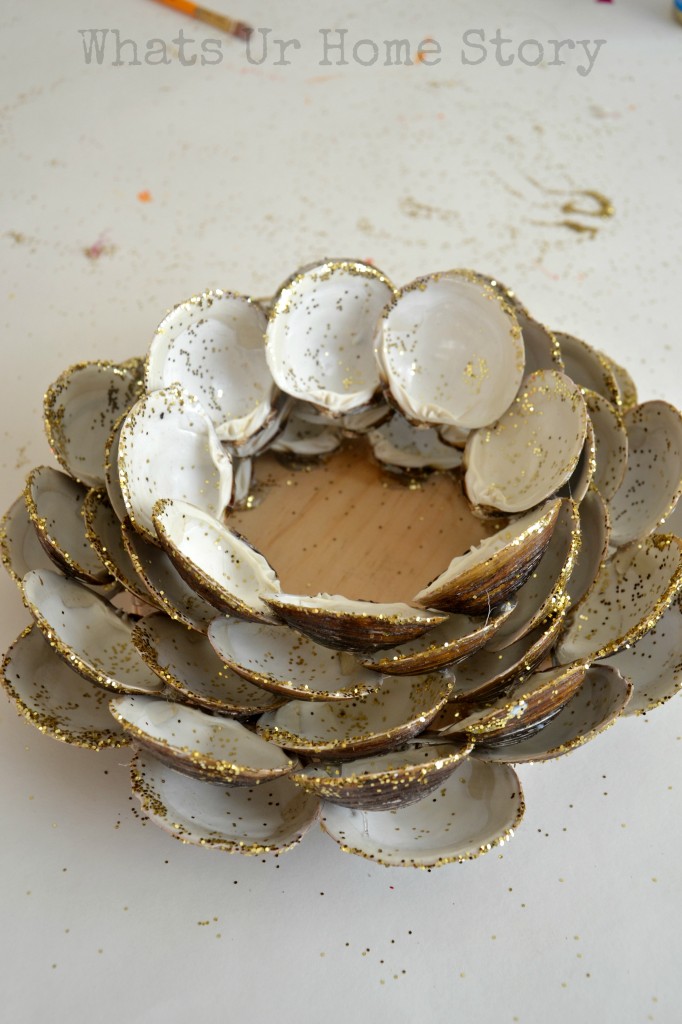
- I just realized that I have the British spelling for “gluing” in the above picture. Too lazy to change it out now. Anyways as I was starting the innermost layer I realized that there was a gap between the 1st and 2nd layers. So I added another layer in between. Also it is good idea to just keep a pillar candle in the center while you are working so that you leave enough of an opening in the middle.
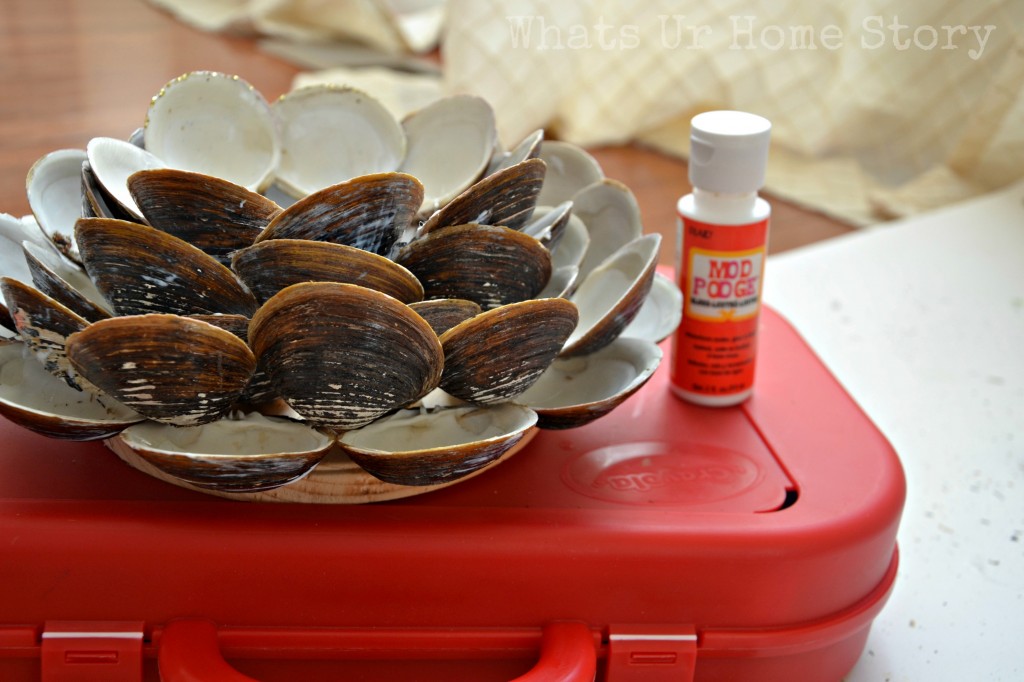
- Time for ModPodge Gloss. Coat both the inside and outside of the shells.
- Once the Mod Podge is dry I went back with more Mod Podge just on the edges of the shells. Before the glue dries apply the glitter to the edges.
- Shake off the excess glitter. You can brush the stubborn glitter off with a paint brush. And that’s it! Your own piece of handmade beach decor.
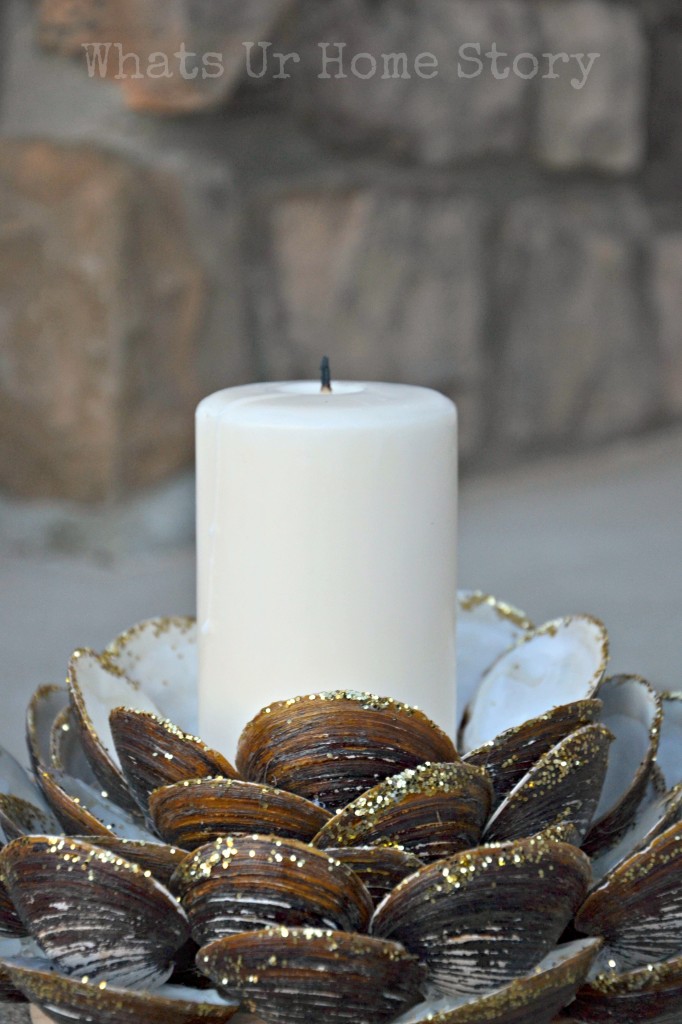
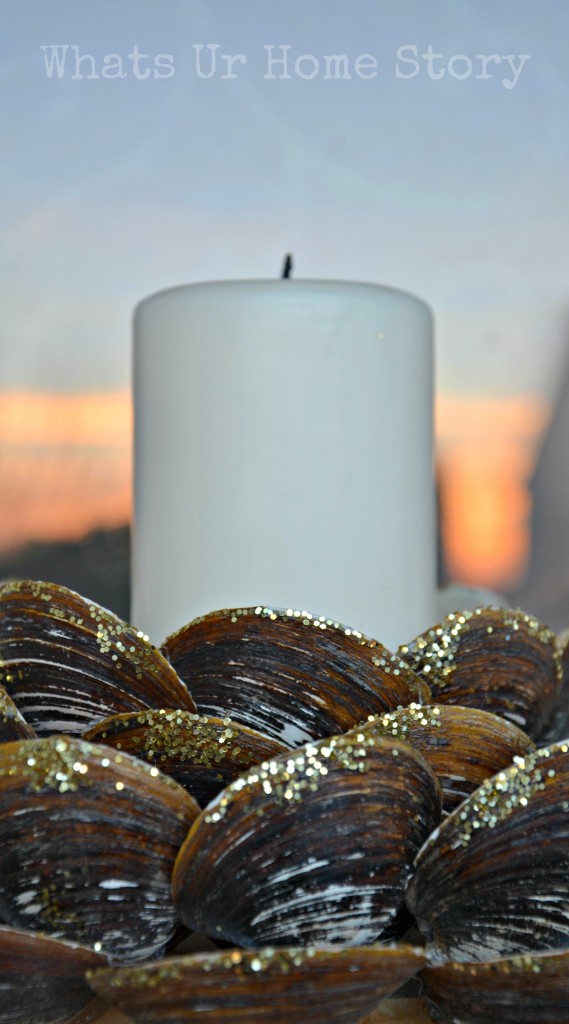
A close up;
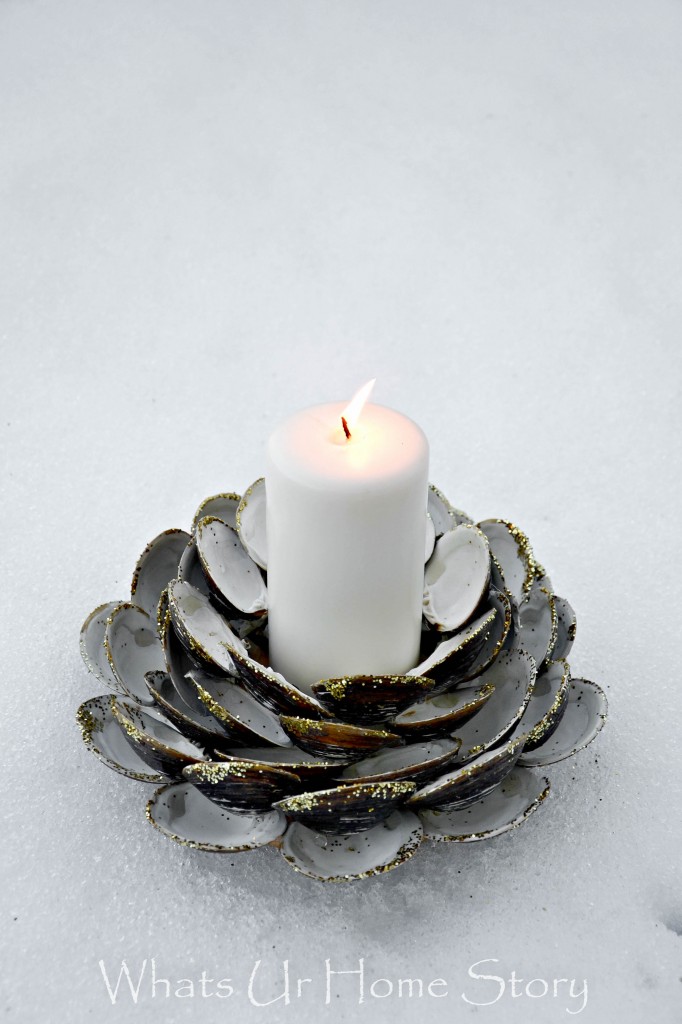
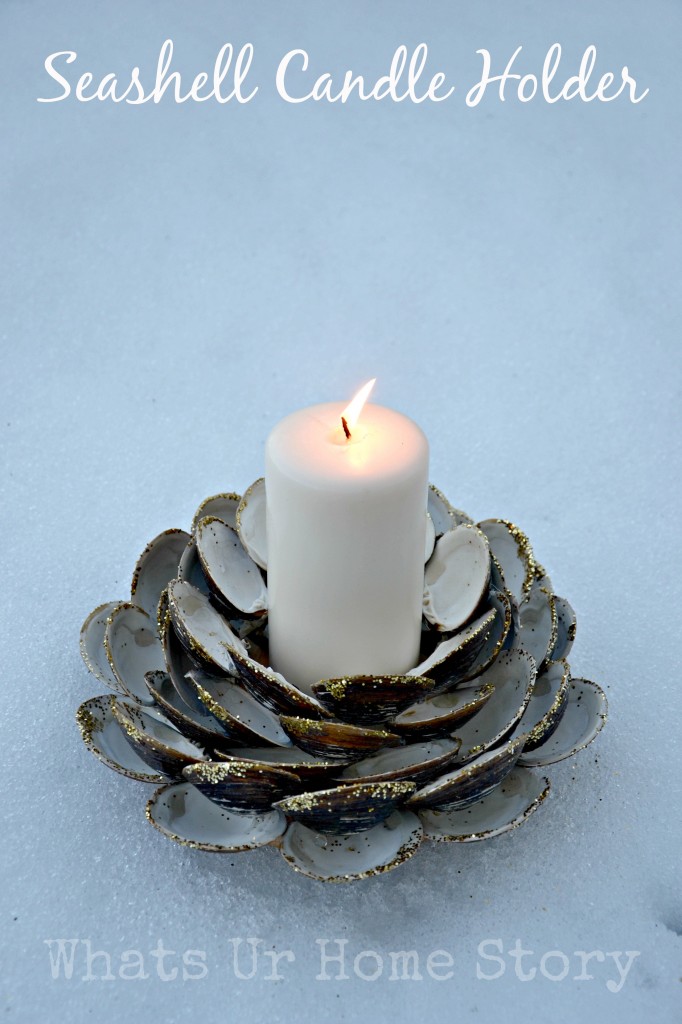
And just because I’m uber proud that I had the brainwave to shoot them out on the deck in the snow one more snow shot.
Do you love seafood? Ever saved the shells? What did you do with them?
If you liked this project then you would definitely like my other cool beach inspired projects; DIY barnacles (Yes who does that! But they are so cool, you’ve got to see them).
Update: Totally forgot to add this to the post earlier, this year too Whats Ur Home Story has been nominated for Apartment Therapy Homies Awards in the 2 categories; Home Projects & DIY and Home Design & Inspiration. Would really appreciate if you could head on over and vote. The best part is you can pick more than one favorite so shower your love on all your favorite bloggers! Thank U!
Home Projects & DIY and Home Design & Inspiration


Neat idea,Vidya!!! It’s quite similar to the lotus glass candle holder from Arhaus.
Oh yes Anu it does look like that votive holder. I so want to make one with Mussel shells. They would look beautiful with their blues and greens. Next time.
V
Love it. I’dlove to have something like that in my home!!!
Thanks Jes. I’ll make you one with better looking shells. 🙂
Vidya
Lovely Idea…Vidya, I remember using them on posters back home for Peacock feather!! this is beautiful.
Thanks Shiji.
Upcycling shells…love it! Very creative…and beautiful.
Thanks Lisa.
Vidya, This is one of your beautiful DIY. Love it. We are vegetarians. I will have to pay a visit to the beach for the shells….:-).
Thanks Reshma. I think you can buy them at the dollar store or Micheals, those won’t have the rustic look though.
Vidya
How creative this is! I live in a desert climate so access to clam and mussel shells is rather limited, but what a great idea for other found objects that are similar. I love this!!
Yes, Donna. It is a very versatile project. Can replace it with driftwood,manzanita branches, even stones. Thank U!
Vidya
So clever! It turned out great. I like the touch of sparkle.
Thank Jae, I couldn’t resist using the glitter. 🙂
V
This is so cute Vidya…am so gonna try it. My friend just got married & I wanted to gift her something hand-made…thank you for helping me out! 😉
Thank you Priti. Sounds like a plan!
V
This turned out great Vidya…….and congrats on the nominations. You have my vote:)
Thanks Shruthi.
I am vegetarian but collected so many sea shells from the beach. Now I make them to use for to make a candle holder. Thanks. I used the smaller one with the bamboo plants ( in the rectangle glass vase) and the plant is doing very good.
Beautiful!!!!
Gorgeous, Gorgeous, Gorgeous, Gorgeous!!!!!!! ♥
Love this! Will be attempting to make with oyster shells next week. The touch of gold should be perfect for the party it’ll be used at!