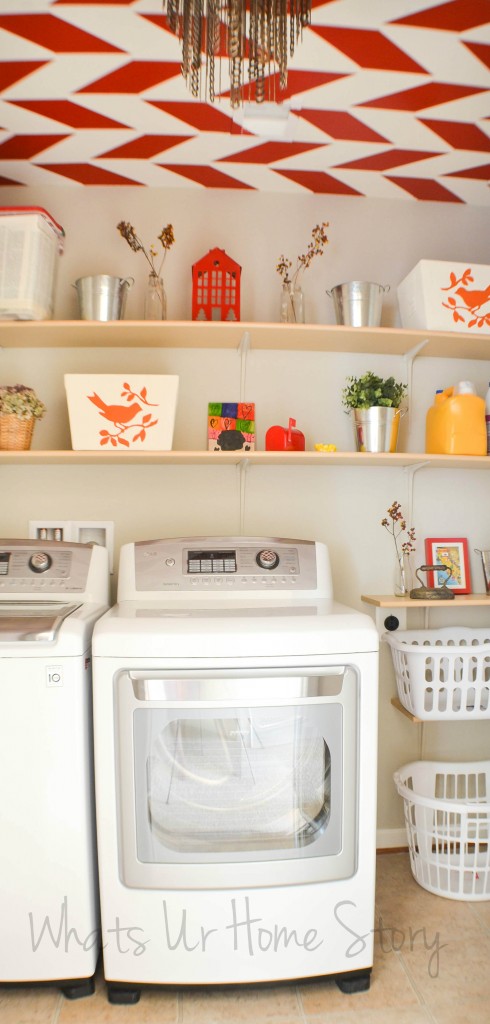
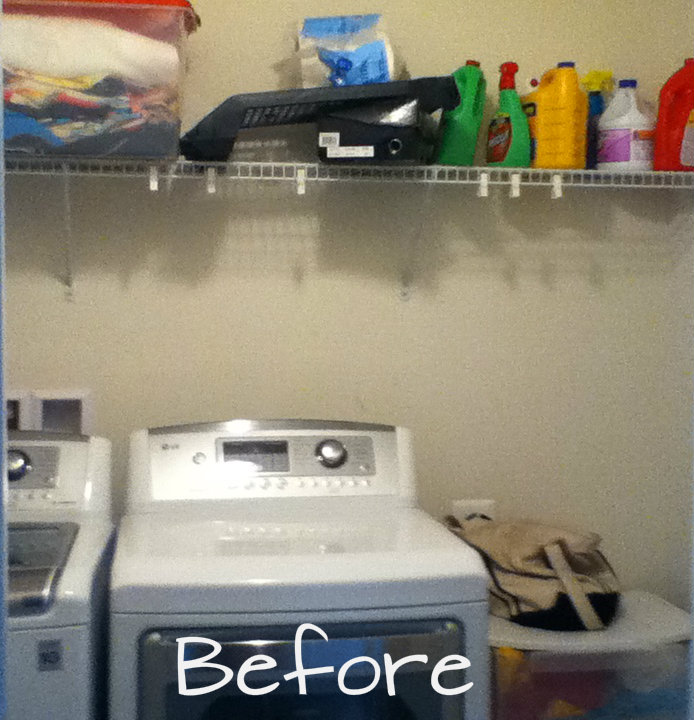
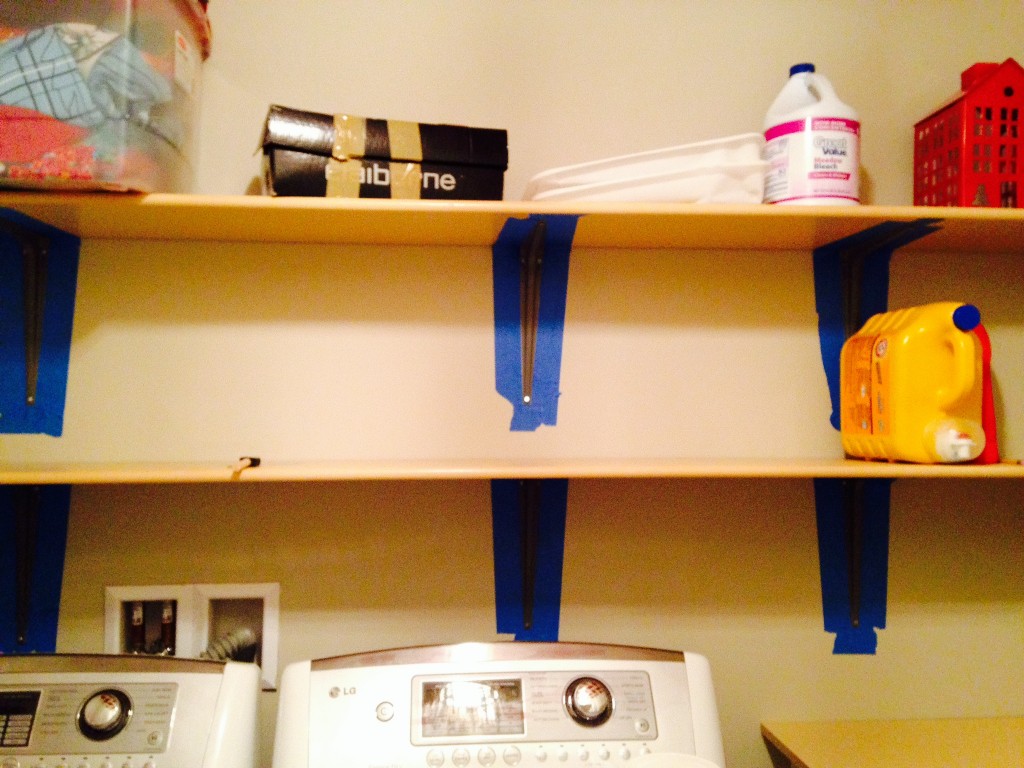
Before I even begin the post on how we added the wall shelves in the laundry room, you need to see why we added them. Yes, of course for storage but an idea of what we were dealing with is gonna make it very clear. Headsup: Most of the in process shots were taken with an Iphone or Itouch camera at night, so the picture quality sucks.
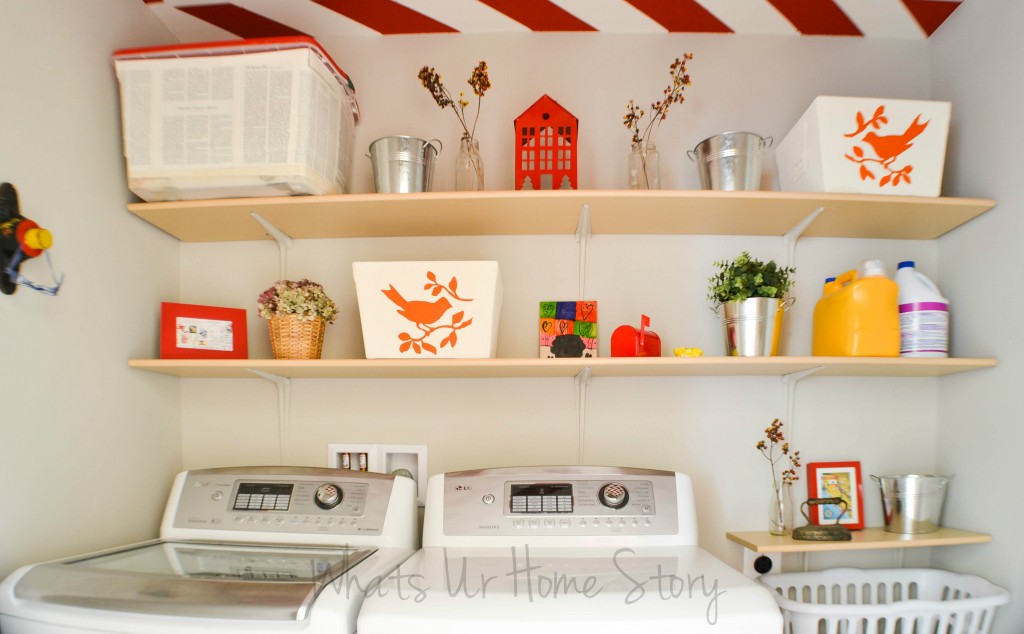
We only had a wire shelf that was way high up (same level as the top shelf in the After shot). This meant that the 5.3ft tall “moi” (my daughter’s current favorite word) had to tip toe ever time I wanted to take the laundry detergent. We also keep extra rolls of toilet paper and cleaning supplies common to all the upstairs bathrooms in the laundry. All this meant that with loads of heaped laundry piles that needed folding, space was a premium in this tiny room.
Our plan was;
- To make the shelves accessible for me without tip toeing.
- More shelf space
- Get the laundry baskets off the floor.
- Keep the cost of the makeover to a minimum.
Originally we had planned on using regular unfinished wood boards as shelves but the Home Depot rep strongly discouraged us from doing so saying that a natural wood shelf would bend with time and that we were better off with a composite material.
How to make Simple DIY Wall Shelves
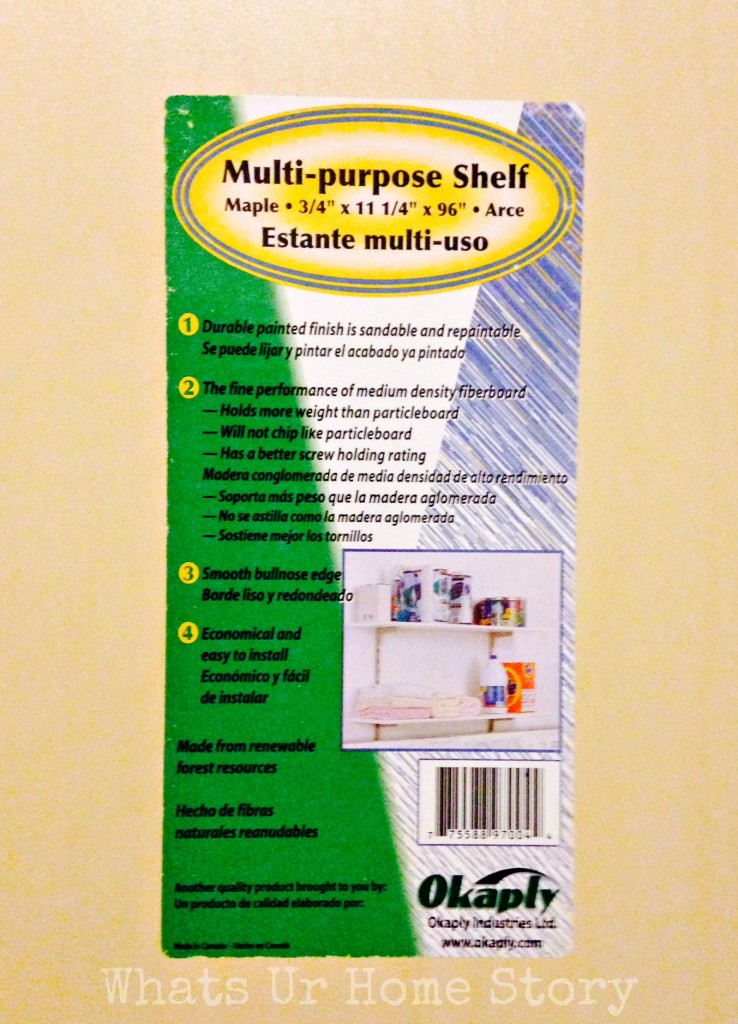
Enter “Multi-purpose Shelf” by Okaply.
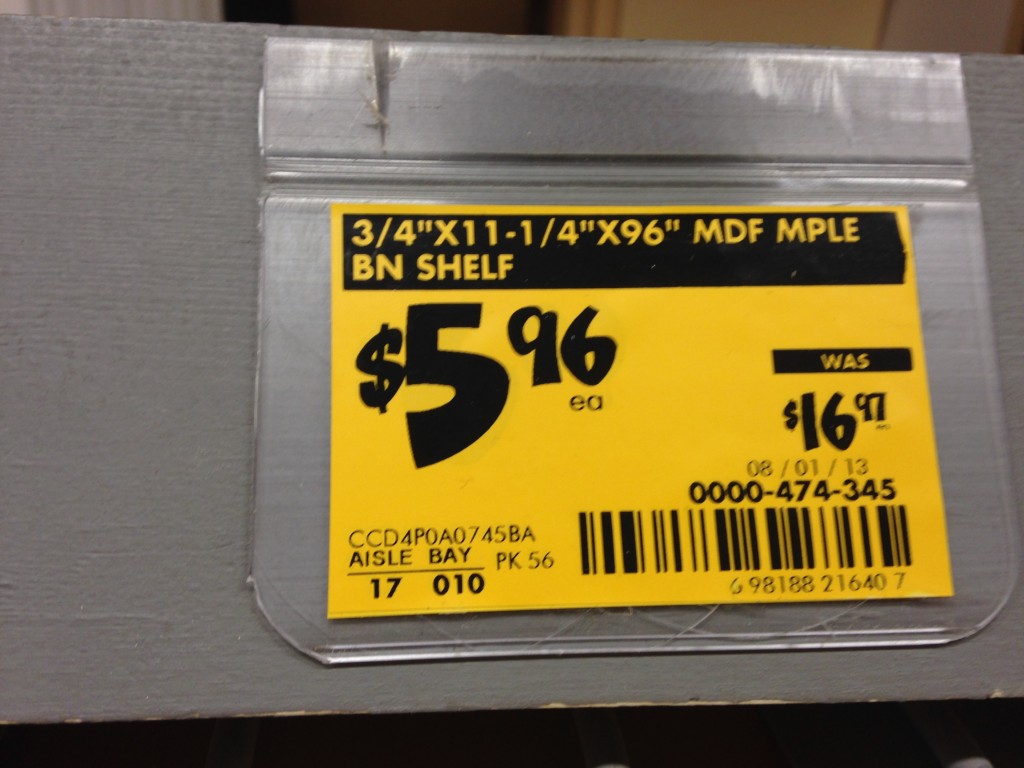
It has a durable painted finish that is sandable and repaintable, a bull nose edge, and is made from renewable forest resources. The best part, it was on sale! The Maple finish was marked down from $16.97 to $5.96!
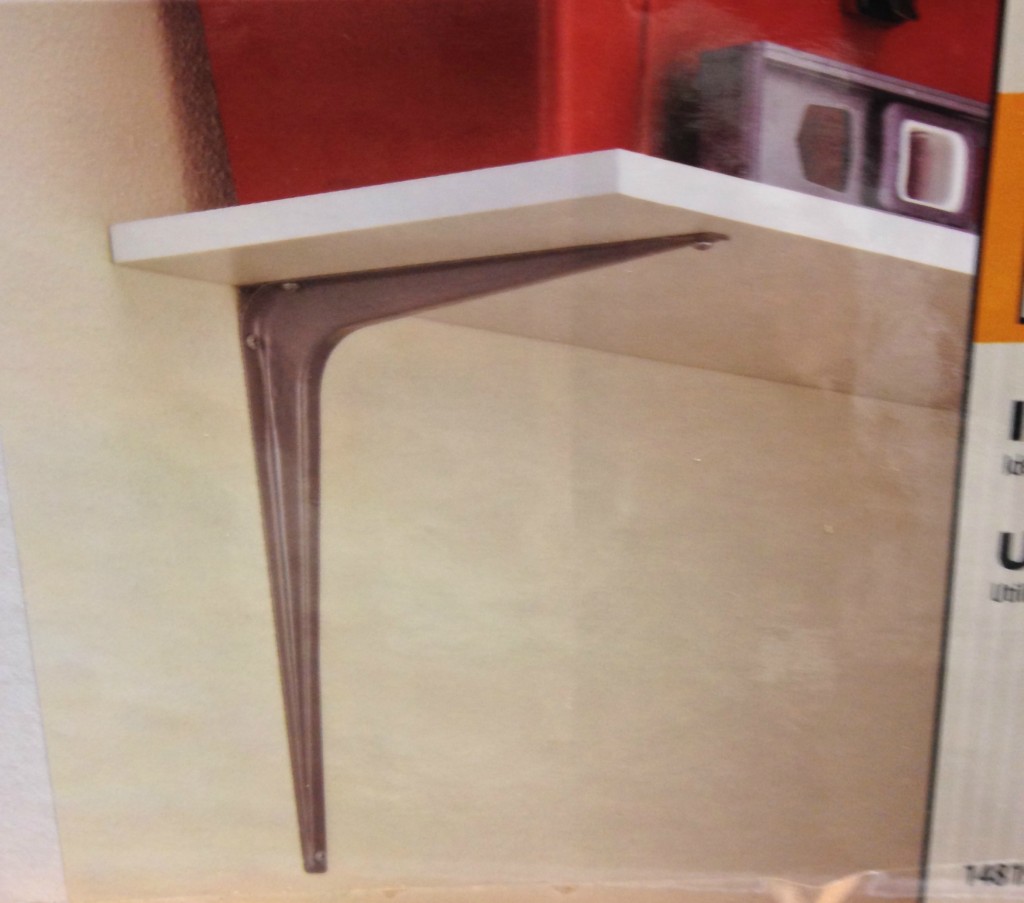
Ideally we would have preferred the white one but the only one on sale was the Maple finish (this was during Christmas time). We figured if we got the Maple we could paint it white if we couldn’t make it work. For support, we got regular shelf brackets like these;
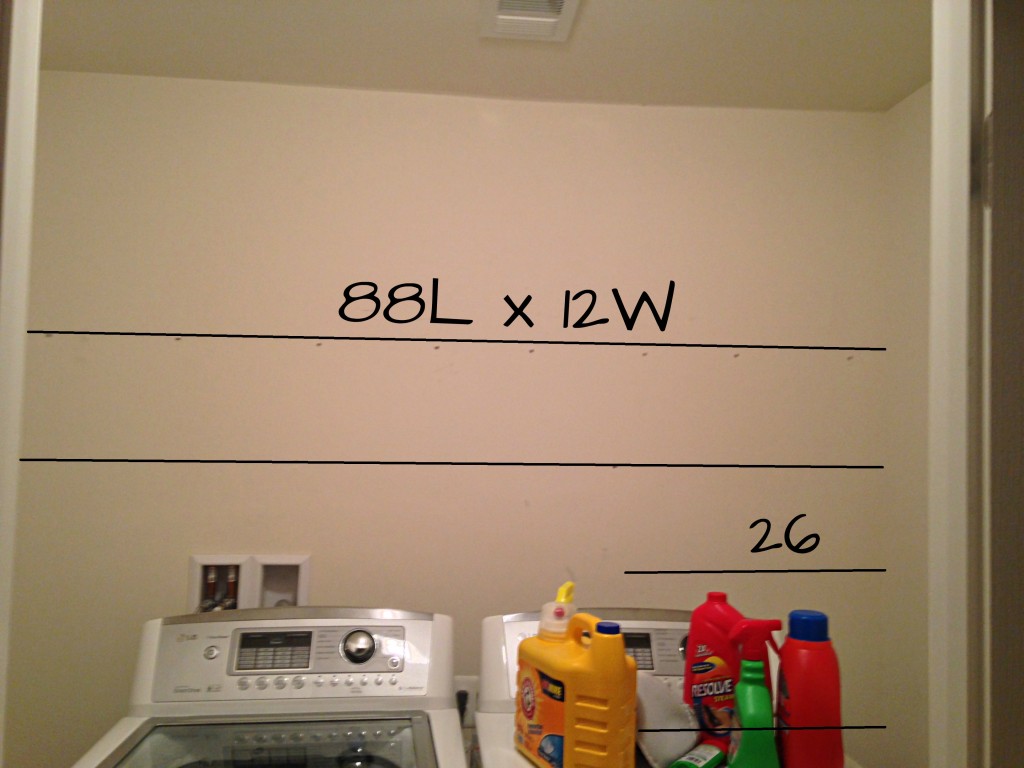
Think they were a dollar and change each. Again should have gotten the white ones but they didn’t have as many as we wanted in white. So went with gray. Before we went to Home Depot I had done a rough sketch of how I wanted the shelves in the room, aka.
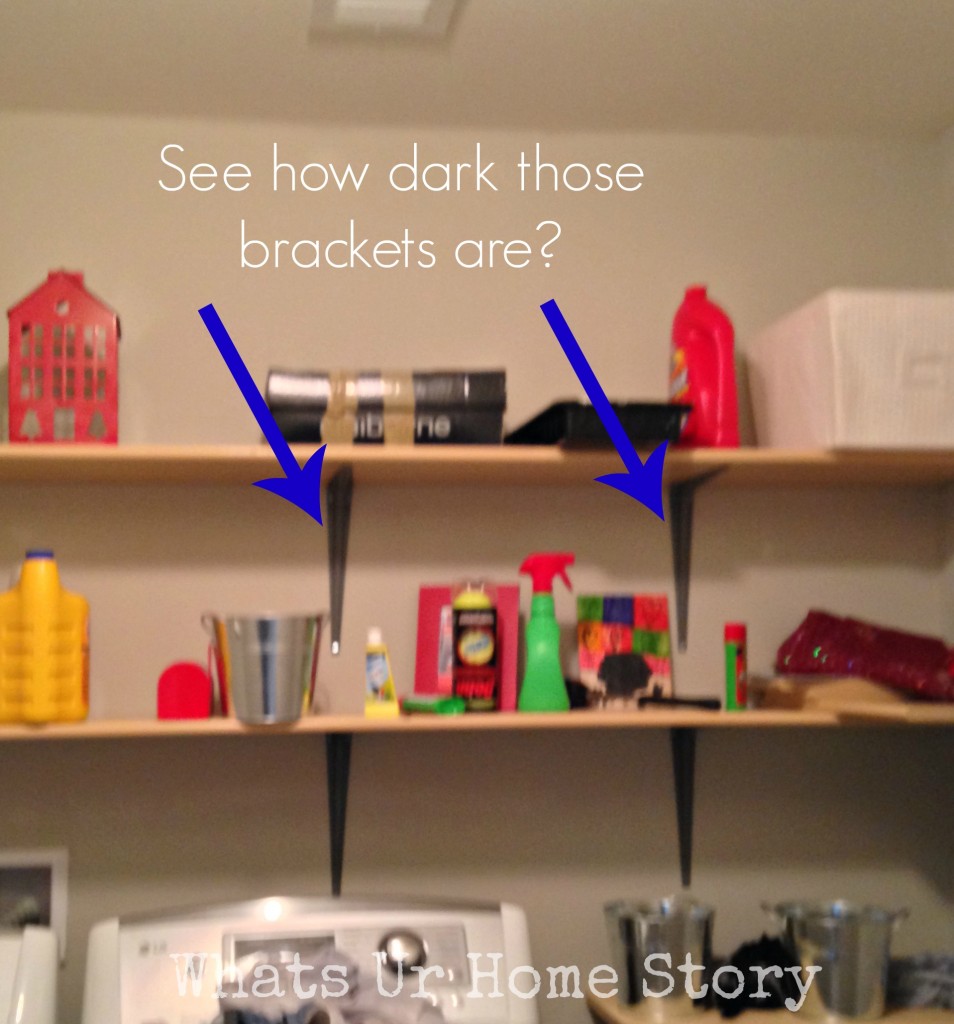
We bought 3 boards of the shelf and got it cut to two 88″, a 26″, and a 24″pieces. Did you know, folks at Home Depot will cut your wood into whatever size you want free of charge? Once we got home I decided to be brave and take a chance with the shelves and brackets, i.e. leave them as is and not paint them white.
For once the installation went pretty smoothly aka. no big fights between us. Just a little background about us if you are new here; we work so well together that we end up arguing even when hanging a picture frame! 😉 I think the secret this time around was that we used only dry wall screws. It is when we take out the stud finder and try to find out the studs that we end up arguing! 🙂
But then………
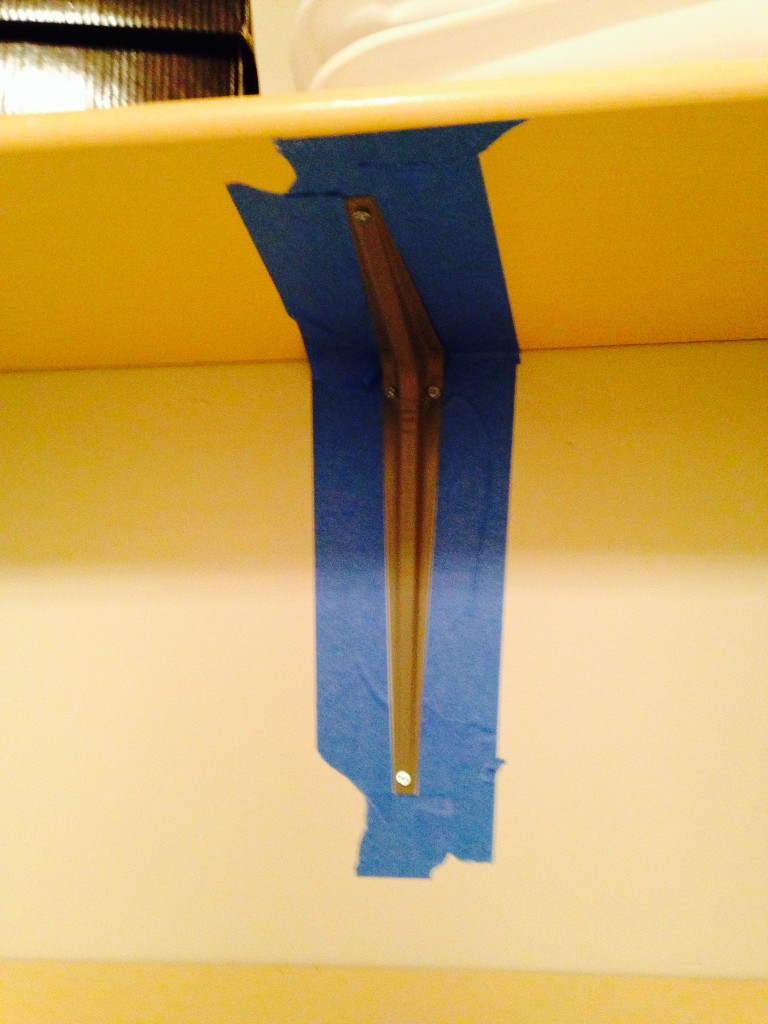
Oops..messed up big time. B was adamant that he was not gonna take the shelves down. What’s a girl got to do?
Painter’s tape! The process was tedious but worth it.
I went over the bracket with 2 coats of Kilz primer followed by the wall paint color and like magic everything was well again!
Have you been working on any projects lately? Do you work well with your spouse on house projects?


Appreciate your post Vidya! I am planning to makeover my closet and these maple shelves are what I need ! Lovely post as always!
Thanks Sirisha. Closets are on our To Do List too. We’ll get to it eventually.
Forgot to ask…. Did you buy the shelves in home depot?
Yes, we bought them at Home Depot.
Thanks for your post! I’ve been looking to make simple shelves, but couldn’t find any info anywhere else.