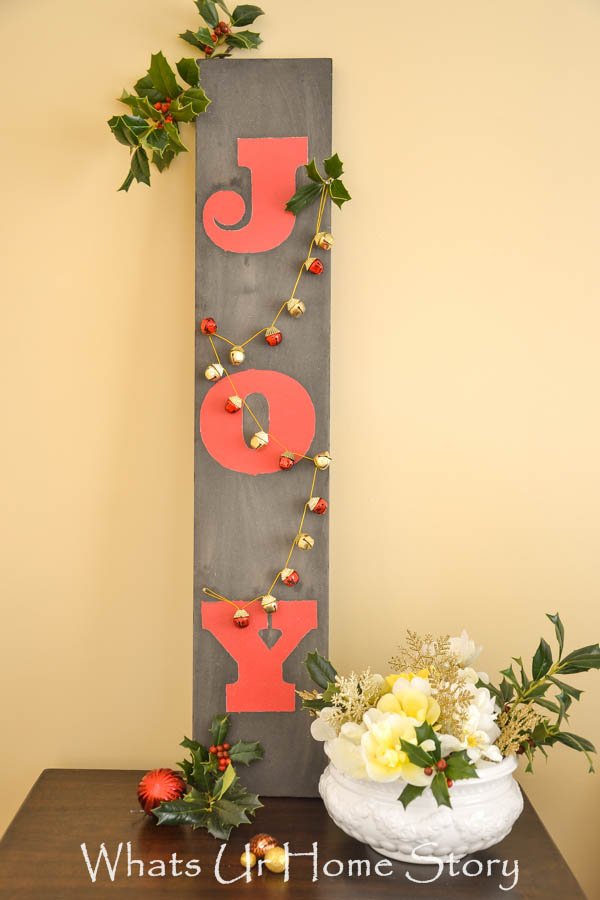
I was looking through my old pictures the other day and realized that I never shared with you all the tutorial on this DIY Joy sign I made last year. To give you some background, this pretty holiday sign had very humble beginnings aka. a HomeGoods clearance aisle word art plaque that after a pathetic makeover attempt looked like this.
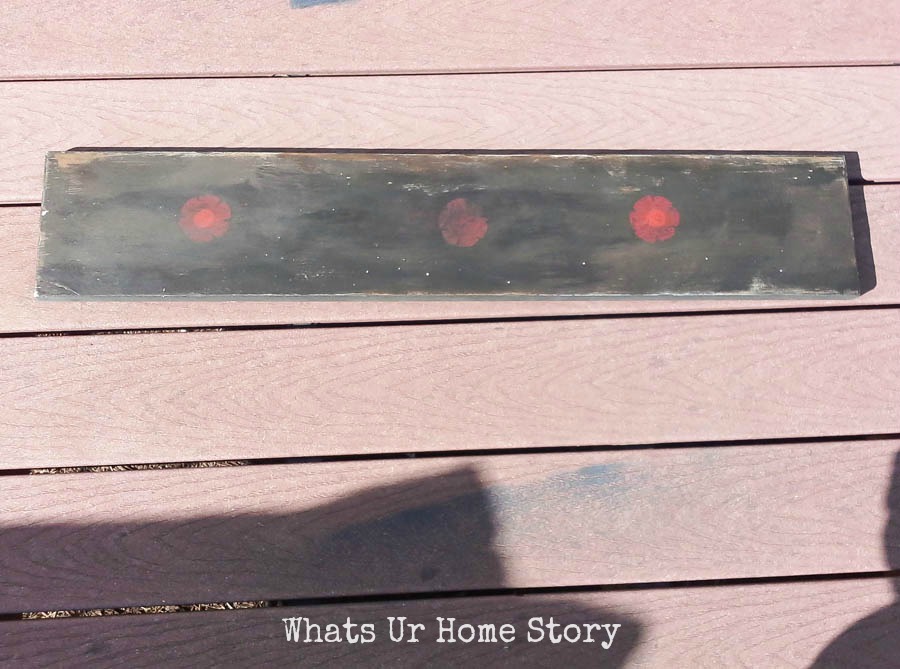
What a great transformation! The MDF board even looks like driftwood!
To get the look, I used the same DIY Driftwood wood finish product that I had used for my daughter’s jewelry organizer. It took me about 3 coats to get the MDF to look all weathered and driftwoody.
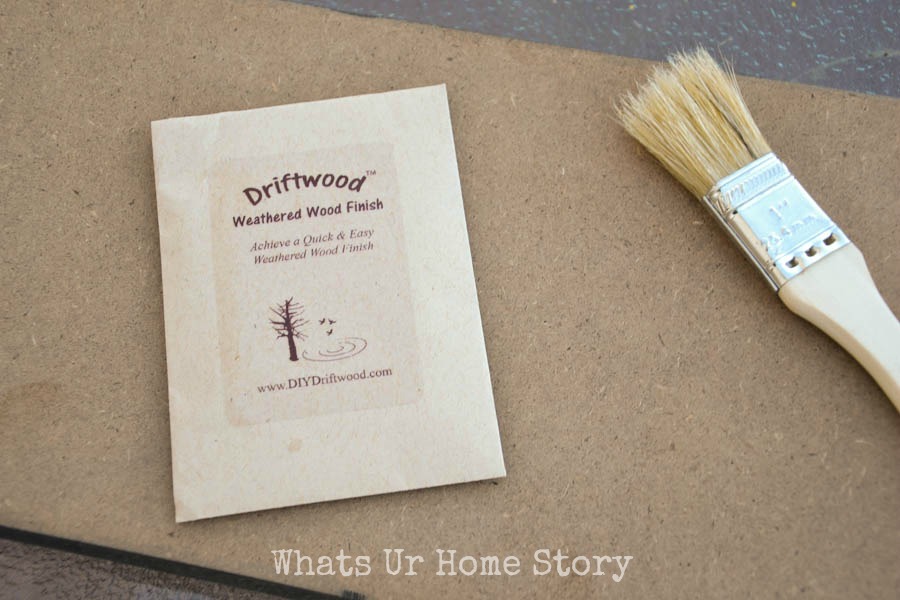
If you can’t get a hold of the driftwood product you could just prime a regular piece of wood (again similar to what I used for my daughter’s jewelry organizer) with a coat of your favorite stain and distress it slightly with sand paper. I think even a coat of cream or vintage white will look great too with a distressed paint chipped look. Once you are done painting the letters you could distress it even more with some dark wax. Oh, that sounds like a great project! Anyhoo to make this Joy sign you need the following;
Materials
- A primed piece of wood plaque in whatever finish you like (driftwood/stained/painted)
- Kilz Primer
- Red Craft Paint
- Paper Letter Stencils (2 copies of each letter; I just played around on my computer until I found the font I liked and printed them out at home)
- Sponge Brush
- Tiny Nails
- Jingle bell garland (Dollar Store)
- Painter’s Tape
- Exacto Knife
Method
- First we need to make the stencils from the letter printouts. With an Exacto knife cut the letters out, being very careful with the letter “O”. Do not throw the center circle away! We need that for our stencil.
- Tape the letters to the wood board and with a sponge brush paint inside the stencil with the Kilz primer. As we are painting over dark wood with a strong and bright color we need to use a primer first. Otherwise we will need many coats of the red to look bright.
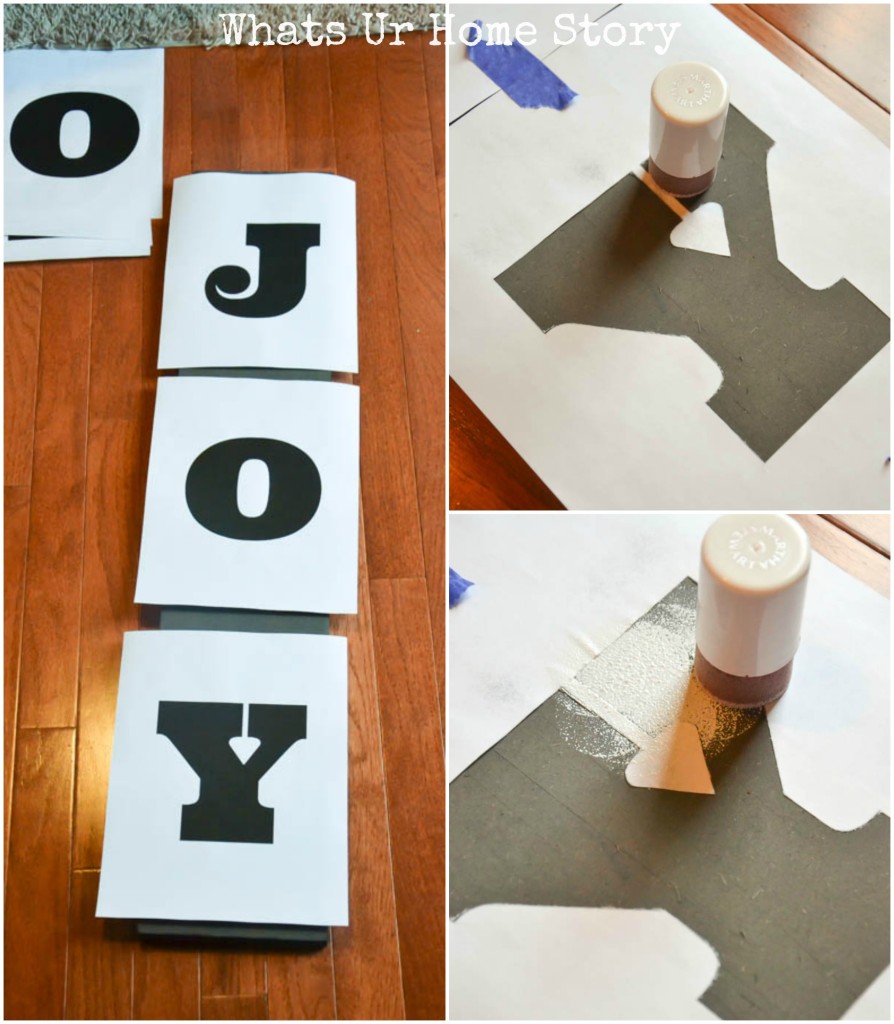
- When the paint is semi-dry peel the paper stencils off.
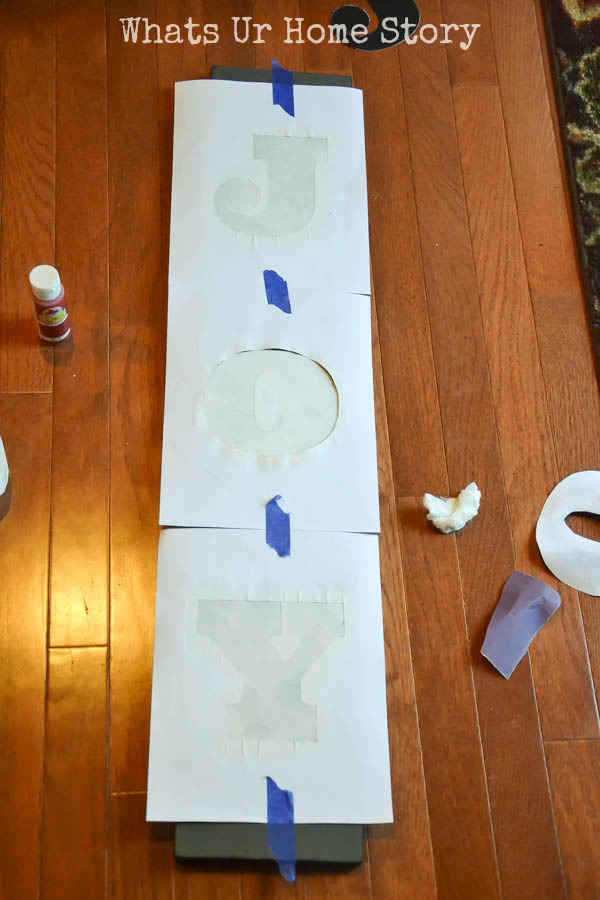
- Once the paint is completely dry, tape the second set of letter stencils (the first one would have become soggy by now with all the paint) to the board taking care to align the lines correctly.
- Stencil away with the red craft paint.
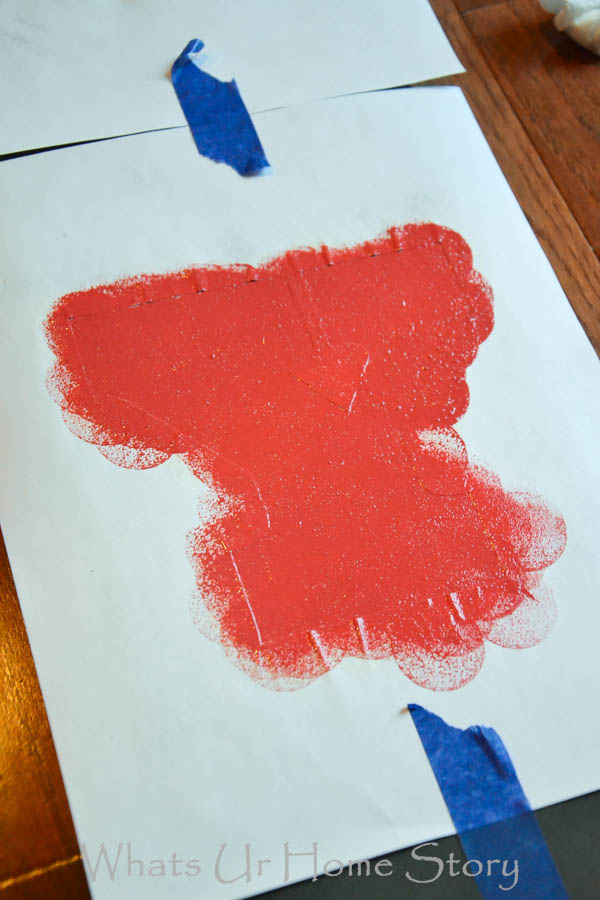
- You might need to do more than one coat of red. Wait till the first layer of paint dries for the subsequent coats. I think I did like 2 coats in all.
- When the red paint is dry peel the stencils off.
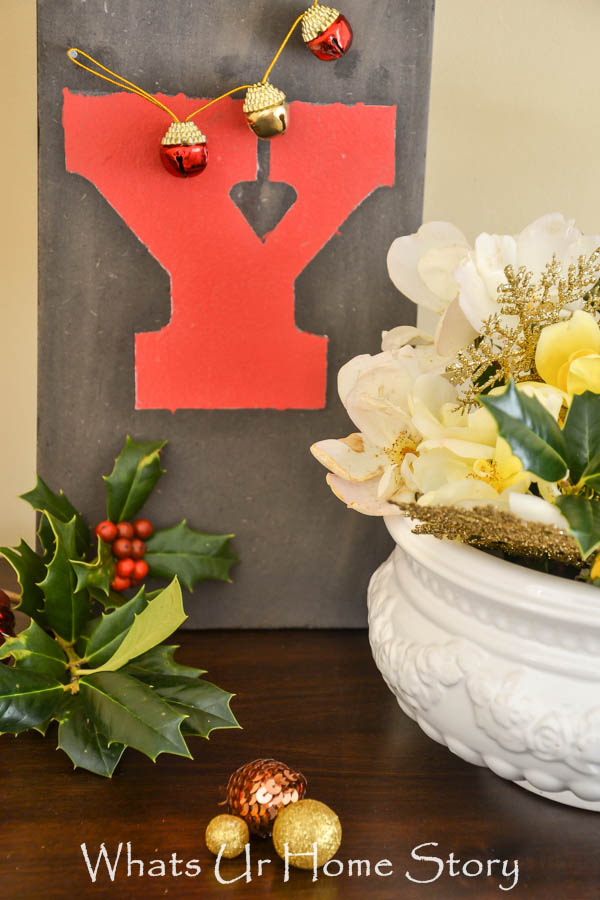
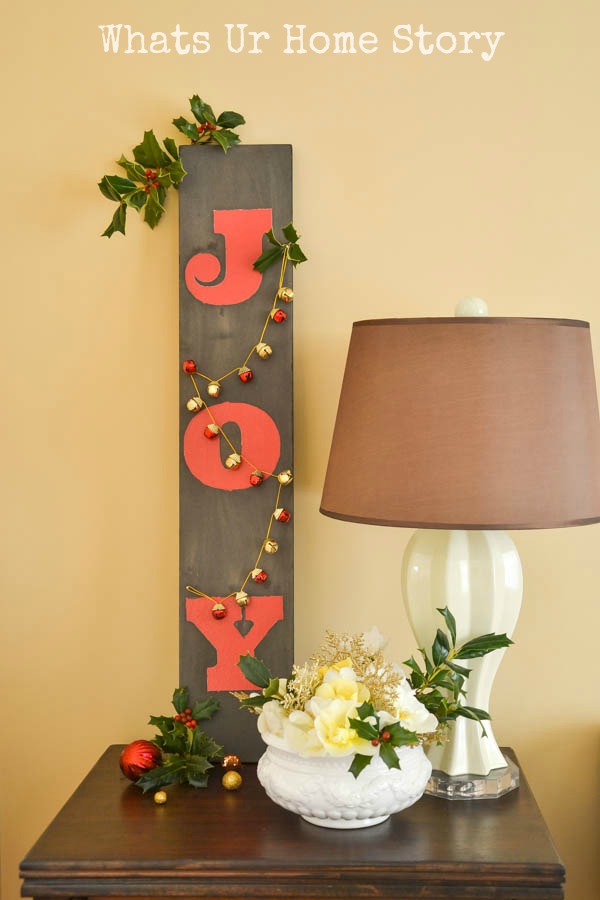
- Sand lightly with a fine grit sandpaper to give a distressed look.
- Time to embellish with the bell garland! By the way this step is purely optional. I think the sign looks great by itself. I used tiny nails in a zig zag pattern around the letters and hung the garland from them.

Here I’ve just leaned it against my wall but if you would like to hang it you can add hanging hardware to the back.
Won’t this look great on a porch? How do you decorate your porch for the holidays?


I’m not very crafty but you sure made this look easy!