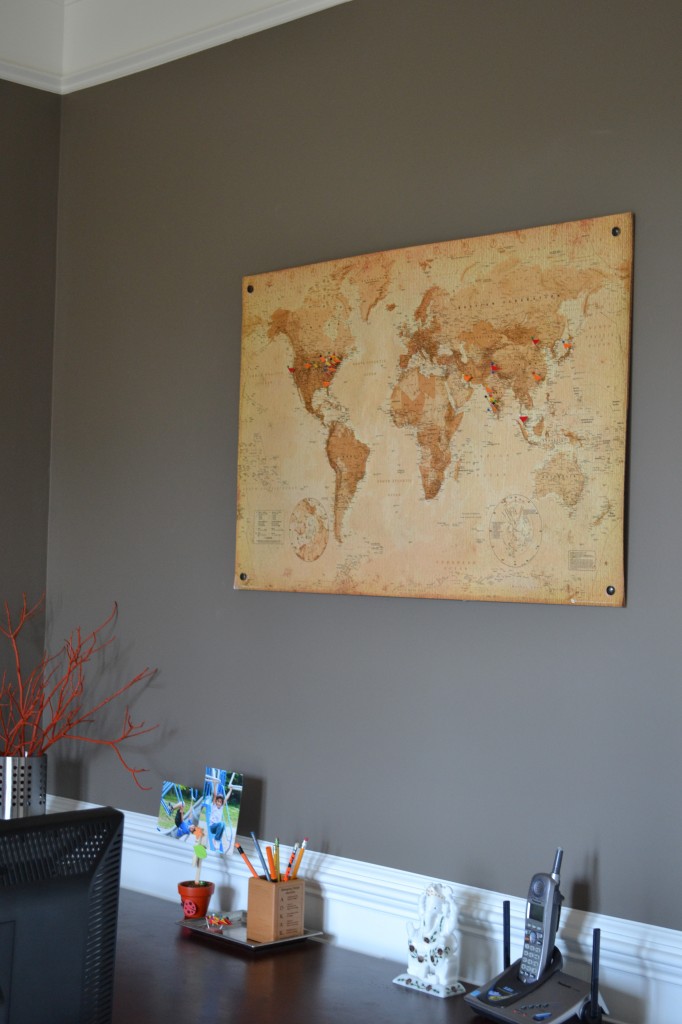
You saw this cork board world map in our new office room the other day, right?
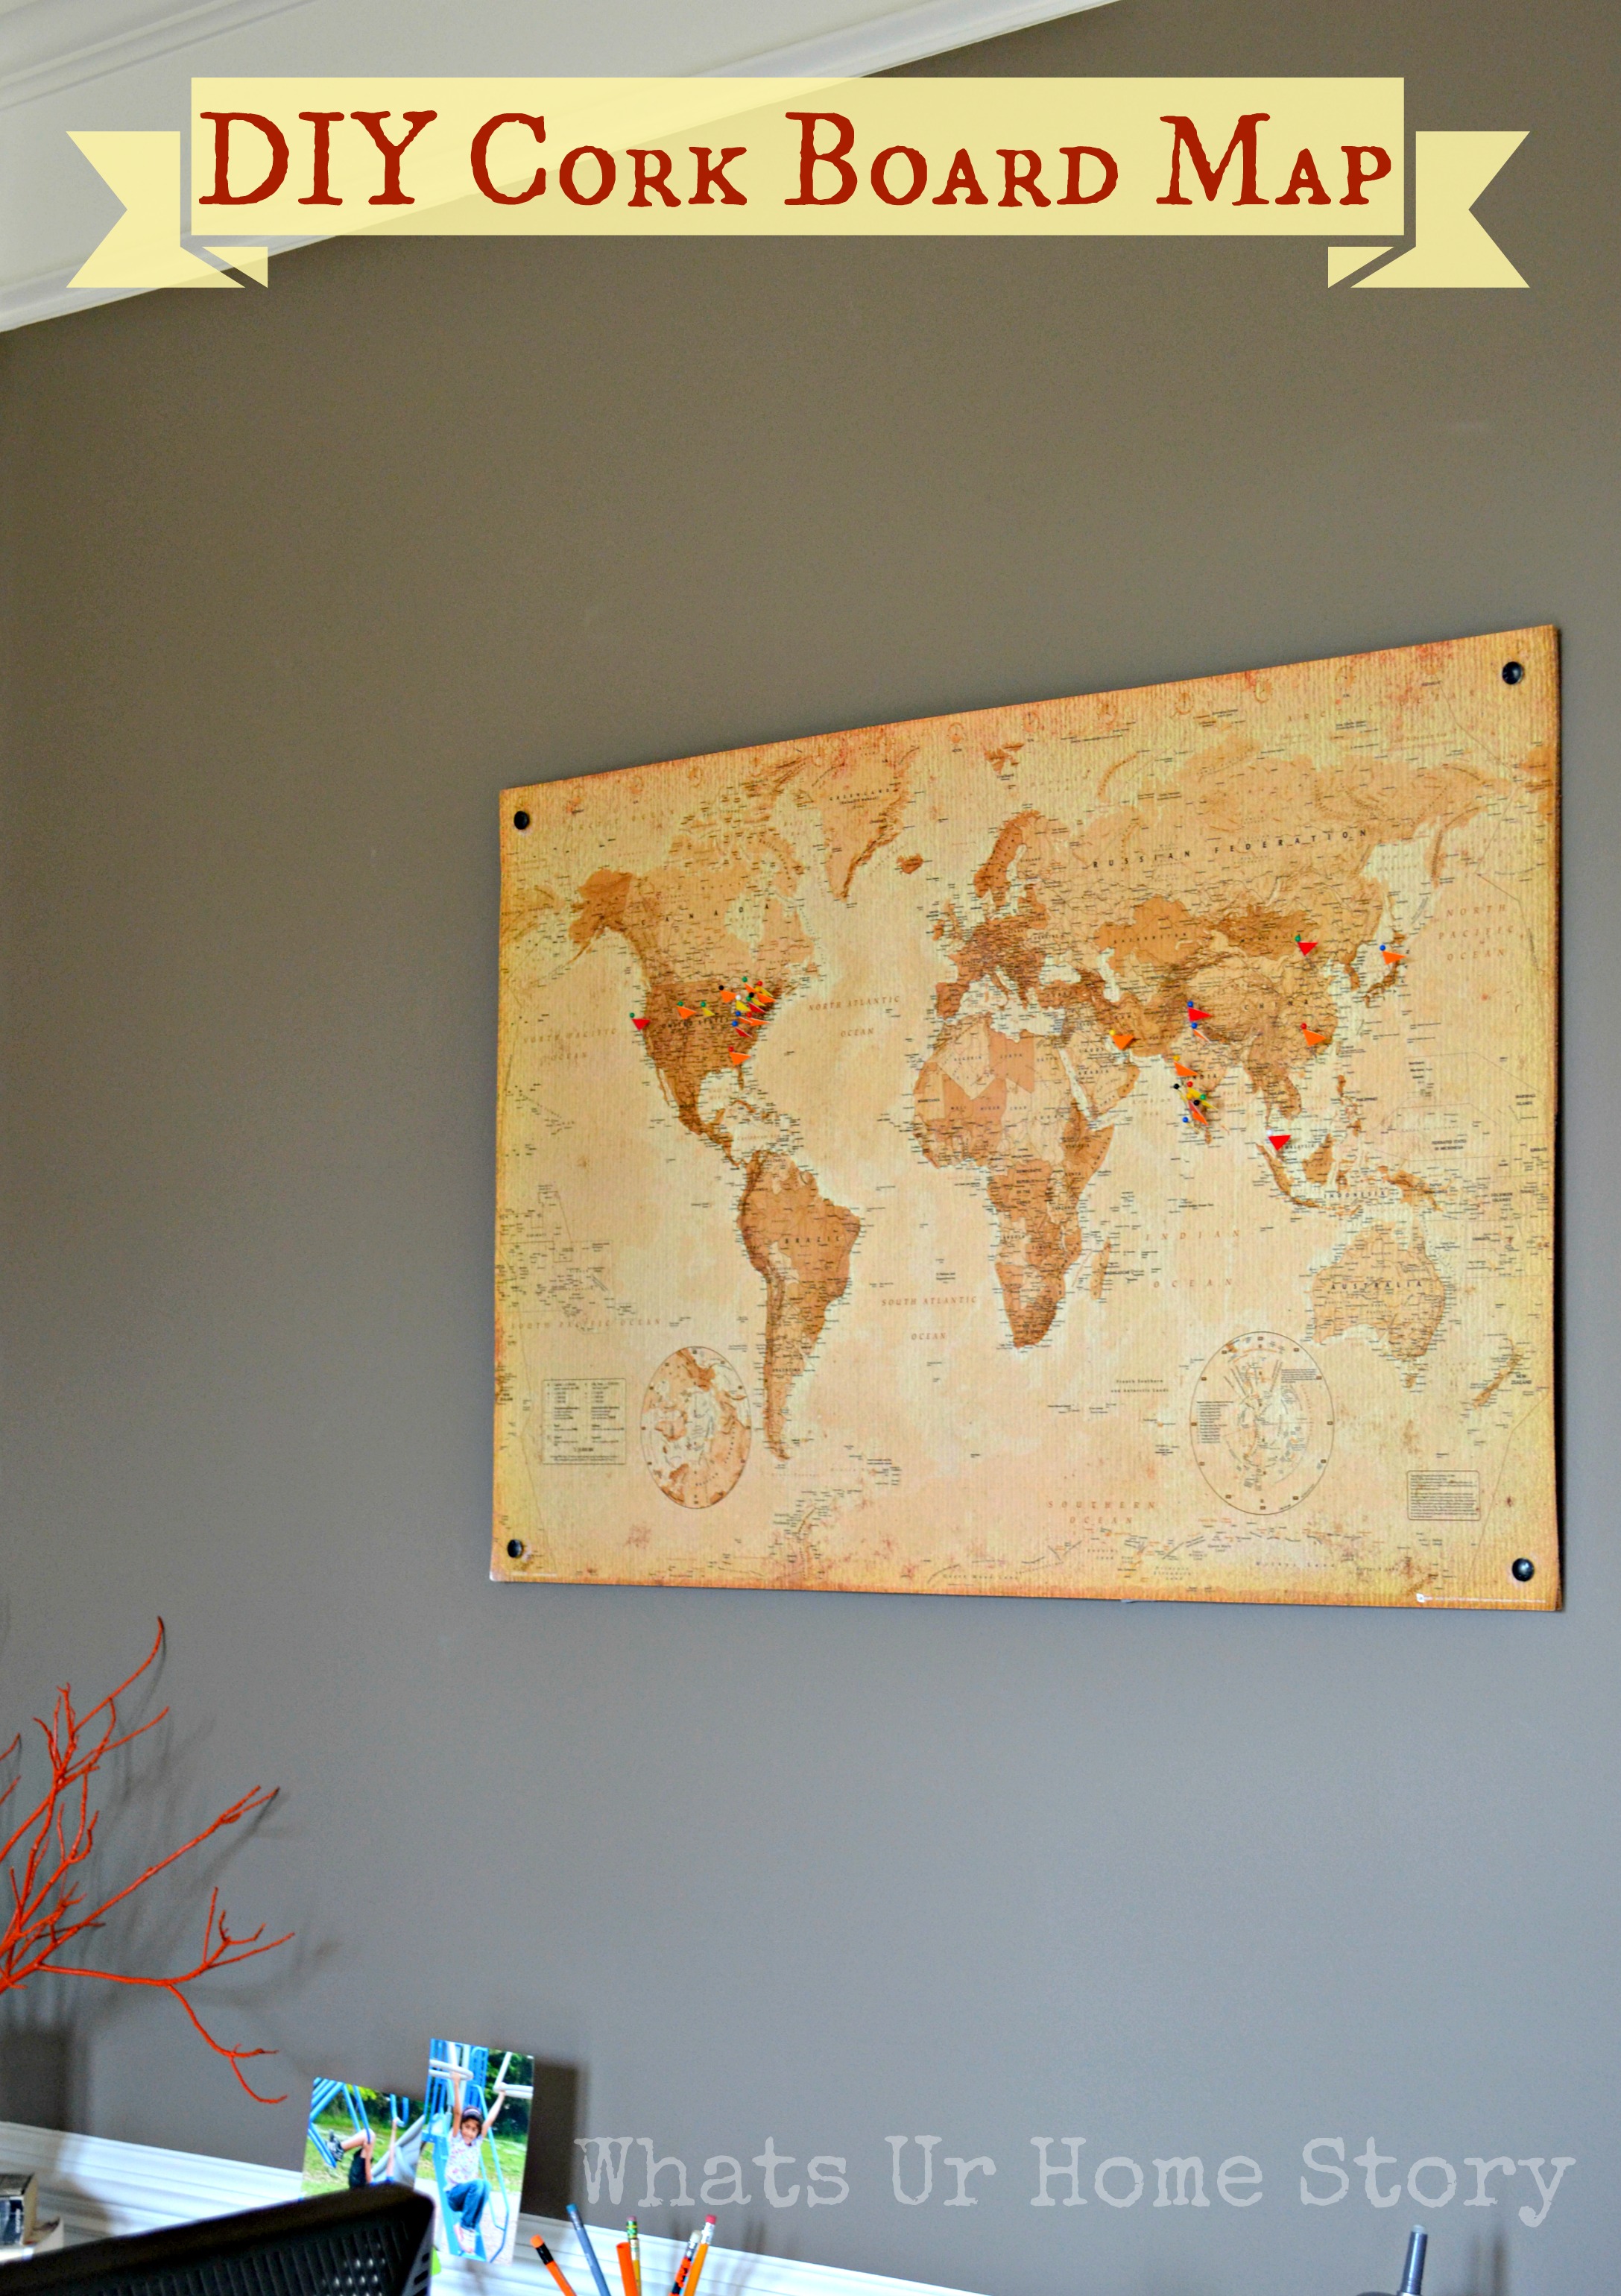
Wonder how the whole map story started? From this $1.28 map that I found on Amazon! Yup, you read that right $1.28! With shipping it ended up costing a whopping $5.27! The map is up to date with the current nations yet has a vintage feel.
Materials
- Map – $5.27 – Amazon, including shipping*
- Cork tiles – $9.98 – Walmart, 2 packs of 4 cork tiles $4.99 each (similar)
- Spray Adhesive – $3.89 – Micheals, after 40% off coupon (similar)
- Sewing pins – $2.49 – Micheals
- Screws -$3 – Home Depot
- Total -$24.64

Tutorial
Once I had the map in hand (wanted to make sure that it was indeed what I was looking for) I headed off to Walmart and bought 2 packs of cork boards. Each pack contains 4 12 x 12 squares. The map is 36 x 24. So I needed 6 squares, hence the 2 packs. I have two extra squares, may be they will end up as another project.
I had seen several tutorials online like this one from YHL (that I had pinned here) where they had made a cork board out of cork squares. So I decided to use the same technique.
- Lay your cork tiles on a flat surface. Duct tape all the joint edges.

- I later went over it with duct tape from corner to corner in a giant X but forgot to take the pic.
- Now you’ve got to unroll your map. Lay it on a flat surface and place your cork board over it. By the way I had tried to work with the colored map (on the side) that we already had but it was way too big and colorful for the office room.
- Weigh down the cork board with whatever you can find, in my case kids’ board games (this is the sneak peek pic that you saw here).

- Definitely leave it overnight or else the map would have a tendency to roll back up. Mine stayed like this for a week till I got around to it.
- By this time we had decided that we wanted to screw the map to the wall with bolt like screws to give it an industrial look.
- I spray painted the screws with ORB spray paint left over from this frame redo project (forgot to take the pics).
- We marked an X on the map with an X-acto knife on all the 4 corners for the screw and poked a screw through those all the way through the cork board. That’s B helping me.

- Use a permanent adhesive like Krylon’s Spray Adhesive. On a side note, I had tried using the Martha Stewart re-positionable stencil adhesive that I had left over from my stencil marathon. No idea what I was thinking other than may be saving a few bucks! Really bad choice. Not only did it not work it also it made the back of the map a bit grainy and way too sticky. So don’t try to skimp on this step, use the real thing.

- Spray the adhesive on the cork board and slowly place the map over it one section at a time.You need two people to do this. Start from one end and work your way in sections. Smooth out the air bubbles with an old credit card.
- While it dried (takes 3-4 hrs) we made the flag pins from old school folders that the kids brought back home during the last week of school, sewing pins, X-acto knife, and hot glue. 🙂 We went from this

- to this;

- Measure where you screws need to go in and drill holes. The screws that we used, I don’t know what they are called, they looked like bolts which you would tighten to the base with your hands/pliers.
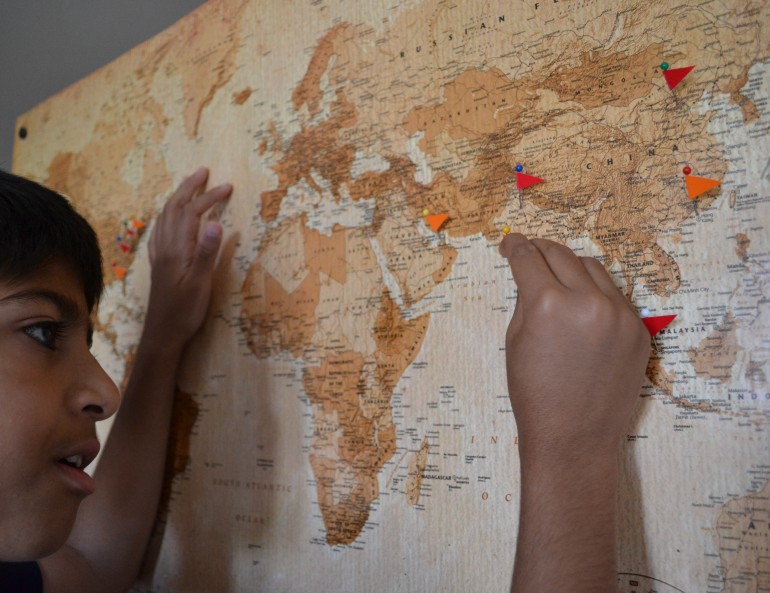
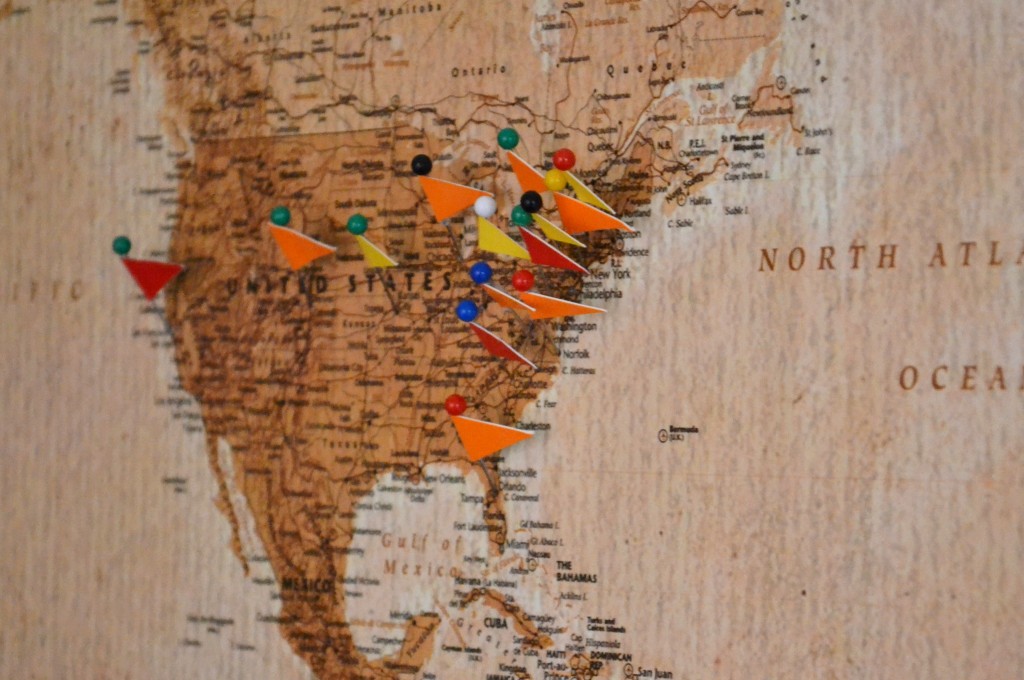
- The kids’ had an awesome time pinning the places where we (mostly B) have been to.
Ain’t that a fun project?
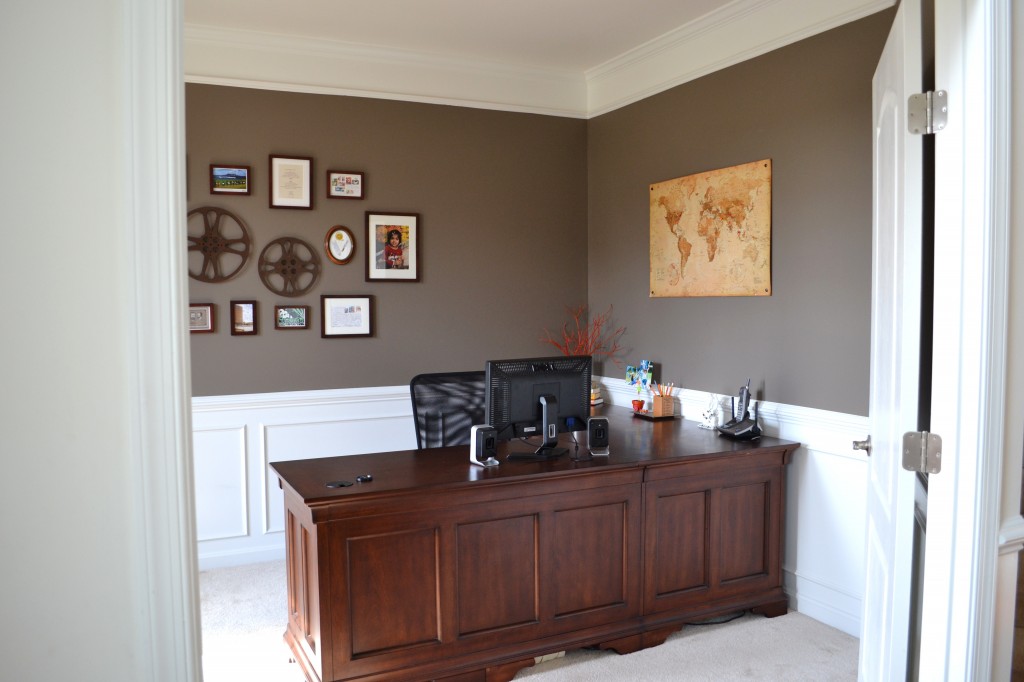
A shot of it in the room;
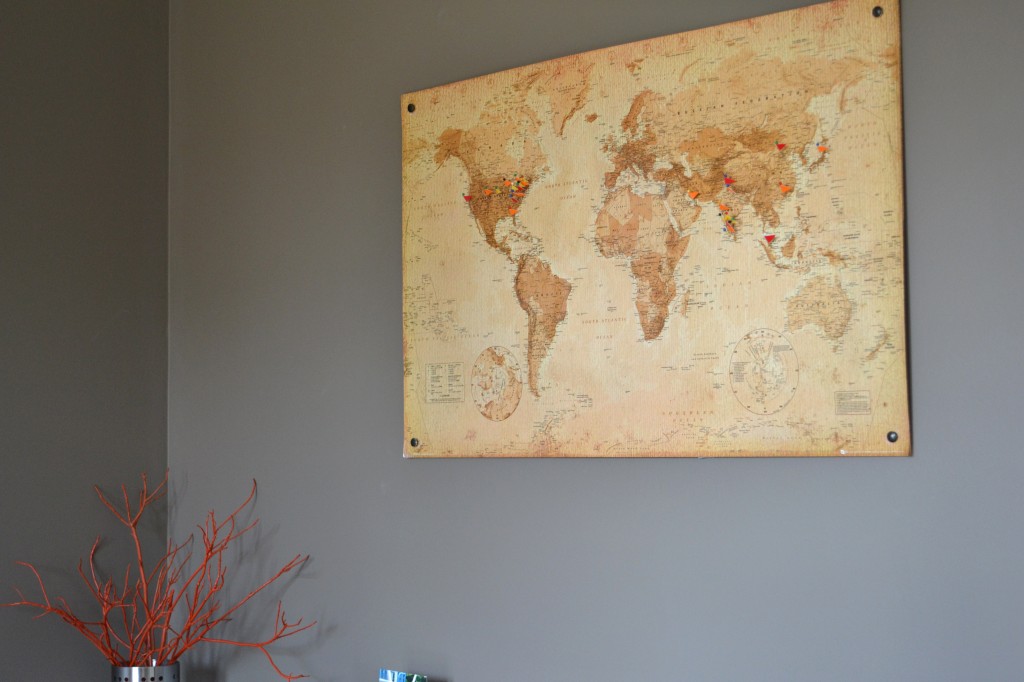
Another close up;
Have you ventured into cork board land? I’m kind of getting obsessed. Here is how I revamped a thrift store cork board find.
*Affiliate link


Thanks Vidya for posting it, I would definately try it this weekend 🙂
Thanks Shruthi. Can’t wait to see how yours turns out. The only tricky part is gluing which is a two people job for sure. Good luck.
Vidya
Vidya,
I love this map. The other day I saw one in World market which costs 140 dollars. Yours is amazing for this price. One question, I followed your link to amazon. What do you think about the quality of the map? Is it crinkled? Going to try this for sure. By the way, I have already started a “plate wall” in my home :)) We can steal your ideas, right?
Thanks again,
Sree
Thanks Sree. Ya that price is crazy. It came in perfect condition. It is just your regular poster. Has a smooth finish. You do have to handle it gently though. The only step where there is a chance for it to crease is when gluing. That is why I kept stressing that it is a 2 person job. I tried to do it without help and ended up with a crease. Luckily not very noticeable. Wow, great news about the plate wall. I’m totally humbled. That’s what I set out to do, to inspire others like so many other have inspired me. Do share it with us when you are done. I’m gonna add a reader showcase kinda series soon. I had a misstep on my plate wall, tried painting one of the plates. Utter flop. But I’m not going to give up. Will share the details soon.
Vidya
Thanks so much for sharing this tutorial. I may have to create this for our home office as well! I love the idea of pinning the places you have visited. And love the fact that the map has a vintage feel. My husbo is obsessed with maps and think he will really like this project. Yours looks great in your new office!
Thanks Erika. I love maps too. Would have been great if I had found a real vintage one. But this one works too especially since I was drilling holes through them. How is your shed coming along?
Vidya
OH I LOVE THIS!!! Definately something I will have to try.
Thank you Gabriella. Would love to see how yours turns out.
Vidya
Vidya,
I was looking for a Hot Glue Gun in Michaels yesterday but didn’t know which one is the best and how much can I spend on it, can you please help me out here?
Thanks
Shruthi
I bought mine years ago (at least 7 yrs) from Walmart. I think it was less than $10. Has been going strong. You can’t really go wrong.
That looks really good ( better than the one I did for the last pinterest challenge http://madeinmorningside.blogspot.co.uk/2012/03/winter-pinterest-challenge3rd-time.html, we found some wrapping paper which did the trick for 1/10th of the price of the maps on ebay!! xox
Thanks Ashleigh. Love your map cork board too. Gonna check out the wrapping paper, it has already given me so many ideas. Just read your map side table post. Exactly what I had in mind. 🙂
Vidya
It looks great!
Thanks Melanie.
Vidya
Thanks for stopping by and commenting on my blog! I love your map project too! It is almost the same map as I used in my 3 panel canvas map wall art at http://justtwocraftysisters.com/map-wall-art . Your map looks os great in that room 🙂 I just love the vintage feel.
Thank you Holly.
I totally got the same map in the mail today! YAY! Another map idea! I love it. I love the cork. 🙂 I pinned your project! Thanks for sharing. 🙂
Thanks Kristina. Can’t wait to see your project.
Vidya
Loving this map, and I’m in the process of making one myself.
Could you please provide a closeup of the kind of screws you used for this project though? Or any more details? 🙂
It’s also proving to be considerably more expensive doing it here in Norway;
I’ve not been able to find cork board tiles anywhere, cheap or not, so I’m adapting a big corkboard ($17).
The map was about $8 including shipping from the UK.
The only usable spray adhesive I can find around here is 3M’s Photo Mount, which is $35.
🙁 That totally takes away from the whole DIY fun. Didn’t know these things were hard to find elsewhere. Did you try IKEA for cork board tiles? They might have it. Do let me know how it goes. Will post a close up pic of the screws that I used.
Vidya
I know, so I’m mostly just doing it because I can’t seem to find a vintage-look corkboard map ANYWHERE^^
And yep, tried Ikea, Staples and several other places in search of cork board tiles, but no luck.
What do you charge to make and ship one?
As of now, don’t have any plans on selling things. 🙁 It is a really easy DIY though.
v
When you duct taped the cork boards together, did you do both sides? I feel like it may need it to keep it together, but I don’t wanna be able to see the ridge of the duct tape when I adhere my map to the cork board. Thanks for the step by step instructions! I’m making one right now.
No I didn’t do it on the front ( the side where you glue the map to the cork). Only on the back. If you glue it on the front you’ll be able to see the duck tape’s outline after you glue. The maps are usually pretty thin paper. Might not look good. Depends upon how thick your map paper is. Good Luck with yours. Would love to see the end result.
Vidya
Hi Vidya,
This looks amazing! I’m making something similar for a school and wondered if you had tips on working with spray adhesive without it getting messy? And did you get the map to lay flat and not bubble when you glued it to the board?
Thanks,
Stephanie
Stephanie,
I’d say you need to do it in small section and if the map is large then it is definitely a two person job. Smooth with a credit card from the center to the outside as you go. Hope that helps. Do let me know how it goes.
Vidya
Your map turned out gorgeous! I love it! Pinning
Thank you Jamie. Every time we come back from a trip the kids are want to go put up the flag on the map the first thing!
V
Love this so much. I pinned and featured in my roundup.
Thanks Denise. Hoping on over right now.
Vidya
I got really excited to make this, only to find out that map can’t be shipped to Australia (racist Amazon) and any equivalents bought locally cost $40+. Typical.
Aww…that’s a bummer! Did you try ebay?
Vidya
I’m so excited! Making this map today – I’ll let you know how it turns out!!! I’m heading off now to Goodwill in caseI can find a fun frame to go around it – cause I can’t really it screw it into our walls…I’ll keep you posted though – it’s the BEST! Thanks so much for posting!
Wow, excited for you Tina. Do let me know how it goes. Would love to see the “after”pics.
Vidya
I’m sorry if I missed this, but do you spray the adhesive to the cork board or to the map when you are adhering the two?
Ashley,
You spray the glue onto the cork board and then slowly stick the map to the board.
Vidya
how did you get the tiles of cork to not come apart? I tried duck tape and a few other options and as soon as I move them when together they break apart. Doesn’t seem to be holding up and need to fix before I put in a frame.
Hmm… mine have stayed up with just duck tape for over 2.5 yrs now. Still hangs in our office room. Maybe you could cut a piece of poster board or cardboard the size of your map, spray adhesive on the cardboard, and glue the cork tiles to it. I just made a cork board like that for my daughter’s room ( yet to post about it on the blog). Do let me know how it goes.
It looks great but I’m disappointed by how mine turned out. I did the same thing and used the same spray adhesive and it’s hardly sticking at all.
Oh my! Did you shake the spray bottle well? Sometimes the glue doesn’t work if the can has been in the same position for long. How about contacting the spray glue company to see? Maybe there was something wrong with it?
The duct tape isn’t sticking together and the adhesive spray isn’t working to keep the map on either. I let it sit overnight, put pressure on it but I think the cork makes it hard to have them stick. I spent a lot of time on this and now it easily goes back to individual tape, map, and cork. Any advice?
Not sure why that would happen. Duct tape is not sticking to the cork board? For some adhesive sprays you’ll have to wait for a bit for the glue to be tacky. Only then will it stick. Did you try that?
This is perfect and so cool! I was just thinking about how much of a hassle it’d be to have to remove pins and re-pin if I put them directly in the wall, but a cork board backing is a great idea!
I love this project. I was surprised at how flimsy the cork board was and I am having trouble with getting the duck tape to stick to the cork board and really making it sturdy. Any tips for this?
Hmm…the cork tiles I used weren’t of ok thickness. Maybe try a diff brand? Or you could double the layers of the cork board with the spray on adhesive. Instead of the duck tape maybe try packing tape?
Thanks so much for this tutorial! Your map looks so great! I was wondering if you can notice up close that these are 4 cork tiles? Do the seams show through? Thanks again!
Hi Alicia. Glad you liked the project. No, the cork tile seams are not at all visible even after all these years. It still hangs in our office room.
Vidya
Love it! And looks quite easy to make 😉 I will keep this in mind, as it would make a perfect gift for my sister… Thanks for sharing